Table of Contents
Advertisement
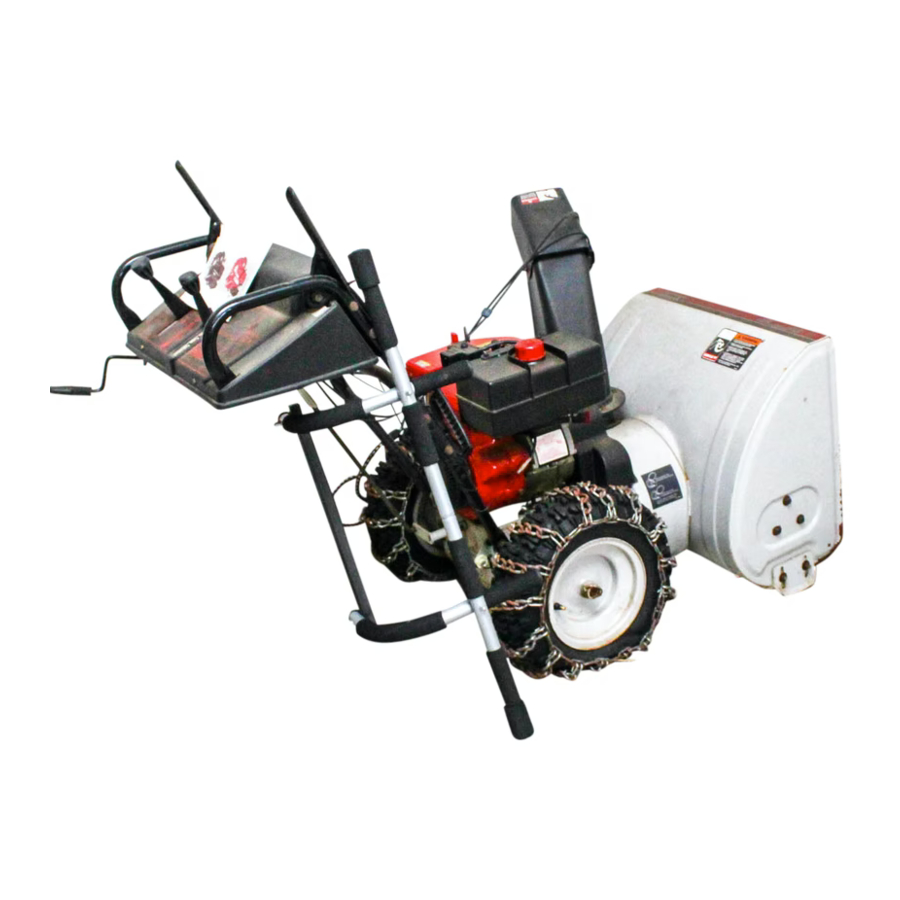
Operator's Manual
IMPORTANT: Read safety rules and instructions carefully before operating equipment.
Warning:
This unit is equipped with an internal combustion engine and should not be used on or near any unimproved forest-
covered, brush-covered or grass-covered land unless the engine's exhaust system is equipped with a spark arrester meeting
applicable local or state laws (if any). If a spark arrester is used, it should be maintained in effective working order by the operator.
In the State of California the above is required by law (Section 4442 of the California Public Resources Code). Other states may have
similar laws. Federal laws apply on federal lands. A spark arrester for the muffler is available through your nearest engine authorized
service dealer or contact the service department, P.O. Box 361131 Cleveland, Ohio 44136-9722.
WHITE OUTDOOR PRODUCTS COMPANY. P.O. BOX 361131 CLEVELAND, OHIO 44136-9722
PRINTED IN U.S.A.
Snow Boss 550
(H623D)
Snow Boss 750
(H633E)
FORM NO. 770-10014A.mif
(6/99)
Advertisement
Table of Contents

Related Manuals for White 550


Summary of Contents for White 550
- Page 1 Federal laws apply on federal lands. A spark arrester for the muffler is available through your nearest engine authorized service dealer or contact the service department, P.O. Box 361131 Cleveland, Ohio 44136-9722. WHITE OUTDOOR PRODUCTS COMPANY. P.O. BOX 361131 CLEVELAND, OHIO 44136-9722 PRINTED IN U.S.A. Snow Boss 550 (H623D) Snow Boss 750 (H633E) FORM NO.
-
Page 2: Table Of Contents
Content Important Safe Operation Practices... 3 Loose Parts... 5 Assembling Your Snow Thrower... 5 Know Your Snow Thrower ... 7 Operating Your Snow Thrower... 8 Making Adjustments ... 10 Maintaining Your Snow Thrower ... 11 Service... 12 Troubleshooting ... 16 Parts List... -
Page 3: Important Safe Operation Practices
SECTION 1: IMPORTANT SAFE OPERATION PRACTICES This Warning symbol points out important safety instructions which, if not followed, could endanger the personal safety and/or property of yourself and others. Read and follow all instructions in this manual before attempting to operate your snow thrower. Failure to comply with these instructions may result in personal injury. -
Page 4: Maintenance And Storage
• When cleaning, repairing, or inspecting, make certain the auger, impeller and all moving parts have stopped. Disconnect spark plug wire and keep away from plug to prevent accidental starting. • Do not run engine indoors, except when starting engine and transporting snow thrower in or out of building. -
Page 5: Loose Parts
SECTION 2: LOOSE PARTS The snow thrower is shipped with following loose parts in the carton. Please remove all loose parts from the carton before discarding it. See Figure 1 to identify the parts noting that these parts may be referred to again in the following sections of this manual. -
Page 6: Final Adjustments
NOTE: If the connector is not properly assembled, the shift rod will pivot and you will not be able to change speeds or change directions. • If not already attached, slip the cables that run from the handle panel to the chute into the cable guide located on top of the engine. -
Page 7: Know Your Snow Thrower
Traction Control and Shift Lever Adjustment To check the adjustment of the traction control and shift lever, proceed as follows: • Move the shift lever into sixth (6) position. a. With the traction control (refer to Figure 7 in Section 4 of this manual) released, gently push the snow thrower forward, then pull it back. -
Page 8: Operating Your Snow Thrower
Chute Directional Control The chute directional control is located on left side of the snow thrower. To change the direction in which snow is thrown, turn chute directional control as follows: • Crank clockwise to discharge to the left. • Crank counterclockwise to discharge to the right. -
Page 9: Stopping Engine
• Move throttle control up to FAST position. Insert ignition key into slot. See Figure 8. Be certain it snaps into place. Do not turn the key. • Rotate choke knob to FULL choke position (cold engine start). If engine is warm, place choke in OFF position instead of FULL. -
Page 10: Making Adjustments
• Slightly overlap each previous cleared path. • Follow the precautions found under the heading To Stop Engine to prevent possible freeze-up. SECTION 6: MAKING ADJUSTMENTS WARNING: NEVER attempt to clean chute or make any adjustments while engine is running. Chute Assembly Adjustment The distance snow is thrown can be adjusted by adjusting the angle of the chute assembly. -
Page 11: Maintaining Your Snow Thrower
Shift Rod Adjustment To adjust the shift rod, proceed as follows. • Remove the hairpin clip and slide the connector up to separate the upper shift rod from the lower shift rod. See Figure 11. Ferrule Connector Hairpin Clip Shift Arm Lower Shift Rod Figure 11 •... -
Page 12: Service
Wheels • Oil or spray lubricant into plastic wheel bearings inside the wheel hubs at least once a season. Remove wheels, clean and coat axles with a multi- purpose automotive grease. See Figure 13. Oil or use Spray Lubricant Figure 13 Auger Shaft •... -
Page 13: Belt Removal And Replacement
• Reassemble new skid shoes with the six carriage bolts, bell washers (cupped side goes against skid shoes) and hex nuts. Make certain the skid shoes are adjusted to be level. To remove shave plate, remove the carriage bolts, belleville washers and hex nuts which attach it to the snow thrower housing. - Page 14 • Back out the stop bolt until the support bracket rests on the auger pulley. See Figure 20. • Slip belt between friction wheel and friction wheel disc. See Figure 20. Remove and replace belt. • Reassemble following the instructions in reverse order.
-
Page 15: Troubleshooting
SECTION 9: TROUBLESHOOTING Problem Engine fails to start 1. Fuel tank empty, or stale fuel. 2. Blocked fuel line. 3. Choke not in ON position 4. Faulty spark plug. 5. Safety key not in ignition switch on engine. 6. Spark plug wire disconnected. 7. -
Page 16: Parts List
SECTION 10: PARTS LIST Models 550 & 750... - Page 17 Flat Washer, .508 x 1.0 x .020 Flat Washer, .76 x 1.5 x .060 Flange Bearing, .75 x 1.0 x .59 Flange Bearing, .503 ID x .75 OD Gear Assy Complete, 22” (550) Gear Assy Complete, 24” (750) Grease Fitting, 3/16” Drive Grease (Two Ounces)
- Page 18 Models 550 & 750 Blower Housing Drive Clutch Cable Auger Clutch Cable 9 10 Auger Clutch Cable...
- Page 19 Jam Nut, 3/8-24 Drive Cable Axle Gear 7-Tooth Shaft Friction Wheel Bearing Tire Only, 13 x 4 (550) Tire Only, 15 x 5 (750) Sleeve Bearing Air Valve Wheel Assembly (550) Wheel Assembly (750) (Incl. Ref. 41, 42, & 43)
- Page 20 Models 550 & 750...
- Page 21 Models 550 & 750 Ref. Part No. Part Description 712-0116 Lock Jam Nut 3/8-24 756-0178 Flat Idler 784-5632A Auger Idler Arm 710-0459A Hex Cap Screw 3/8-24 x 1.50 738-0281 Shoulder Screw 736-0174 Wave Washer 732-0611 Extension Spring 712-3068 Hex Nut 5/16-18...
- Page 22 Models 550 & 750...
- Page 23 Models 550 & 750 Ref. IMPORTANT: For a proper working machine, use Factory Approved Parts. V-BELTS are specially designed to engage and disengage safely. A substitute (non OEM) V-Belt can be dangerous by not disengaging completely Part No. Part Description 710-1652 Hex Washer Screw 1/4-20 x.625...
- Page 24 Models 550 & 750 41 42 (for ground wire of light ass’y)
- Page 25 Model 550 & 750 Ref. Part No. Part Description 684-0008A Shift Arm Assembly 684-0022 Chute Crank Ass’y 715-0138 Rolled Pin 710-0262 Carriage Bolt, 5/16-18 x 1.5 710-0449 Carriage Bolt, 5/16-18 x 2.25 710-0788 Self Tapping Screw, 1/4-20 x 1 710-3008 Hex Cap Screw, 5/16-18 x .75...
-
Page 28: P.o. Box
MANUFACTURER’S LIMITED WARRANTY FOR: The limited warranty set forth below is given by White Out- door Products Co. with respect to new merchandise pur- chased and used in the United States, its possessions and territories. White Outdoor Products Co. warrants this product against defects in material and workmanship for a period of two (2) years commencing on the date of original purchase and will, at its option, repair or replace, free of charge, any part...