Table of Contents

Related Manuals for Sylvania SLMW937-SS


Summary of Contents for Sylvania SLMW937-SS
-
Page 1: Microwave Oven
Microwave Oven SLMW937-SS Please read these instructions carefully before installing and operating the oven. Record in the space below the SERIAL NO. found on the nameplate on your oven and retain this information for future reference. SERIAL NO. -
Page 2: Table Of Contents
Do not attempt to operate this oven with the door-open since open-door operation can result in harmful exposure to microwave energy. It is important not to defeat or tamper with the safety interlocks. Do not place any object between the oven front face and the door or allow soil or cleaner residue to accumulate on sealing surfaces. -
Page 3: Important Safety Instructions
When using electrical appliances, basic safety precautions should be followed, including the following: WARNING - To reduce the risk of burns, electric shock, fire, injury to persons or exposure to excessive microwave energy: Read all instructions before using the appliance. Read and follow the specific "PRECAUTIONS TO AVOID POSSIBLE EXPOSURE TO EXCESSIVE MICROWAVE ENERGY"... -
Page 4: Save These Instructions
Pierce foods with heavy skins such as potatoes, whole squash, apples and chestnuts before cooking. The contents of feeding bottles and baby jars should be stirred or shaken and the temperature should be checked before serving in order to avoid burns. Cooking utensils may become hot because of heat transferred from the heated food. -
Page 5: Installation Guide
Make sure that all the packing materials are removed from the inside of the door. Check the oven for any damage, such as misaligned or bent door, damaged door seals and sealing surface, broken or loose door hinges and latches and dents inside the cavity or on the door. If there is any damage, do not operate the oven but contact qualified service personnel. -
Page 6: Utensils Guide
plugged into a wall receptacle that is properly installed and grounded. Power Supply Cord A short power supply cord is provided to reduce the risks resulting from becoming entangled in or tripping over a longer cord. Longer cord sets or extension cords are available and may be used if care is exercised in their use. If long cord or extension cord is used:... -
Page 7: Limited Use
Glass and glass-ceramic bowls and dishes — Use for heating or cooking. Paper plates and cups — Use for short-term heating at low temperatures. Do not use recycled paper, which may contain metal and could ignite. Wax paper — Use as a cover to prevent spattering. Thermometers —... -
Page 8: Cooking Techniques
Your microwave makes cooking easier than conventional cooking, provided you keep these considerations in mind: TIRRING Stir foods such as casseroles and vegetables while cooking to distribute heat evenly. Food at the outside of the dish absorbs more energy and heats more quickly, so stir from the outside to the center. The oven will turn off when you open the door to stir your food. -
Page 9: Specifications
Power Consumption: 120V~60Hz, 1350W (Microwave) Output: 900W Operation Frequency: 2450MHz Outside Dimensions(H×W×D): 11 1/16×19×14 1/16 inches. Oven Cavity Dimensions(H×W×D): 8 11/16×13 3/8×12 5/8 inches. Oven Capacity: 0.9cu.ft Cooking Uniformity: Turntable System Net Weight: Approx. 30.0 lb. Door Safety Lock System Oven Window Shaft Roller Ring... -
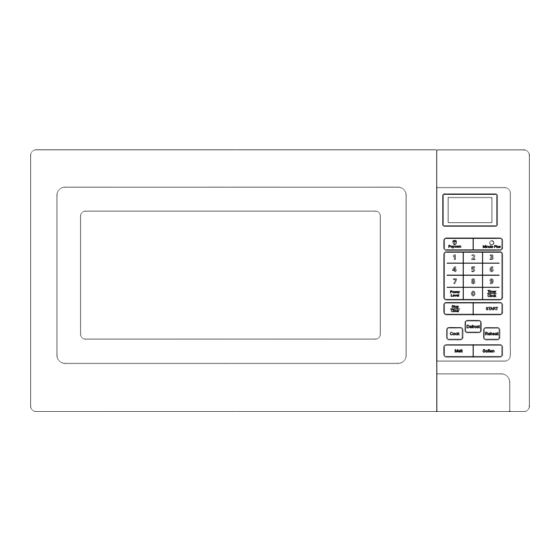
Page 10: Control Panel
DISPLAY WINDOW Use to indicate clock, cooking time, etc. MINUTE PLUS Press to set the oven to start cooking quickly and to increase the cooking time. NUMBER PADS Press to set clock, cooking time or enter food weight. POWER LEVEL Press to select microwave power level. -
Page 11: Operation Instructions
Each time a button is touched, a beep will sound to acknowledge the touch. When the oven is first plugged in, press STOP/CLEAR to enter into the standby mode. ETTING THE CLOCK To enter the digital clock time, press the TIMER/CLOCK pad once and then press the number pads to set the time of day. -
Page 12: Timer
1. Press POWER LEVEL pad to set 60%. 2. Touch number pad to enter desired cooking time. 3. Press START pad. NOTE: During cooking, you can press POWER LEVEL to check the cooking power. IMER The oven could used to count the cooking time or others. Suppose you want to set 30 minutes timer. -
Page 13: Minute Plus
90% Microwave cooking 50% Microwave cooking 1. Press POWER LEVEL button to set 90% power level. 2. Use the number pads to enter cooking time. 3. Press POWER LEVEL button to set 50% power level. 4. Use the number pads to enter cooking time. 5. - Page 14 Press number pad 1 to select weight of Butter. Press START pad to start cooking. Food Press Number Pad 1 Weight Butter once 2 tbsp twice 1/2 cup SOFTEN In standby mode, press SOFTEN pad once, the display shows “CODE”, “1”. Press number pad 1 to select weight of Ice Cream.
-
Page 15: Cleaning And Care
Turn off the oven and remove the power plug from the wall socket before cleaning. Keep the inside of the oven clean. When food splatters or spilled liquids adhere to oven walls, wipe them with a damp cloth. Mild detergent may be used if the oven gets very dirty. Avoid the use of spray and other harsh cleaners as they may stain, streak or dull the door surface.