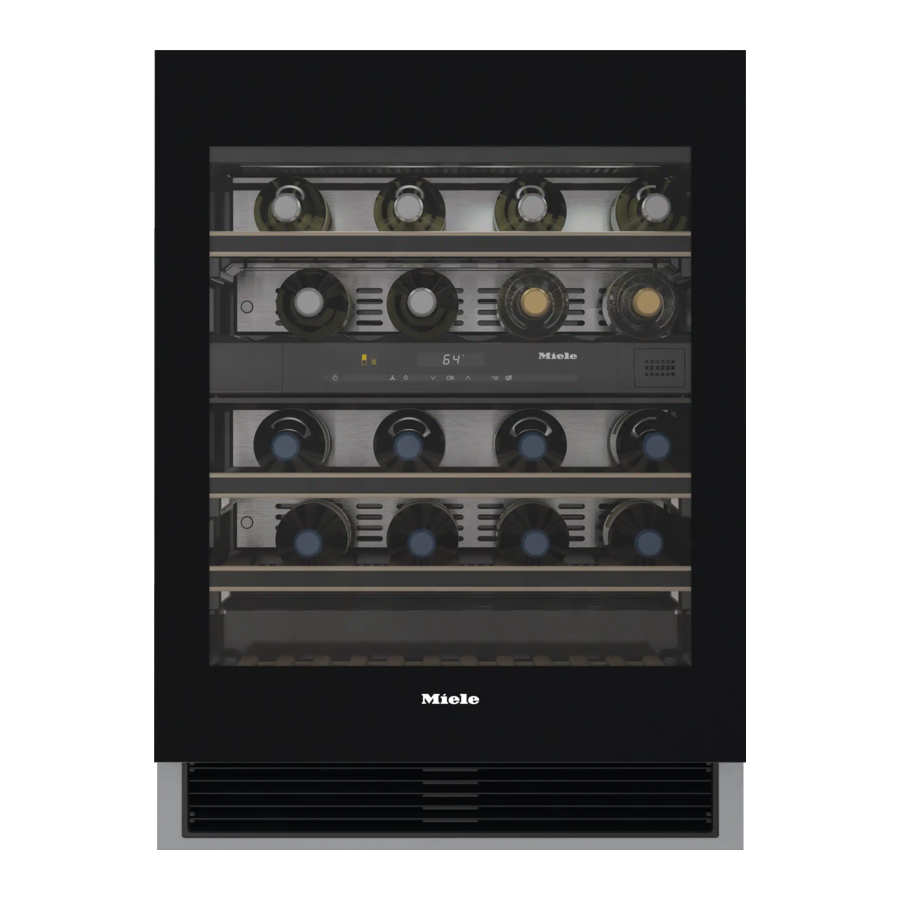
Miele KWT 6322 UG Installation Instructions Manual
Hide thumbs
Also See for KWT 6322 UG:
- Operating and installation instructions (80 pages) ,
- Operating and installation instructions (76 pages) ,
- Operating and installation instructions (76 pages)
Table of Contents
Advertisement
Quick Links
Advertisement
Table of Contents

Related Manuals for Miele KWT 6322 UG


Summary of Contents for Miele KWT 6322 UG
-
Page 1: Installation Instructions
Installation Instructions KWT 6322 UG en - CA Installation, repair and maintenance work should be performed by a Miele authorized service technician in accordance with national and local safety regulations and the provided installation instructions. -
Page 2: Electrical Connection
Electrical connection Failure to follow these This appliance is equipped with instructions can result in death, fire, a three-prong grounding plug to or electrical shock. prevent shock hazards. It should be plugged directly into a properly Improper connection of the grounded outlet. - Page 3 Electrical connection The appliance must be connected to an Do not use an extension cord to electrical outlet that is properly connect the appliance to the power grounded. The electrical installation supply. Extension cords do not must comply with the applicable guarantee the required safety of the electrical code.
-
Page 4: Installation
In addition, no other appliances should Please contact Miele for specific be plugged into a socket located information about which directly behind this appliance. combinations will work with your –... - Page 5 Installation Ventilation Climate class The appliance is designed for use WARNING! Danger of damage from within a certain climate range (ambient overheating. May restrict operation. temperatures) and should not be used Keep ventilation openings, in the outside this range. The climate range of appliance enclosure or in the built-in the appliance is stated on the data structure, clear of obstruction.
-
Page 6: Door Opening Angle Limiter
Installation Door opening angle limiter The cut-out in the plinth facing must The door opening angle limiter restricts be aligned centrally with the the opening angle to 90°. This may be appliance. necessary if the appliance door hits an adjacent wall when opened, for example. - Page 7 Installation Installation dimensions Before installation, ensure the building-in niche is the correct size. The specified ventilation cross-sections must be adhered to and the cut-out in the plinth must be aligned centrally with the appliance in order to ensure the correct functioning of the appliance.
- Page 8 Installation View from above...
-
Page 9: Adjusting The Door Hinge
Adjusting the door hinge The door hinging should be changed The second person must by authorized service personnel only. support the door. Caution. When the hinge is Two people are needed for changing released, the door is no longer the door hinging. secure. - Page 10 Adjusting the door hinge ^ Unclip upper and lower covers e. ^ Place the door with the outer side upwards on a stable surface. ^ Remove the screws e. Do not close the hinges. Danger of injury. ^ Place each hinge in the corner diagonally opposite from its original position g.
- Page 11 Adjusting the door hinge ^ Remove covers j. ^ Replace screws h again. ^ Take off upper retaining bracket k and replace it on the opposite side. ^ Clip covers i back on. Note the position of the notches on the hinges.
- Page 12 Adjusting the door hinge The second person must hold the door firmly. ^ Take off lower retaining bracket l and replace it on the opposite side. ^ Tighten the screws in upper hinge n. ^ Tighten the screws in lower hinge o. ^ The appliance can now be built ^ Refit door m.
-
Page 13: Undercounter Installation
Under-counter installation Preparing the appliance Two people are required to install the appliance. The air filter prevents soiling of the compressor compartment to ensure ^ The appliance must be installed in a efficient functioning of the stable and correctly aligned niche on appliance. - Page 14 Under-counter installation ^ Position the appliance in front of the niche. ^ Screw adjusting feet b to 3/16" (4 mm) less than the height of the niche. The adjusting feet can be adjusted with the wrench supplied c or with a socket wrench d.
- Page 15 Under-counter installation ^ Check the alignment of adjacent furniture housing doors. If adjacent doors vary in height from the wine conditioning unit, see "Aligning the appliance to taller furniture doors". If adjacent furniture doors are the same height as the appliance: Align the appliance horizontally and ^ Open the door by pushing on the vertically.
-
Page 16: Aligning The Appliance To Taller Furniture Doors
A bracket c is required to secure the to out of the niche so that you can tilt filler panel, which is available from it towards you. Miele or from your dealer. The filler panel can be fitted above or below the appliance as required. - Page 17 Under-counter installation ^ Loosely hand-screw the bracket with Pushing the appliance into the the filler panel to the appliance. niche ^ Align the filler panel to the door of the Make sure that the power cord does wine conditioning unit over the long not become trapped or damaged as slots to give a flush finish.
-
Page 18: Securing The Appliance In The Niche
Under-counter installation Securing the appliance in the niche ^ The appliance stands forward of the furniture doors evenly by 1/16" (2 mm). ^ Open the appliance door. ^ Screw the appliance at the bottom ^ Remove cover a and first screw the left and right to the adjacent furniture units. - Page 19 Under-counter installation ^ Close the door and check that the side edges of the door are aligned with the side walls of the appliance. Adjusting the lateral alignment of the appliance door If the appliance door is not aligned with the housing side walls, the appliance door can be adjusted using the screws underneath the hinges.
- Page 20 Under-counter installation ^ Secure the plinth facing g in ^ Replace door catch i to activate the position. emergency door opener. The cut-out in the plinth facing must be aligned centrally with the appliance. ^ Secure plinth ventilation grill h. As you do, so the foam block will be pushed back.
- Page 23 KWT 6322 UG en - US M.-Nr. 10 036 280 / 02...