
Related Manuals for Simplicity Freedom S10CV


Summary of Contents for Simplicity Freedom S10CV
- Page 1 (The chances are you’ r e never going to read me) Owner’s Manual Models S10CV www.SimplicityVac.com...
-
Page 3: Table Of Contents
Removing and Reinstalling the Battery Removing and Reinstalling the Bottom Plate Replacing the Vacuum Belt Replacing the Squeegee Annual Checkup Problem Solving Guide Troubleshooting Visit Simplicity Vacuums Online How to Contact Your Authorized Retailer Key Replacement Parts For Best Performance Warranty... -
Page 4: Important Safety Instructions
• Keep hair, loose clothing, fingers and all parts of the body away from openings and moving parts. • Batteries must be disposed of responsibly. Contact your Authorized Simplicity Retailer for • Do not pick up anything that is burning or information on battery disposal. -
Page 5: Polarization Instructions
PolARIzAtIon InstRUCtIons Power Cord, 2-Wire Polarized Cord To reduce the risk of electric shock, the charger is equipped with a polarized alternating current line plug (a plug having one blade wider than the other). This plug will fit into the power outlet only one way. -
Page 6: Description Of The Vacuum
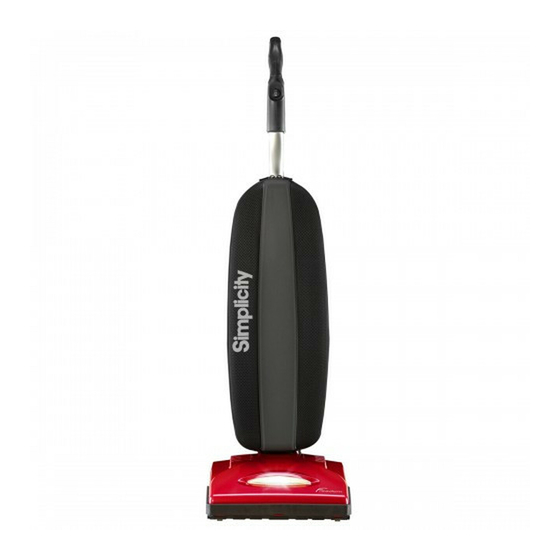
DesCRIPtIon oF tHe VACUUM Ergonomic Handle On/Off Power Switch Bag Compartment Vacuum Nozzle Headlight Furniture Guard Handle Release Pedal Battery Pack Charge Point Battery Life Display Carry Handle Charger MATERIAL SEE NOTES DRAWN ISSUED SCALE... -
Page 7: Assembling The Vacuum
AsseMblInG tHe VACUUM Attaching the Handle to the Vacuum NOTE: Do not turn on the vacuum until it is completely assembled. The vacuum cleaner and the handle are packed separately and require assembly. • Remove the handle bracket by removing the two screws (Fig. -
Page 8: Operation
oPeRAtIon This vacuum is intended for household use only. Battery Charging • The battery is located on the back of the vacuum. • Plug the AC cable into the charger and into a wall socket (Fig. 1). Fig. 1 • Plug the charger DC cable into the Charge Point on the battery. -
Page 9: On/Off Switch
oPeRAtIon On/Off Switch • Turn the switch On to use the vacuum. If the vacuum doesn’t turn on, check that the battery is charged (see page 6). • Always unplug the charger from the Charge Point before use. Edge Cleaning The edge cleaning feature provides improved cleaning near walls and stationary furniture. -
Page 10: Bare Floor Cleaning
oPeRAtIon Bare Floor Cleaning Your vacuum is equipped with a squeegee on the bottom of the vacuum to improve its effectiveness in cleaning bare floors (Fig. 1). Vacuuming Under Furniture MATERIAL DRAWN Your vacuum will lay flat on the floor for effective Fig. -
Page 11: Maintenance And Care
MAIntenAnCe AnD CARe Replacing the Vacuum Bag NOTE: Turn the vacuum off and unplug the charger from the Charge Point before changing the bag. • Unzip the bag compartment. • Remove the used vacuum bag by pulling the green bag collar tab away from the Fig. -
Page 12: Removing And Reinstalling The Battery
MAIntenAnCe AnD CARe Removing and Reinstalling the Battery NOTE: Turn the vacuum Off and unplug the charger from the Charge Point before removing the battery. • Remove the vacuum bag (see Replacing the Vacuum Bag, page 9). • Remove the bag mount screws, then remove the bag mount (Fig. -
Page 13: Removing And Reinstalling The Bottom Plate
MAIntenAnCe AnD CARe Removing and Reinstalling the Bottom Plate WARNING! To Reduce the Risk of Electrical Shock or Injury from Moving Parts, Turn the Vacuum Off and Unplug the Charger from the Charge Point Before Servicing or Cleaning the Vacuum. To Remove the Bottom Plate: •... -
Page 14: Replacing The Vacuum Belt
MAIntenAnCe AnD CARe Replacing the Vacuum Belt WARNING! To Reduce the Risk of Electrical Shock or Injury from Moving Parts, Turn the Vacuum Off and Unplug the Charger from the Charge Point Before Servicing or Cleaning the Vacuum. NOTE: To ensure maximum cleaning efficiency, the belt should be checked regularly to be sure it is in good condition. -
Page 15: Replacing The Squeegee
If you have MATERIAL DRAWN trouble installing the new squeegee, please ISSUED visit an Authorized Simplicity Retailer for help. SCALE 0.250 Annual Checkup To keep your vacuum in peak operating condition, it is recommended you bring it to an Authorized Simplicity Retailer for an annual checkup. -
Page 16: Problem Solving Guide
Review bag installation (page 9) Any other service should be performed by an Authorized Simplicity Vacuum Retailer. To locate your nearest Authorized Retailer, visit our website at www.SimplicityVac.com or call 888-9-SIMPLY. Key Replacement Parts • Genuine HEPA Media Vacuum Bags: SLH-6 •... -
Page 17: Warranty
WARRAntY What is Covered: This warranty covers any defects in material and workmanship in your new Simplicity vacuum and applies exclusively to the original purchaser. How Long Coverage Lasts: Warranty coverage for S10CV lasts four years EXCEPT for the battery which has a warranty that lasts two years. - Page 18 oWneR’s WARRAntY InFoRMAtIon keep this for your records… Date of purchase Serial number Model number Purchased from: Store name Address City, State, Zip Telephone...
- Page 20 www.SimplicityVac.com ©2015 Tacony Corporation B503-3200 9.15...