Advertisement
Advertisement
Table of Contents

Related Manuals for Keurig KOLD


Summary of Contents for Keurig KOLD
- Page 1 start here...
-
Page 3: Table Of Contents
4 display panel 5 setup 6 prime & rinse make a drink 8 party mode 10 KOLD pods 11 ™ cleaning 12 get more from KEURIG KOLD ® ™ troubleshooting 14... -
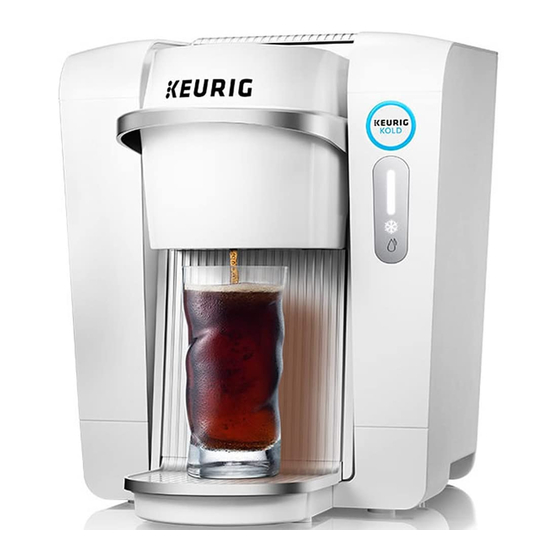
Page 4: Introducing, Your Drinkmaker
introducing, your drinkmaker A. Water reservoir cover B. Water reservoir C. Mixer drawer D. Drip tray cover E. Drip tray F. Power cord G. Display panel H. Top cover I. Front cover J. Pod holder insert K. Handle For full drinkmaker safety information, refer to Important Safeguards insert. -
Page 5: Display Panel
B. KOLD™ chiller gauge The KOLD™ chiller gauge tells you how much cold beverage capacity is in the KOLD™ chiller. C. Snowflake The snowflake will stay lit when the drinkmaker can make a beverage and blink when it still needs to chill. -
Page 6: Setup
setup 2" 1. Plug in drinkmaker. Since there’s no on-off button, keep your drinkmaker plugged in at all times (it will use about the same amount of energy as a mini-fridge). 2. Allow 2 hours to chill. During initial chill, the fan noise will be loud, but will minimize once complete and during normal operation. -
Page 7: Prime & Rinse
2. Insert the Prime & care pod. The KOLD™ button will blink purple. 3. Place glass on drip tray. Press KOLD™ button to start cycle. In about a minute, 8 oz. of rinse water will be dispensed. Dispose of liquid. -
Page 8: Make A Drink
1. Select a KOLD™ pod and Is your drinkmaker ready? remove freshness seal from the bottom. Insert pod into the drinkmaker. IMPORTANT: If you do not remove the freshness seal, beverage will not properly dispense and pod will be wasted. - Page 9 2. When the KOLD™ button blinks 3. Remove KOLD™ pod after blue, press the KOLD™ button to beverage is dispensed. begin making your beverage. NOTE: Sparkling KOLD™ pods will be warm to the touch. Visit Keurig.com/KOLD for more information and instructional videos.
-
Page 10: Party Mode
After initial chilling, the drinkmaker is ready to make 6 beverages. If you’re entertaining or notice your KOLD™ chiller gauge is low, you can keep the good times going by using Party Mode. Simply add ice to Water reservoir, then add water, and you’ll... -
Page 11: Kold ™ Pods
All pods are single use. sodas sports drinks seltzers flavored waters • DO NOT eat or handle Karbonator™ beads. craft sodas tonics • For full Karbonator™ bead safety information, mixers refer to Important Safeguards insert. Visit Keurig.com/KOLD for more information and instructional videos. -
Page 12: Cleaning
cleaning clean your drinkmaker weekly to keep it running smoothly. Top rack dishwasher safe Water reservoir cover • Drip tray cover • Drip tray • Mixer drawer • Front cover • Hand wash only Water reservoir • Pod holder insert •... - Page 13 Mixer drawer; replace the bottom of the Front cover. To replace, line up notches after cleaning. by pushing in. Wiggle slightly to remove. and push down lightly. Visit Keurig.com/KOLD for more information and instructional videos.
-
Page 14: Kold
Ensure your beverages Visit Keurig.com/KOLD Visit Keurig.com/KOLD inserting a KOLD™ pod. taste their best. to learn more for drinkmaker accessories, The KOLD™ button will blink Visit Keurig.com/KOLD about cleansing. including pod storage blue. Push to dispense to learn more. and glassware. -
Page 15: Troubleshooting
Check that the handle is fully closed. be carbonated or flavored. Try again with a fresh pod. If the problem persists, I inserted a pod and the KOLD™ button is blinking red. please call Customer Care. Be sure the Mixer drawer is pushed in fully. - Page 16 Get a special offer when you register your drinkmaker online! You’ll need the serial number located underneath the top cover of the drinkmaker...