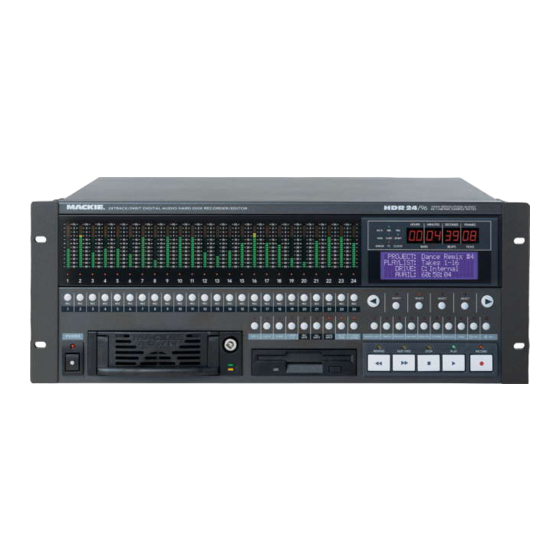
Mackie HDR 24/96 Service Manual
Hard disk recorder
Hide thumbs
Also See for HDR 24/96:
- Technical reference (110 pages) ,
- Operation manual (72 pages) ,
- User manual (16 pages)

Related Manuals for Mackie HDR 24/96


Summary of Contents for Mackie HDR 24/96
- Page 1 Service Bulletins HDR 24/96 Hard Disk Recorder SERVICE MANUAL 2001 MACKIE DESIGNS, INC.
-
Page 2: Safety
SERVICE ON THIS EQUIPMENT IS TO BE PERFORMED BY EXPERIENCED REPAIR TECHNICIANS ONLY... - Page 3 Service on the HDR 24/96 must only be undertaken by experienced service technicians. ! SMD ! ! ESD ! The HDR 24/96 makes extensive use of The HDR 24/96 contains surface mount components. components that may be damaged Servicing technicians should have the by elecrostatic discharge.
-
Page 4: Table Of Contents
CONTENTS Safety ................2, 3 Click on any Introduction ..............5 item to go to Ribbon Cables ..............6 that page Connectors ................ 8 Acuma board notes ............20 Small Remote Self-Test ........... 21 BIOS Settings ..............22 Motherboard layout ............25 Quick Parts .............. -
Page 5: Introduction
Mackie Designs Inc. GETTING STARTED Think of the HDR 24/96 as a standard PC with extra Mackie boards inside. Standard PC troubleshooting techniques and commercially available diagnostic DOS software can be applied to repair the HDR 24/96. -
Page 6: Ribbon Cables
Ribbon Cables Part# Description 040-383-00 RIB 28GA 10C 14.0 PLZD 040-384-00 RIB 28GA 26C 4IN PLZD 040-385-00 RIB 28G TRANS 34C 18.5IN 040-386-00 RIB 28G 26C .100 14.50IN 040-387-00 RIB 28GA 14C 16.0 PLZD 040-390-00 RIB 28GA 10C 7.00 PLZD 040-393-00 CBL ASY 22G 4C/6P 9.0IN 040-438-00... -
Page 8: Connectors
J2 ..4 ..Post Stamp ..J2 Backplane ..... DC Power ..............16 J3 ..34 ..Acuma board ..J3 Backplane ..... Mackie Bus Output ....040-385-00 ... 17 J4 ..26 ..Acuma board ..J4 Backplane ..... Mackie Bus Input ..... 040-386-00 ... 17 J5 .. - Page 9 Front Panel Connector This connects to J2 of the Brain board, see page 13...
- Page 10 BackPlane Connectors This connects to J1 of the Brain board, Power from J2 of poststamp see page 13 board, see page 16 This connects to J4 of the Acuma board, see page 17 This connects to J3 of the Acuma board, see page 17...
- Page 11 BackPlane Connectors...
- Page 12 Brain Board Connectors This connects to J5 of the remote board, see page 15 This connects to This connects power supply to the VFD...
- Page 13 Brain Board Connectors This connects to J2 of the front panel board, see page 9 This connects to J1 of the backplane board, see page 10...
- Page 14 Remote Board Connectors This connects to Serial 2 of the motherboard This connects to Serial 1 of the motherboard...
- Page 15 Remote Board Connectors J5 connects to J5 of the brain board, see page 12 J6 connects to the Mouseport of the motherboard...
- Page 16 Post Stamp Board Connectors This connects to power supply This connects to J2 of the backplane board, see page 10...
- Page 17 Acuma Board Connectors This connects to J3 of the Backplane, see page 10 This connects to J4 of the Motherboard, see page 10...
- Page 18 Acuma Board Connectors SMPTE (TRS 1/4”) CLK IN (BNC) CLK OUT (BNC)
- Page 19 Acuma Board Connectors PCI connector...
-
Page 20: Acuma Board Notes
Acuma Board notes The Acuma board is used to transfer audio from the converter card cage to the PC via the PCI bus. It is also where the SMPTE and Word Clock connection comes into the PC. Physically, it is a card which fits into the PCI bus of the PC, and connects via 2 ribbon cables to the card cage. -
Page 21: Small Remote Self-Test
The footswitch controls the (minutes) LED HDR24/96 Troubleshooting Tips The following tips come from one of our fearless Mackie service technician heroes. These tips were given of his own free will, in order to help out fellow service techs wherever they may be. -
Page 22: Bios Settings
BIOS Settings: Standard CMOS Setup: Date (mm:dd:yy) : Current Date Time (hh:mm:ss) : Current Time Hard Disks: Type: Size: Cyls: Head: Precomp: Landz: Sector: Mode: PrimaryMaster Auto Auto Primary Slave None 0 ——— Sec Master Auto Auto Sec Slave None 0 ———... - Page 23 Chipset Features Setup: SDRAM RAS-to-CAS Delay SDRAM RAS Precharge Time SDRAM CAS Latency Time SDRAM Precharge Control : Disabled DRAM Data Integrity Mode : Non-ECC System BIOS Cacheable : Disabled Video BIOS Cacheable : Disabled Video RAM Cacheable : Disabled 8 Bit I/O Recovery Time 16 Bit I/O Recovery Time Memory Hole At 15M-16M...
- Page 24 PCI/PNP Configuration: Resources Controlled By : Manual Reset Configuration Data : Disabled Assign IRQ for VGA : Disabled Assign IRQ for USB : Disabled PCI Slot 1 Use IRQ : Auto PCI Slot 2 Use IRQ : Auto PCI Slot 3 Use IRQ : Auto PCI Slot 4 Use IRQ : Auto...
-
Page 25: Motherboard Layout
Motherboard layout PS/2 PS/2 COM2 MOUSE AT K/B COM1 CHIP PLATX1:ATX POWER PRINTER PLAT1:AT POWER SW 1 LINK PIN 1 82371EB INTEL (PIIX4) 443BX WAKE-ON BIOS DIMM 3 DIMM 2 DIMM 1 CLEAR CMOS SECONDARY IDE PRIMARY IDE BATTERY SPEAKER G-SW G-LED ATX-LED CHASSIS FAN ATX-SW... -
Page 26: Quick Parts
Quick Parts 550-318-00 Screened Front Panel 550-314-00 Top Cover 551-087-00 Rack ears 780-047-00 Lexan Meter Window 480-041-00 Drive Frame 480-029-00 Floppy Drive 760-175-02 Transport Button Bezel 760-159-01 Power Switch Bezel 750-001-0 Bumpon Feet 055-178-00-01 Front Panel PCB assembly 640-001-00 LineCord 120VAC 080-180-00 VFD Subassembly 304-025-00 LED Array (1 for each channel) 760-168-00 Small Round Buttons... - Page 27 304-081-02 LED Red, Error, TC, Clock 304-082-02 LED Green, 6-Bit, 24-Bit, 44.1K, 48K, 96K, VARI 304-081-02 LED RED Channel LEDs (x24) 304-035-00 7 Segment Display 304-001-00 LED Red, Record 304-093-02 LED Red, Tower 304-003-00 LED Yellow, FF, Stop, RW 304-004-00 LED Green, Play 304-001-00 LED Red, Power 080-247-00 SA POWER SUPPLY...
-
Page 28: Parts
HDR 24/96 EPROM Replacement Models affected: If you are working on an HDR 24/96 hard disk recorder before serial number CD11218, please update the EPROM to Revision 1.2 or higher. Changing the EPROM may be one fix for the "system error 43" message. - Page 29 THE MACKIE FIXER • MACKIE DESIGNS SERVICE NEWS Procedure continued: Remove the four side screws and two bottom screws securing the internal hard drive assembly to the chassis. This gives a little bit more access to the Brain board, remove from the...
- Page 30 Note: Not all models are affected. If you receive an HDR 24/96 for repair, it is recommended that you nibble the front panel. If it tastes good and chocolaty, then follow the repair procedure outlined below. If it tastes metallic and you break a few teeth in the process, there may be another cause.