Table of Contents
Advertisement
Advertisement
Table of Contents

Related Manuals for Audiolab 8300A


Summary of Contents for Audiolab 8300A
- Page 1 8300A User Instructions...
-
Page 2: Important Safety Information
Read these instructions. Mains Supply: The mains operating voltage of Audiolab not operate normally, or has been dropped. Keep these instructions. -
Page 3: Getting Started
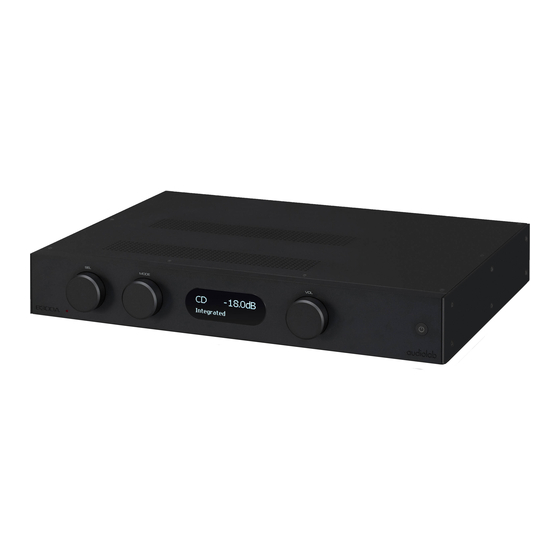
Welcome to Audiolab 8300 Series. Unpacking 8300A is the latest in a long line of Audiolab integrated amplifiers with a pedigree that stretches back to Unpack the product fully. The carton should contain: the very first 8000A that made Audiolab an overnight sensation. -
Page 4: Controls And Connectors
3: Controls and Connectors SOURCE SELECTOR Page 3... -
Page 5: Remote Handset
NOTE : the handset buttons shown crossed out are for use with other Audiolab units like 4: Remote Handset Audiolab 8300CD and are not operational when used with the 8300A Fitting Batteries 1 STANDBY Press to bring the unit in/out of standby... -
Page 6: Signal Input
8300CD’s or any other source’s trigger output. 8300A can also provide a trigger signal Balanced connections provide greater dynamic range and lower to another 8300A’s or any other amplifier’s trigger input. If you have an 8300 system, we noise. If your source unit has balanced outputs please connect them advise connecting the triggers. -
Page 7: Operation
If the volume is set to higher than to bring 8300A out of standby, the power indicator LED becomes brighter and the -20dB, the default volume will be -20dB when the amplifier is next display shows the welcome screen. -
Page 8: Operating Modes
The pre-amplifier section is internally connected to the power amplifier. Pre-Amp outputs are not operational. 8300A acts as an integrated amplifier, has amplifier All signals to and from the power amplifier of the 8300A are disconnected. In this mode, the output, can drive speakers directly. -
Page 9: The Menu Tree
The menu enables you to customize the unit and optimize the interface with other equipment in your system. 8300A has 9 different menu pages. Pressing the MODE knob on the front panel can also enter the menu mode, rotating this knob turns through the menu pages, press the MODE knob again to enter any menu page and rotate the knob to change the setting, press the MODE knob again to select a setting. -
Page 10: Warranty
8: Warranty Audiolab Ltd. warrants this product, subject to the terms and conditions below, to be free from defects Repairs or replacements as provided under this warranty are the exclusive remedy of the consumer. in materials and workmanship. During the warranty period Audiolab will repair or replace (at Audiolab’... -
Page 11: Specifications
9: Specifications Measurement made with 230V power supply Pre-amplifier Section Gain 0dB (Volume=0dB, Line/XLR) +48dB (Phone MM, Volume=0dB) +68dB (Phono MC,Volume=0dB) Input Sensitivity 865mV (Line, Volume = 0dB) 1.7V (XLR, Volume = 0dB) 3.3mV (Phone MM, Volume=0dB) 330uV (Phono MC,Volume=0dB) Input Impedance 50K (Line) 10K (XLR) - Page 12 Audio lab IAG House, 13/14 Glebe Road, Huntingdon, Cambridgeshire, PE29 7DL, Tel: +44(0)1480 452561 Fax: +44(0)1480 413403 http://www.audiolab.co.uk CODE: AH14-MNL0004a...