Toshiba RAS-10SKVP2 Series Installation Manual
Hide thumbs
Also See for RAS-10SKVP2 Series:
- Owner's manual (3 pages) ,
- Owner's manual (6 pages) ,
- Owner's manual (8 pages)
Advertisement
Advertisement
Table of Contents

Related Manuals for Toshiba RAS-10SKVP2 Series


Summary of Contents for Toshiba RAS-10SKVP2 Series
-
Page 1: Installation Manual
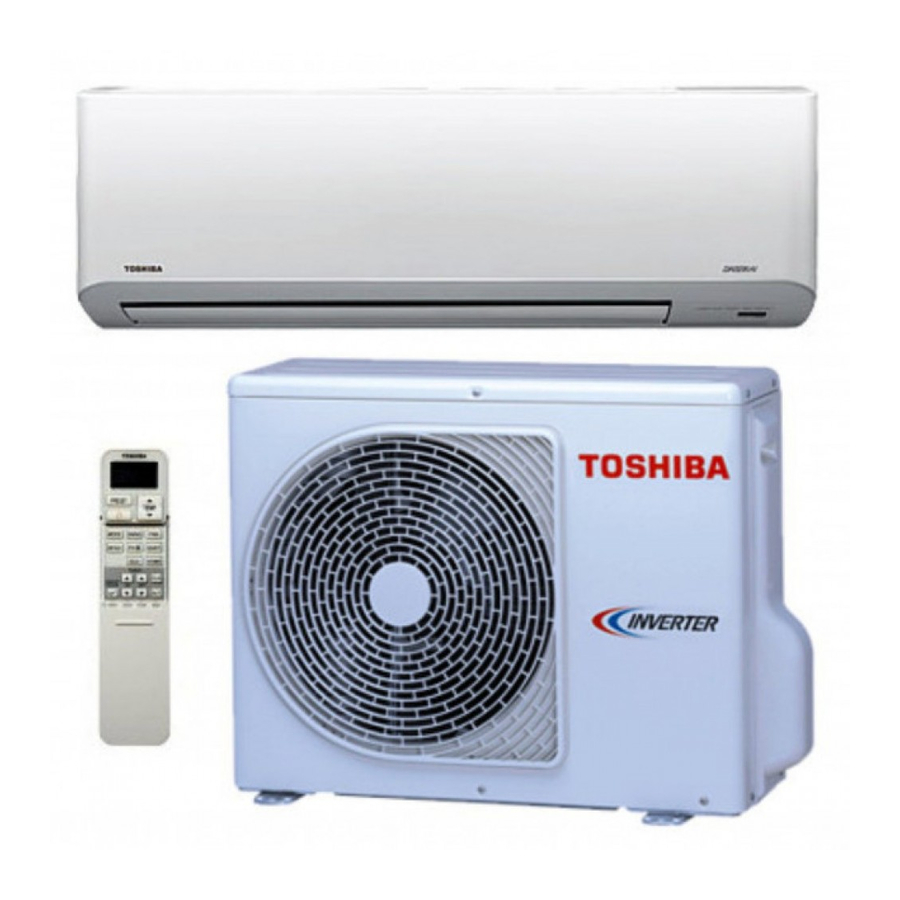
INSTALLATION MANUAL ENGLISH AIR CONDITIONER (SPLIT TYPE) PУCСКИЙ TÜRKÇE Indoor unit RAS-10, 13, 16SKVP2 Series RAS-25, 35, 45SKVP2 Series Outdoor unit RAS-10, 13, 16SAVP2 Series RAS-25, 35, 45SAVP2 Series 1110251240 Cover 1110251240.indd 1 Cover 1110251240.indd 1 4/5/11 5:19:47 PM 4/5/11 5:19:47 PM... -
Page 2: Table Of Contents
CONTENTS PRECAUTIONS FOR SAFETY ..................................1 INSTALLATION DIAGRAM OF INDOOR AND OUTDOOR UNITS ......................2 Optional Installation Parts ..................................2 INDOOR UNIT ........................................ 3 Installation Place ....................................... 3 Cutting a Hole and Mounting Installation Plate ............................3 Electrical Work ......................................3 Wiring Connection ..................................... -
Page 3: Precautions For Safety
• Appliance shall be installed in accordance with national wiring regulations. If you detect any damage, do not install the unit. Contact your TOSHIBA dealer immediately. • Do not use any refrigerant different from the one specifi ed for complement or replacement. -
Page 4: Installation Diagram Of Indoor And Outdoor Units
INSTALLATION DIAGRAM OF INDOOR AND OUTDOOR UNITS INSTALLATION DIAGRAM OF INDOOR AND OUTDOOR UNITS For the rear left and left piping Hook Installation plate Wall Insert the cushion between the indoor unit and wall, and tilt the indoor unit for better operation. -
Page 5: Installation Place
INDOOR UNIT INDOOR UNIT When the installation plate is directly mounted Installation Place on the wall • A place which provides the spaces around the indoor unit as shown in the 1. Securely fi t the installation plate onto the wall by screwing it in the upper and diagram lower parts to hook up the indoor unit. -
Page 6: Wiring Connection
1. Die-cutting front panel slit Wiring Connection Cut out the slit on the leftward or right side of the front panel for the left or right connection and the slit on the bottom left or right side of the front panel for the bottom left or right connection with a pair of nippers. -
Page 7: Indoor Unit Fixing
NOTE Drainage If the pipe is bent incorrectly, the indoor unit may unstably be set on the wall. After passing the connecting pipe through the pipe hole, connect the 1. Run the drain hose sloped downwards. connecting pipes to the auxiliary pipes and wrap the facing tape around them. -
Page 8: Refrigerant Piping Connection
Refrigerant Piping Connection Evacuating After the piping has been connected to the indoor unit, you can perform the Flaring air purge together at once. 1. Cut the pipe with a pipe cutter. AIR PURGE Evacuate the air in the connecting pipes and in the indoor unit using a vacuum pump. -
Page 9: Wiring Connection
10, 13, 16SKVP2 Series, Wiring Connection Model 25, 35, 45SKVP2 Series Power source 50Hz, 220 – 240 V Single phase Maximum running current 1. Remove the valve cover from the outdoor unit. Plug socket & fuse rating 2. Connect the connecting cable to the terminals as identifi ed with their Power cord H07RN-F or 245 IEC66 (1.5 mm or more) - Page 10 Cover back 1110251240.indd 1 Cover back 1110251240.indd 1 4/5/11 5:19:32 PM 4/5/11 5:19:32 PM...