
Related Manuals for Whirlpool WRIBT41WB


Summary of Contents for Whirlpool WRIBT41WB
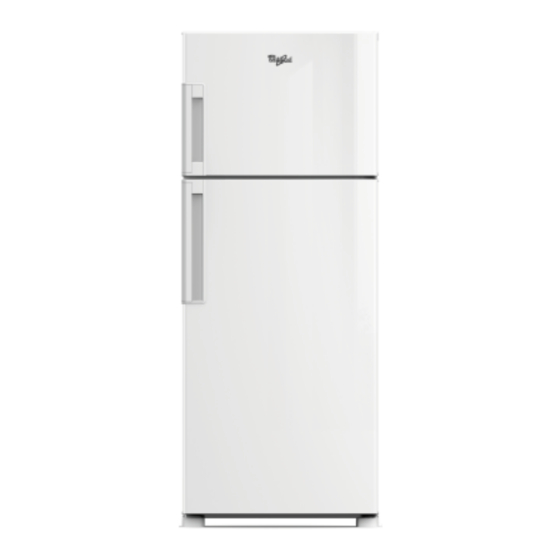
- Page 1 Whirlpool of India Ltd. Whirlpool of India Ltd. Sep-12 Service Manual Service Manual Service Manual WRIBT41WB WRIBP41WC WRIBP41MC WRIBP45WC Top Mount No Frost Refrigerator No Frost Refrigerator No Frost Refrigerator...
- Page 2 INDEX Sno. Detail Page No. Model Range Safety Precuations Feature /Technical specification Controls & Electronic configuration Wiring Diagram Assembly/Dissembly Controlling the refrigerator temperature Error indications & Trigger Exploded Views 10.0 Part List...
-
Page 3: Model Range
NO FROST REFRIGERATOR: MODEL RANGE 410L Dlx Better White – WRIBT41WB 410L Dlx Best White – WRIBP41WC 410L Dlx Best Suslite – WRIBP41MC 445L Dlx Best White – WRIBP45WC... - Page 6 TECHNICAL /FEATURE SPECIFICATION MODEL 410 L Dlx 445 L Dlx Type Frost Free Frost Free Capacities (L) total net 410L 445 L Product Dimensions (mm) Width Height 1658 1775 Depth Gross Weight (kg) Voltage / Hz 220/50Hz 220-240V/50-60Hz Compressor ADW66AK EMY65HLC Oil Capacity ISO 22 (220 ml)
-
Page 7: Controls & Electronic Configuration
CONTROLS & ELECTRONICS CONFIGURATION Product Configuration No frost Dlx Product Control RC Controlled Software BEE/Pot based Professional User interface Auto cool mode Ice accelerator Auto Power save mode Door Alarm Power supply for illumination RC Illumination (6 LED) FC Illumination (2 LED) Control Board Yes(Hercules) Defrost heater... -
Page 8: Wiring Diagram
Top Mount: Deluxe models: This refrigerator is managed by an Electronic System, mainly consisting of the components: Electronic Control Board (Hercules- Dlx (BEE)) • POT (Potentiometer) in case of Dlx (BEE) models only. • Temperature Sensors {refrigerator, Defrost} • Compressor ( With Run capacitor) •... - Page 9 Wiring Diagram : Top Mount – No Frost Dlx Refrigerant Charging quantity:...
- Page 11 Identification of connectors: Connector 3 Connector 2 Connector 1 CN1 (Connector 1)(6 pin MLX) – Compressor, Heater and Power Cord CN2 (Connector 2)(8 pin minifit) – Temperature Sensors/POT CN3 (Connector 3)(6 pin minifit) – RC/FC LED WARNING Electrostatic Discharge Risk Do not touch the Circuit components, because you can damage fuse/burned or weaken the board.
- Page 12 Assembly &Disassembly Procedure Disassembly Procedure: A) Core Board Box 1. Disconnect the Power cord from the Mains supply. 2. Remove the Mounting Screws and connectors. Mounting screws IMPORTANT # Be careful when using the Multimeter measuring probes, as they may damage the Connector terminals.
- Page 13 1. Defrost Sensor mounted on the Evaporator tube. 2. Removing the Defrost Sensor Defrost Temperature Sensor – NTC It’s located at the freezer compartment, along with the Evaporator. The Defrost Sensor is responsible for sending signals to the electronic control, which will command the ending of the defrost, turning off the Defrost Heater, This does a similar function to the well-known Defrost Bimetal IMPORTANT...
- Page 14 Cooling control: Dlx models:- Adaptive Defrost Control The defrost cycle shall be started after the Defrost timer has expired. According to the following defrost procedure: Defrost must be executed every time one of the following event occurs: 1. After 8 hours (+/-10 minutes) of compressor running, calculated considering just the thermostat function. 2.
- Page 15 Safe mode routine During Constant fault condition, the Electronic Control will assume a safety routine, as in normal cycle, trying to keep food conservation, however will work as follows: • Compressor and Fan Motors will be on for 25 minutes and then will turn off for 20 minutes. •...
- Page 16 Board Level Diagnostics for : Thermistor Failure FC/RC Potentiometer Failure First Turn Off the Product & disconnect the Plug. Remove the 3 connectors of Control Board. For Thermistor Failure FC/RC Check resistance on pin no. 4 & 8 of CN2 (8 pin connector) for RC Thermistor. Check resistance on pin no.
-
Page 17: Exploded Views
EXPLODED VIEWS:... - Page 27 NOTE –To replace EMY65HLC Compressor in place of EGZ80HLC use reverse port suction compliment . Spare part No. - 137, Whirlpool Part No.A2294830000...
-
Page 28: Part List
Part No: - A2241780000 INTEGRATED DEFROST HEATER,KENMORE-ONYX PART LIST FOR ONYX-AUSTRALIA... - Page 29 SERVICABLE PART-NEO-AUSTRALIA WOIL PART DESCRIPTION COMMODITY Model NUMBER 410L 410L 410L 445L WRIBT41WB WRIBP41WC WRIBP41MC WRIBP45WC A201354000D PHILIPS HEAD SCREW M5.5X1.8 SCREW 8 EA 8 EA 8 EA 8 EA A2245960000 Spacer Sub Assy - Onyx PLASTIC 1 EA 1 EA...
- Page 30 A224099000A RC PCB LENS ASSY - ONYX ELECTRONICS 1 EA 1 EA 1 EA 1 EA A224104000A FC PCB LENS ASSY - ONYX ELECTRONICS 1 EA 1 EA 1 EA 1 EA W10479944 COVER AIR DIFFUSER DLX GRAPHICS- NEO PLASTIC 1 EA 1 EA 1 EA...