
Related Manuals for Bosch Prosound LC2-PC60G6-12


Summary of Contents for Bosch Prosound LC2-PC60G6-12
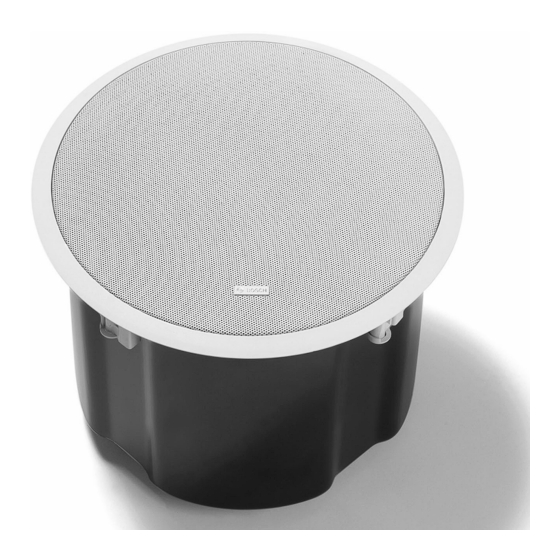
- Page 1 Bosch Prosound 12" Ceiling Speaker Installation and User Instructions LC2-PC60G6-12...
-
Page 2: Table Of Contents
Suspending any object is potentially dangerous and should only be attempted by individu- als who have a thorough knowledge of the techniques and regulations of rigging objects overhead. Bosch strongly recommends that all speakers be suspended taking into account all current national, federal, state and local regulations. It is the responsibility of the installer to ensure that all speakers are safely installed in accordance with all such regulations. -
Page 3: Packing List
Packing List Figure Quantity Part Speaker System Grille Owner's Manual Ceiling Cutout Template Paint Shield Tile Rails C-Ring Support Support Ring Screws F ( x2) Figure 1: Bosch LC2-PC60G6-12 Packing List Bosch Security Systems | 2008-05... -
Page 4: Bosch Lc2-Pc60G6-12 Models
Bosch LC2-PC60G6-12 Models Model Description LC2-PC60G6-12 Prosound 60W12'' Ceiling Speaker Product Feature Identification Pendant Steel Mount Backcan Tabs (x3) Mounting Tab Selector Screws (x4) Figure 2: Bottom of Speaker 3/8” Threaded Ceramic Connector Rigging Point Grille Safety Tether Grille Rotating Mounting... -
Page 5: Open Ceiling Installation
Open Ceiling Installation The Bosch LC2-PC60G6-12 must be suspended from the back of the can in both open ceiling and ceiling tile applications, using either the 3 pendant mount tabs or the 3/8” threaded rigging point. To prevent rattles, rotate the 4 mounting tabs towards the can, then tighten the mounting tab screws. -
Page 6: Ceiling Tile Installation
OVER the T-channel grid on the side of the tile. Secure the rails onto the C-ring tabs by inserting a screw though each tab into the rail, as shown in Figure 6. Figure 6: Secure Rails to C-Ring Bosch Security Systems | 2008-05... -
Page 7: Step 3 - Attach Wiring To The Ceramic Connector
Installation Note: Ceiling Tile Caution When mounting the LC2-PC60G6-12 into 2'x2' or 2'x4' suspended ceiling tiles or sheetrock ceilings, DO NOT install the LC2-PC60G6-12 without using either the 3/8” threaded rod rigging point or the pendant mounts. Ceiling tiles are not designed to support any substantial weight and will cause the tile to sag and distort, even with the tile bridge installed. -
Page 8: Step 4 - Mount The Speaker Into The Ceiling
Installation Note: Mounting Tabs For each attachment screw, first turn one half turn counterclockwise to release the counting tab from its guide. Figure 8: Mount Speaker into Figure 9: Tighten Mounting Tabs Ceiling Bosch Security Systems | 2008-05... -
Page 9: Step 6 - Adjust Tap Selector
Figure 10: Adjust Tap Selector Step 6: Attach the Grille (Figure 11) Installation Note: Grille Safety Feature Bosch grilles features a unique safety tether to prevent the grille from falling if the grille is removed or comes loose after installation. -
Page 10: Appendix A - Painting The Speaker
If the speaker is installed in an area where the interior design requires a color match, the Bosch LC2-PC60G6-12 is simple to paint. The speaker can accommodate almost any type of latex or oil based paint. The bezel/rim can be painted before installation or after mounting into the ceiling. -
Page 11: Appendix B - Specifications
Bosch Security Systems | 2008-05... - Page 12 Notes Bosch Security Systems | 2008-05...
-
Page 13: Notes
Notes Bosch Security Systems | 2008-05... - Page 14 For more information visit www.boschsecuritysystems.com © Bosch Security Systems B.V. Data subject to change without notice 2008-05 | en...