
Related Manuals for Bosch LC2-PC30G6-4


Summary of Contents for Bosch LC2-PC30G6-4
- Page 1 Bosch Prosound Ceiling Speakers Installation and User Instructions LC2-PC30G6-4 LC2-PC30G6-8 LC2-PC30G6-8L LC2-PC60G6-8H LC2-PC60G6-10...
-
Page 2: Table Of Contents
Step 7 — Attach the Grille....7 Appendix A — Painting the Speaker... 8 Appendix B — Product Specifications ..10 Bosch Security Systems | 2008-05... -
Page 3: Welcome
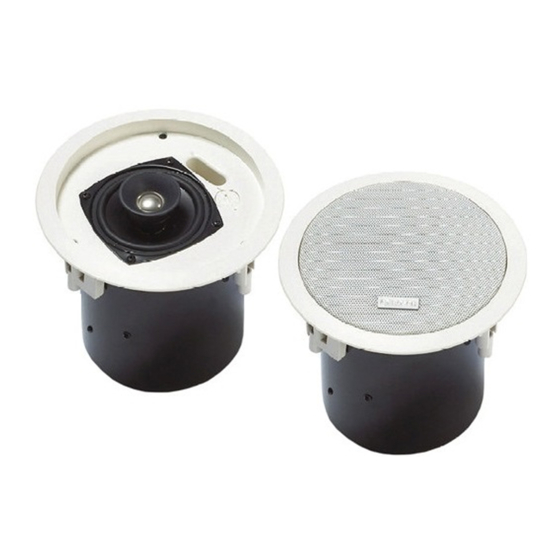
Four models comprise • Designed for use in voice alarm systems. by Bosch: the LC2-PC30G6-4 with a 4-inch LF driver and a .75-inch, titanium-coated tweeter with waveguide; the LC2-PC30G6-8 with an 8-inch LF driver and a 1-inch titanium-coated tweeter with waveguide;... -
Page 4: Model Summary
45Hz! It is one of the few quick-mount ceiling TRUE subwoofers available. Flexible installation and powerful low-end performance make it the ideal mate to any ceiling model. Bosch Security Systems | 2008-05... -
Page 5: Product Feature Identification
Product Feature Identification Bosch Ceiling Series Systems (sold in pairs) Model Description 4" coaxial speaker with horn-loaded, Ti-coated tweeter LC2-PC30G6-4 8" coaxial speaker with horn-loaded, Ti-coated tweeter LC2-PC30G6-8 Same as LC2-PC30G6-8 above except with low-profile backcan LC2-PC30G6-8L LC2-PC60G6-8H 8" waveguide-coupled coaxial speaker with horn-loaded, Ti-coated tweeter 10"... -
Page 6: Installation And Wiring
Figure 4: Cut ceiling hole Step 2: Install C-Ring and/or Tile Rails (Figure 5) All Bosch speakers come packaged with two types of backing hardware: a C-ring and two tile rails. For suspended ceiling installations, insert the C-ring through the hole cut in the ceiling tile. Place the C-ring around the hole with the tabs located as shown in Figure 5. -
Page 7: Step 3 - Attach Wiring To The Ceramic Connector
Each speaker comes with two tile rails which are with the LC2-PC30G6-4. In order to maximize the designed to fit either standard 24-inch-wide or 600- low frequency output when used with the LC2- mm-wide tiles. -
Page 8: Step 4 - Mount The Speaker Into The Ceiling
After the levels are speaker into ceiling adjusted the grilles can then be installed. Figure 12: Adjust tap selector (left: LC2-PC30G6-4/LC2-PC30G6-8/ Figure 10: Tighten mounting tabs LC2-PC30G6-8L; right: LC2-PC60G6-10/ LC2-PC60G6-8H) Bosch Security Systems | 2008-05... -
Page 9: Step 7 - Attach The Grille
Step 7: Attach the Grille (Figure 13) INSTALLATION NOTE: GRILLE SAFETY FEATURE Bosch grilles features a unique safety tether to pre- vent the grille from falling if the grille is removed or comes loose after installation. First, install the grille’s safety tether by pushing the grille fastener into the hole in the front of the baffle (see Figure 13). -
Page 10: Appendix A - Painting The Speaker
If you wish to paint the speaker along with the ceiling after installation, insert a plastic or cardboard paint shield into the front of the speaker to mask the drivers and internal baffle, paint the speaker, then remove the shield. Bosch Security Systems | 2008-05... - Page 11 Appendix B — Product Specifications Bosch Security Systems | 2008-05...
-
Page 12: Appendix B - Product Specifications
Appendix B — Product Specifications Bosch Security Systems | 2008-05... - Page 13 For more information visit www.boschsecuritysystems.com © Bosch Security Systems B.V. Data subject to change without notice 2008-05 | en...