Table of Contents
Advertisement
Quick Links
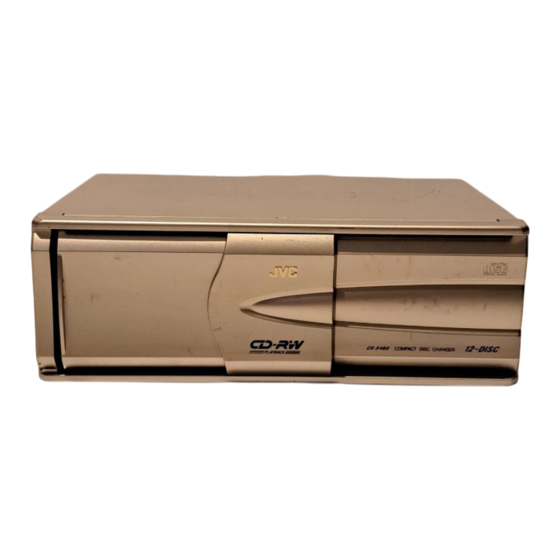
CH-X460
CD CHANGER
CD
CD
Instructions
LVT0847-001A
!"
[U]
ENGLISH
Thank you for purchasing this JVC product. Please read these
instructions carefully before starting operation to be sure to obtain
optimum performance and a longer service life from the unit.
IMPORTANT FOR LASER PRODUCTS
PRECAUTIONS
1. CLASS 1 LASER PRODUCT
2. CAUTION: Invisible laser radiation when open and interlock
failed or defeated. Avoid direct exposure to beam.
3. CAUTION: Do not open the top cover. There are no user
serviceable parts inside the unit, leave all servicing to qualified
service personnel.
4. CAUTION: The compact disc player uses invisible laser radiation
and is equipped with safety switches which prevent emission of
radiation when unloading the CD magazine and the safety
interlocks have failed or are defeated. It is dangerous to defeat
the safety switches.
5. CAUTION: Use of controls or adjustments or performance of
procedures other than those specified herein may result in
hazardous radiation exposure.
WARNING
• This unit is designed to operate with 12 V DC, NEGATIVE
ground electrical systems.
• When replacing the fuse, use one with the specified rating for
this unit. If the fuse blows frequently, consult your nearest JVC
car audio dealer.
PRECAUTIONS
• Car's Internal Temperature
Before listening to CDs after your car has been parked for some
time in low or high temperatures, wait until the temperature
inside the car stabilizes.
• Condensation
In the following cases, moisture may condense on the lens, a
critical part of the CD player, making the CD signal unreadable:
– When a heater has just been turned on.
– When the humidity is high.
In these cases, unload the CD magazine and wait for 1 or 2
hours.
• Volume Setting
– CDs produce very little noise compared with analog sources.
If the volume level is adjusted for these sources, the speakers
may be damaged by the sudden increase in the output level.
Therefore, lower the volume before operation and adjust it
as required during playback.
– Adjust the volume so that you can hear sounds outside
the car.
Mistracking
Mistracking may occur when driving on an extremely rough
road. The unit and compact disc will not be damaged by
mistracking, however, since it is offensive to the ear, stop
playback and restart when you reach a road that's in good
condition.
INSTALLATION
• Avoid installing the unit in the following places
– Where it would be exposed to direct sunlight or heat directly
from the heater or in an extremely hot place.
– Where it would be subject to rain, water splashes or excessive
humidity.
– Where it would be subject to dust.
– Where it would be positioned on an unstable place.
– Above connection cords or on the floor under which there is piping.
– Where it could damage the car's fittings (spare tire, etc.) in
or under the trunk.
• Before drilling holes in the trunk to install the unit, make sure
that there is a sufficient space under the trunk so that you do
not drill holes in the fuel tank, etc.
• Firmly install the unit using the provided screws.
!" JVC
!"#$
%&'()*+"#,-
!"#$%&'()*+,-./0123456789:
!"#$%&
!"#
1.
!"#$%&'()*+,-./0123456
2.
!"#$%&'()*+,-$%&'./0&"12
!"#$%&'("#)*+,-./0123$
3.
!"#$%&'()*+,-#$%./0$%
!"#$%&'() *+,-./012345
4.
!"#$%&'()*+,-./'01234567
!"#$%&'()*+,-./012&
!
"#$%&#'"#()*+,-./01
5.
!"#$%&'()*+,-.
!"#12
!"#$%&'()*+,-!./01
•
!"#$%&'()*+,-./&0123!"#45
•
!"#$%&'()' JVC
!"#$
•
!"#$%&'()*(+,-./012345&67
!"#$%&'()*+,-./0123
•
!
"#$%&'()*+,-.+
!"#$%&'()*+,-.
!"#$%
–
!"
–
!"#$%&'()*+,- .
!
•
!"#$%&'()*+,-./0
–
!"#$%&'()*+,-./01()23456
!"#
!"#$%&'()*+, -.!/%0123()
!
!"#$%&'()"*+,-
–
!"#$%&'()*$+,-./0123456
!"#$%&'()*+,-./0"123*45
!"#$%&'()
*%+,-+./012.
!"#$%
!"#$%&'()*'+
•
!"#$ %&'()*"#+,-./012
–
!"#$%&'()$*+,-.'()/
–
!"#$%&'()
–
!"#$%&
–
!"#$%&'()*+,-.#/
–
!"#$%&'()*+
–
!"#$%
!"#$%&'()*+,-./012"#$345
•
!"#$%&'()*+,+-.
!"#$%&'()*+,,-./01
•
1
CLASS 1 LASER PRODUCT
DC
NEGATIVE
!"#$%&'(
JVC
/0123
CD
CD
,-.
!"#$
1101MNMMDWJEIN
V
J
C
EN, CH, AR
JVC
CD
CDs
CD
CDs
•
•
•
•
•
•
•
•
Advertisement
Table of Contents

Summary of Contents for JVC CH-X460
- Page 1 • This unit is designed to operate with 12 V DC, NEGATIVE ground electrical systems. • When replacing the fuse, use one with the specified rating for this unit. If the fuse blows frequently, consult your nearest JVC car audio dealer. PRECAUTIONS •...
- Page 2 ( .d) !"# 45° !"#$%&'()*+,-./ • !"#$%&'()*+,-./012345%&2 • !"#$%&'()* 90 !"#$%&'()*+,-.&/01234567 • !"#$%&' – !"#$% – !"#$%&'()* CH-X460 COMPACT DISC CHANGER 12–DISC !"#$%&'()*+,-./ Trunk floor !" Fig. b Use these holes. !"# !" !"# !" Selector Trunk floor !" !"#$ ( .e)
-
Page 3: Location Of Controls
(or other equipment). * Are the units connected correctly? After checking, press and hold the 0 EJECT button for a few seconds to reset this unit. If the problem still persists, consult the JVC authorized dealer. Indication Meaning... -
Page 4: Electrical Connections
This unit is designed for 12 V DC, negative ground. If your vehicle does not have a 12 V negative ground electrical system, you need a voltage inverter which can be bought from a JVC car audio dealer. • Be sure to ground this unit to the car’s chassis. -
Page 5: Compact Discs
HANDLING MAGAZINES AND COMPACT DISCS How to handle the magazines • Care in handling the magazines – Do not carry the magazine with its inserting slot facing down so that the CDs do not drop. – Always keep the 12 disc trays loaded in the magazine. –... - Page 6 3. Put a straight stick like a screw driver into the hole. (Fig. h) * Do not put the stick at an angle, insert it straight. The compulsory eject hole and protective seal. !"#$%&' Should the problem still persist, consult the JVC authorized dealer. CD-R CD-RW !"#$%&'(...


Need help?
Do you have a question about the CH-X460 and is the answer not in the manual?
Questions and answers