Advertisement
Quick Links
1OPKFKTGEVKQPCN"$QWPFCT["/KETQRJQPG
33-3022
#
"+/2146#06"
If an icon appears at the end of a paragraph,
go to the box on that page with the
corresponding icon for pertinent information.
Rý
° ° ° °
— Warning
. . . .
±
— Caution
#
— Important
±
±
"016'"
Choosing a Location
• The microphone might pick up some sound
from the area behind its base (below the
plane of the mounting surface). However,
the sound quality is not as good as the
sound picked up from above and to its sides.
• If you must position the microphone on a
carpeted surface, place a 4 foot (1.2 meter)
square piece of plastic or wood on the carpet
first, then place the microphone on top of the
plastic or wood.
Connection
If your audio equipment's microphone jack is a
1
/
inch (6.35 mm) type, use a
4
1
mm) to
/
inch (6.35 mm) adapter plug
4
(available at your local RadioShack store).
.
"%#76+10"
Always turn off the microphone before you
connect it to, or disconnect it from, the audio
device.
.
"%#76+10"
• Use only fresh batteries of the required size
and recommended type.
• If you do not plan to use the microphone for 2
weeks or more, remove the battery. Batteries
can leak chemicals that can damage your
microphone's electronic parts.
R
"9#40+0)"
• Keep button-cell batteries away from
children. Swallowing a button-cell battery
can be fatal.
• Dispose of old batteries promptly and
properly. Do not burn or bury them.
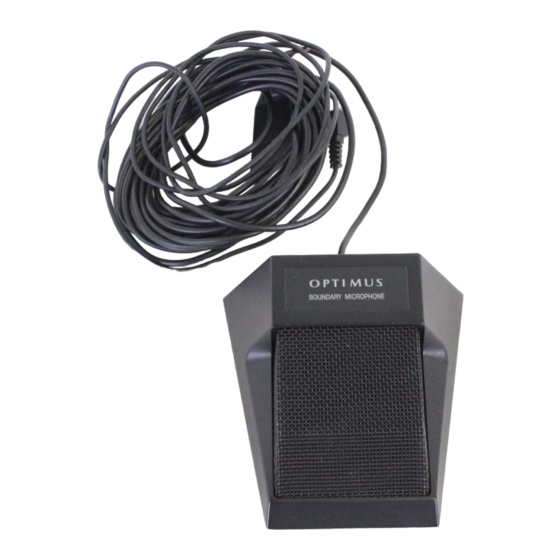
Thank you for purchasing
#
the RadioShack
Omnidirectional Boundary
Microphone. It is ideal in
situations where you want
— Hint
a microphone to be out of
— Note
the audience's sight, or
where a traditional
microphone might not be
practical, such as group
meetings/conferences,
stage productions, choral
ensembles, or concerts.
The microphone's sleek
design and rugged
construction let you easily
set it almost anywhere —
on the floor, on a table or
lectern. Its hemispherical pick-up pattern
and high sensitivity let you easily pick up
near or distant sound coming from all
around the microphone. Your microphone's
"
other features include:
On/Standby/Off Control with Belt Clip —
lets you conveniently turn the microphone
on and off at any time.
Wire-Mesh Windscreen — reduces wind
noise and breath pops.
Stabilized Rubber Pad — anchors the
microphone for greater stability.
+056#..+0)"#"
1
/
inch (3.5
8
$#66'4;
Your microphone is supplied with one 357A
(or LR44) silver-oxide button-cell battery for
. . . .
.
power.
1. Press in the tab on the battery
compartment cover (located below the
belt clip) and lift it up to remove the
.
cover.
2. Place the battery in the battery
compartment with its positive side (+)
up.
3. Replace the cover.
If the microphone stops working or the
R
sound weakens after long term use, replace
"
the battery.
OWNER'S MANUAL — Please read before using this equipment.
Rý
©
2002 RadioShack Corporation.
All Rights Reserved.
RadioShack and RadioShack.com are trademarks
used by RadioShack Corporation.
%*115+0)"#"
.1%#6+10
The microphone uses a hemispherical pick-
up pattern, which means it picks up sound
equally from all directions within the space
(hemisphere) above and around the
microphone. Sound quality remains
consistent no matter where it originates. It
does not vary from side to side, or from top
to side.
Experiment and listen to find the best
location for the microphone. Choose what
you think is the best location, then listen to
how it sounds. ±
To achieve the best performance, improve
low frequency sound pick-up, and maximize
the microphone's range:
• Place the microphone on a solid, flat
surface, with the top of the microphone
in the sound source's line-of-sight so
the person speaking can see it.
• Leave at least 1 foot (.3 meter) of clear
space all around the microphone.
• If you use two or more microphones,
position them at least 20 feet (6 meters)
apart.
• Avoid positioning the microphone on
carpeting or other sound-absorbent
material.
%100'%6+10
Be sure the microphone's
ON/STBY/OFF
switch is set to
, then insert the
OFF
1
microphone's
/
inch (3.5 mm) plug into the
8
microphone jack on the audio device (mixer,
. . . .
amplifier, or recorder). ±ý
12'4#6+10
To turn on the microphone, set
to
.
OFF
ON
To turn off the microphone for a short period
of time (during an intermission or between
speeches, for example), set
. This setting prevents an audible "pop"
STBY
when you turn it on again.
To turn off the microphone when you are
finished using it, set
ON/STBY/OFF
ON/STBY/
to
ON/STBY/OFF
to
.
OFF
Advertisement

Related Manuals for Radio Shack Omnidirectional Boundary Microphone


Summary of Contents for Radio Shack Omnidirectional Boundary Microphone
- Page 1 1OPKFKTGEVKQPCN"$QWPFCT["/KETQRJQPG 33-3022 OWNER’S MANUAL — Please read before using this equipment. %*115+0)"#" Thank you for purchasing "+/2146#06" the RadioShack .1%#6+10 If an icon appears at the end of a paragraph, Omnidirectional Boundary go to the box on that page with the Microphone.
- Page 2 (4'37'0%;" Limited Ninety-Day Warranty 4'52105'"%748' This product is warranted by RadioShack against manufacturing defects in material and workmanship This diagram shows the microphone’s frequency response variation throughout the frequency under normal use for ninety (90) days from the date range. of purchase from RadioShack company-owned stores and authorized RadioShack franchisees and dealers.