Table of Contents
Advertisement
Module No. 1840
Congratulations upon your selection of this CASIO watch. To get the most out
of your purchase, be sure to carefully read this manual and keep it on hand
for later reference when necessary.
About this manual
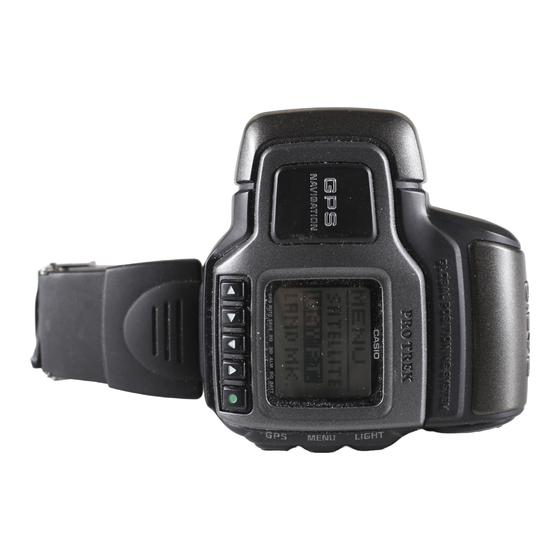
Button operations are indicated using the letters shown in the illustration.
Each section of this manual provides basic information you need to
perform operations in each mode. Further details and technical information
can also be found in the "REFERENCE" section.
Display Indicators
Use MENU and GPS to change between modes.
In the GPS Mode, use L and K to change between screens.
The watch beeps whenever you press a button to change to another mode
or screen.
Timekeeping Mode
Press GPS.
GETTING ACQUAINTED
LIGHT
MENU
GPS
The following describes the indicators that
appear along the bottom of the display.
Alarm Mode
Press L or K.
Press MENU.
Menu Screen
Press MENU.
Press GPS.
Indicator
GPS
AUTO
SAVE
2D
3D
ALM
SIG
BATT
The measurement functions built into this watch are not intended for
use in taking measurements that require professional or industrial
precision. Values produced by this watch should be considered as
reasonably accurate representations only.
Though a useful navigational tool, a GPS receiver should never be used as
a replacement for conventional map and compass techniques. Remember
that magnetic compasses can work at temperatures well below zero, have
no batteries, and are mechanically simple. They are easy to operate and
understand, and will operate almost anywhere. For these reasons, the
magnetic compass should still be your main navigation tool.
CASIO COMPUTER CO., LTD. assumes no responsibility for any loss or
any claims by third parties that may arise through the use of this watch.
GENERAL GUIDE
Position Screen
Press GPS.
Press GPS.
L
Direction and Speed
Screen
You cannot go from the Menu Screen to the GPS Mode after displaying the
Menu Screen from the Timekeeping Mode or Alarm Mode. To get to the
GPS Mode in this case, you have to press GPS to return to the
Timekeeping Mode (or Alarm Mode) and then press GPS again to enter the
GPS Mode.
Description
• Watch is in the GPS Mode.
• Flashes when the watch is performing a GPS measurement
operation.
Watch is in the GPS Auto or Continuous Mode.
Watch is in the GPS One-shot or Auto Mode.
Watch is performing a 2-dimensional GPS measurement (using
three satellites). This is the type of measurement normally used
in the Quick, One-Shot, and Auto Mode.
Watch is performing a 3-dimensional GPS measurement (using
four or more satellites), which provides better accuracy than
2D. This is the type of measurement used in the Continuous
Mode when data is obtained from four or more satellites.
Alarm is turned on.
Hourly Time Signal is turned on.
Battery power is low and battery needs to be replaced.
Precautions
GPS Mode
Press L.
Press K.
K
K
L
Graphical Navigation
1840-1
Plot Screen
K
L
Screen
Advertisement
Table of Contents

Related Manuals for Casio 1840


Summary of Contents for Casio 1840
-
Page 1: Getting Acquainted
Module No. 1840 1840-1 GETTING ACQUAINTED Congratulations upon your selection of this CASIO watch. To get the most out Indicator Description of your purchase, be sure to carefully read this manual and keep it on hand • Watch is in the GPS Mode. -
Page 2: Using The Menu Screens
1840-2 Using the Menu Screens Use the Timekeeping Mode to view the current time and date. You can select from among the four different Timekeeping Screen formats shown below. Many of the operations of this watch are performed using on-screen menus. -
Page 3: Alarm Mode
1840-3 Setting Up the GPS Mode ALARM MODE The following are settings you need to make before actually taking any You can set an alarm time at which a beeper Mode name measurements with the GPS Mode. Most of these need to be made only the sounds for about 20 seconds each day. -
Page 4: Position Screen
1840-4 Plot Screen Formats The non-standby modes take longer to produce subsequent measurements, but shutdown of the watch’s GPS circuit between There are two Plot Screen formats: a Map Screen and a Waypoint Plot Screen. measurements conserves battery power. In these modes, the indicator Press J to toggle between screen formats. - Page 5 1840-5 GPS Measurement with the Map Screen Using the Waypoint Plot Screen After successful measurement is achieved, your current position appears on The Waypoint Plot Screen shows preset waypoints in sets of two each, a start the Map Screen. waypoint and a destination waypoint , along with track markers that indicate your progress between the two points.
- Page 6 1840-6 GPS Measurement with a Graphical Navigation Screen GPS Measurement with the Heading and Speed Screen After successful measurement is achieved, the display shows a pointer to After successful measurement is achieved, the Heading and Speed Screen your destination waypoint along with the distance to the destination.
-
Page 7: Using Waypoints
1840-7 5. Press to select the highlighted landmark as your start point, and return To add a new landmark by manually entering position data to the WAY PT. list. 1. While the LMK list is on the display, 6. To define the next waypoint, use L to move the highlighting to 1:... - Page 8 1840-8 To recall track memory data 7. Input the GMT differential. The GMT differential is the time difference between the area whose data 1. In any mode, press the MENU button to display the Menu Screen. you are setting and Greenwich Mean Time.
-
Page 9: Power Requirements
Contact your CASIO dealer or To set the speed unit distributor about replacement of these items. - Page 10 1840-10 Satellite Information Display To input the latitude 1. Use H and J to move the cursor to the position in the latitude you want The following shows the meaning of the satellite marks that appear on the display. to change.
- Page 11 1840-11 GPS Mode Graphical Navigation Screen Though the Current Direction Screen can be used when travelling at What is GPS? speeds of less than 8 kilometers per hour, measurement accuracy is greatly The Global Positioning System (GPS) was originally developed and is reduced.
-
Page 12: Datum List
1840-12 Low Battery Warning Preset Data City name Latitude 0.01 min unit Longitude 0.01 min unit Datum Datum This message appears when battery power Code Differential S/N Deg Min N : + S : – E/W Deg Min E : + W : – No. - Page 13 1840-13 Datum Name Display Applicable Area OLD HAWAIIAN HAWAII Mean Value (Hawaii, Kauai, Maui, Oahu), etc. HJORSEY 1955 HJOR55 Iceland HONG KONG 1963 HONG63 Hong Kong HU-TZU-SHAN HU-TZU Taiwan INDIAN INDIAN-1 Thailand & Vietnam INDIAN-2 Bangladesh, India & Nepal RELAND 1965...
- Page 14 1840-14 LANDMARK LIST The Landmark List comes pre-programmed with the names and locations of the major mountains of the world. You can use these as they are or you can change them to other landmarks using the procedure under “Editing and Deleting Landmarks”.
- Page 15 Yu Shan YU SHAN Zugspitze ZUGSPITZE 1840 NOTES 2. When your current measurement point is more than 300km from your last measurement point. Change the area setting of the watch. If you cannot find a pre- programmed area that is close to your current position, manually input your current location.