Advertisement
1) Turn OFF the computer and disconnect the power cord.
2) Remove the bezel and the open drive bay cover from the computer's front panel.
3) Attach slide rails to the drive if required for your drive model.
Slide rails are sold separately through computer retailers.
4) Position the drive close to the open computer bay.
Horizontal Installation
5) Connect the power cable from the computer to the drive.
Pay close attention to the polarity of the cable.
6) Connect the IDE cable to the drive.
Confirm that Pin 1 on the drive corresponds to Pin 1 on the cable.
7) Connect the drive's audio output to the sound card if one is present.
Step 1 – Prepare the Computer
Note: Your computer may be a tower
model as shown on the left or a
desktop model as shown below. This
drive works in either PC model style.
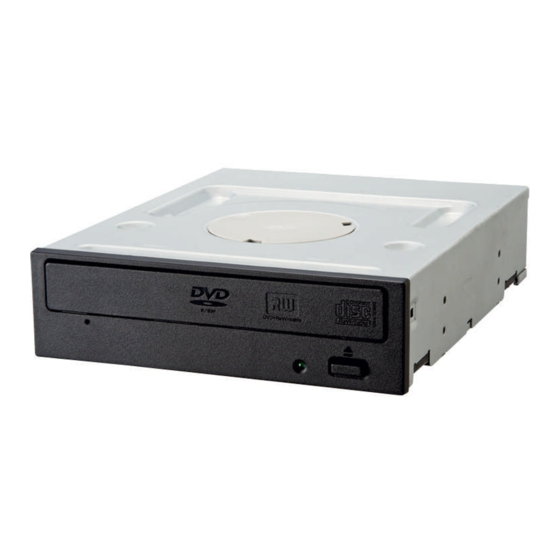
Step 2 – Prepare the Drive
Step 3 – Connect the Cables
D
I
RIVE
NSTALLATION
I
A
I
N
N
NSTANT
Vertical Installation
Advertisement
Table of Contents

Related Manuals for Pioneer DVR 117D - DVD±RW Drive - IDE


Summary of Contents for Pioneer DVR 117D - DVD±RW Drive - IDE
- Page 1 RIVE NSTALLATION NSTANT Step 1 – Prepare the Computer 1) Turn OFF the computer and disconnect the power cord. 2) Remove the bezel and the open drive bay cover from the computer’s front panel. Note: Your computer may be a tower model as shown on the left or a desktop model as shown below.
- Page 2 RIVE NSTALLATION NSTANT Step 4 – Finish the Installation 8) Place the mounting screws in the appropriate holes and tighten by hand. When mounting screws are loose, vibrations from the spinning disc may cause a ripping sound. 9) Replace the bezel and power ON the computer. Setting the Jumper For Use in a Master/Slave PC If you have a Master/Slave type of computer, you probably have two IDE channels, Primary and Secondary.
Need help?
Do you have a question about the DVR 117D - DVD±RW Drive - IDE and is the answer not in the manual?
Questions and answers