Advertisement
Quick Links
HACKNEY
Furnniture Range
i
IMPORTANT INFORMATION BEFORE YOU START
Please read carefully and keep this information for further reference.
Thank you for buying a Britton Product. To ensure that it
works to its full potential, it needs to be fitted correctly.
Check the contents of the pack carefully before installation.
Britton will not be held responsible for any de-fit/re-fit costs
where faulty product has been fitted. If any fault is found with
materials or workmanship, it must be reported immediately
to the manufacturer. Remedial action will be taken, based on
information received, on condition that:
1. Full details are supplied to the manufacturer.
2. The product has not been modified or tampered with;
3. The manufacturer is informed of any damage/shortages
prior to installation.
1
4. The product has not been installed, or attempts have been
made to install.
We do not accept responsibility for any problems that may
occur through incorrect installation. This product should
only be installed by a suitably qualified plumber/installer.
Should the installation be completed by a non-qualified
person any product guarantee maybe considered invalid. For
a claim made under our warranty, written certification of your
installer's qualifications may be required.
V10523
Advertisement

Summary of Contents for Britton HACKNEY 500
- Page 1 IMPORTANT INFORMATION BEFORE YOU START Please read carefully and keep this information for further reference. Thank you for buying a Britton Product. To ensure that it 4. The product has not been installed, or attempts have been works to its full potential, it needs to be fitted correctly.
-
Page 2: Before You Start
BEFORE YOU START Important Pre-Installation Notes Please check for any hidden pipes or electrical cables before drilling holes in the floor or walls. When using power tools always follow the manufacturer’s user instructions. This installation guide details fitting to a solid wall. If your bathroom has studded/ plasterboard walls, please use appropriate fixings. - Page 3 COMPATIBILITY HK2056xx 9.8kg HK5100Txx 3.8kg HK0510SCW 15.8kg HK0511SCW 15.8kg HK6100Txx 4.8kg HK5000Dxx 15.8kg HK0610SCW 16.8kg HK7100Txx 5.8kg HK0611SCW 16.8kg HK8100Txx 6.8kg HK6000Dxx 16.8kg HK0710SCW 17.8kg HK9100Txx 7.8kg HK0711SCW 17.8kg HK1010Txx 8.8kg HK7000Dxx 17.8kg HK1110Txx 9.8kg HK1210Txx 10.8kg FIXINGS V1XXXX x4 Screws x2 Brackets x4 Connecting Screw Bolts...
-
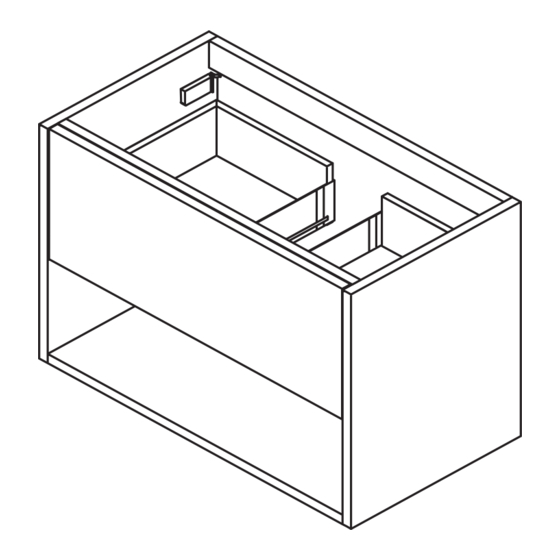
Page 4: Installation
INSTALLATION Remove the drawer before installation. Pull the drawer fully Determine the position and height of the unit, ensuring out, lift the front, pull out again, lower and fully remove. the recommended heights are followed according to the combination of basin and tap selected. Measure the width and height of the fixing brackets - Distances B and C. - Page 5 INSTALLATION Ø6 Drill the marks using an 8mm drill bit and ensuring there are Install the wall brackets using the fixings provided. The no hidden pipes or cables in the wall. Make sure the correct unit carcass can now be mounted on the wall brackets and drill bit is used for the surface being drilled and check that the adjusted to ensure it is flush with the wall and level.
- Page 6 INSTALLATION Apply silicone sealant to the joins between the basin and unit The tap and waste fittings may now be installed, following the on all sides to keep watertight. Check the manufacturer’s manufacturer’s instructions. instructions for drying times. Connect water and waste pipework and turn on the water supply to check for any leaks.
- Page 7 INSTALLATION When installing two or more units, ensure the units are correctly positioned side by side, front and back and in height - the base of each unit should be level as shown in examples below. HK2056 + HK5000 HK5000 + HK2056 + HK5000 HK5000 + HK5000 V1XXXX Drill the carcass sides and ensure the drill points are...
-
Page 8: Care And Maintenance
CARE & MAINTENANCE Clean regularly using with warm soapy water and polish with only a soft cloth. Any residues from soap, toiletries etc. should be rinsed off straight after use. Household bleaches and cleaners containing harsh chemicals may damage the surface finish. Avoid using abrasive cloths, scouring pads, scrub sponges, steel wool or anything similar.