
Related Manuals for Vannus Luna-5B/36 LED


Summary of Contents for Vannus Luna-5B/36 LED
- Page 1 INSTRUCTION MANUAL MODEL Luna-5B/36 LED Luna-5B/40 LED Luna-5B/46 LED Luna-5B/56 LED Luna-5B/60 LED CEILING FAN Version: 2022 V2...
-
Page 2: Table Of Contents
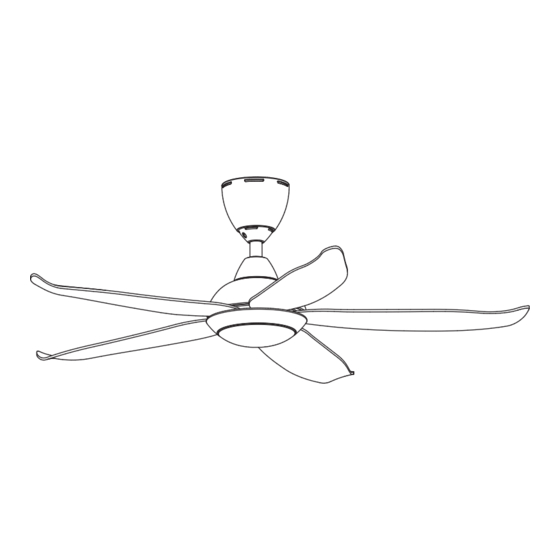
Table of Contents Item Page No. 1. Safety Precaution ................. 1 - 2 2. Parts & Accessories ................4 - 7 3. Installation Instruction ................4. Power Supply Connection ..............5. Circuit Diagram ..................6. Transmitter Learning Process .............. 7. Transmitter Function & Assembly ............8. -
Page 3: Safety Precaution
Parts & Accessories Safety Precaution STOP using the ceiling fan when any abnormality or failure occurs. If unusual oscillating movement is observed, immediately stop using the ceiling fan and contact the manufacturer, its service agent or suitably qualified persons. CAUTION Please take note of the following important points when installing. -
Page 4: Installation Instruction
Installation Instruction Installation Instruction IMPORTANT : DO NOT CONNECT THIS REMOTE CONTROL CEILING FAN TO Step 3 - Remove the Safety Wire screw and spring washer from the Downrod. DIMMER SWITCH OR REGULATOR. Step 1 - Fix the Rubber Pulley Assembly to the Downrod with Bolt, Washer, Nut and tighten them firmly, then insert the Clevis Pin. - Page 5 Installation Instruction Installation Instruction Step 5 - Firmly screw the Safety Wire with spring washer onto the Downrod. Step 7 - Install the Blades on Motor with Screw. Connect the connectors and install the LED light kit by twisting in. IMPORTANT : Assemble the Fan Blades only after the ceiling fan is mounted on the hook.
-
Page 6: Power Supply Connection
Power Supply Connection Circuit Diagram IMPORTANT : DO NOT CONNECT THIS REMOTE CONTROL CEILING FAN TO DIMMER SWITCH OR REGULATOR. Motor Orange Blue MAIN PCB Blue Neutral (Blue) Orange N LED+ Live (Brown) Brown Blue LED- Double Pole Power Earth (Green/Yellow) Green/Yellow Switch Supply... -
Page 7: Transmitter Learning Process
Transmitter Learning Process Transmitter Function The receiver & transmitter is pre-programmed in factory. If you wish to control 2 or more - Light on/off & select LED colour fans using 1 transmitter, the below steps are required. - Turn off fan DO NOT PRESS ANY OTHER BUTTON DURING THIS PROCESS Mount the remote control 1 - 6... -
Page 8: Maintenance
1. Use only water and mild soap. Do not use solvents, corrosive or acidic solution. 2. Damp the cloth lightly. Use only soft or lint-free cloth to clean the fan. Rough fabric will Luna-5B/36 LED: 914mm (3’) scratch the surface.