Advertisement
Quick Links
General
The Radio Hub is available under the following part numbers;
Part No
Variant Type
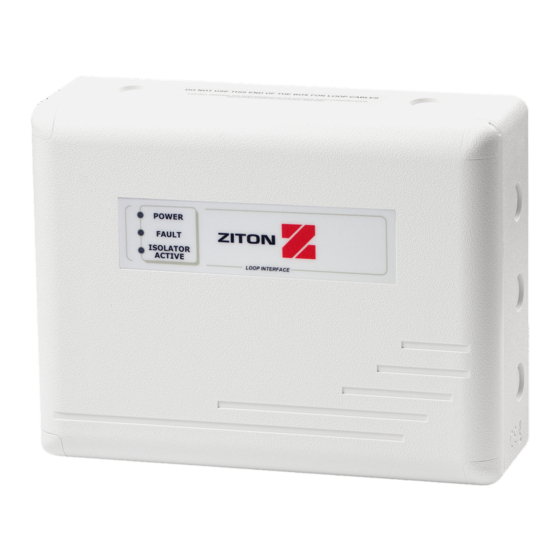
Ziton Radio Hub - Four Loop c/w Wire Aerials
ZPR868-H
Ziton Radio Hub - Four Loop c/w SMA Aerials
ZPR868-HS
EN54-18:2005 Input/output device
EN54-25:2008 Component using RF links for fire detection and fire alarm systems for buildings
The address of the unit is set using the menu programming structure available on the Hub – see
supplied programming manual for details. The installation must conform to BS5839:Part 1 (or
applicable local codes). This Radio Hub is suitable for indoor use only. The loop cable must be
connected to a control panel, complying to EN54-2, EN60950-1/2006 and SELV.
Loop Design
The Radio Hub is powered from the loop; the unit draws an average of 40mA. The current drawn
from the Hub should be taken into consideration when calculating the total load of a Loop.
Note: The loop power supplied to the unit must not exceed 28V 1Amp.
Installation of the Radio Hub
Ensure that the Radio Hub is sited in accordance with the survey and design details.
Hub is required to be connected via glands to the relative Control Panel (CIE). The recommended
minimum distance between Metal objects or other equipment from the aerial is 600mm.
recommended minimum distance to any other electrical equipment is 2 metres.
To allow access to the mounting points, remove the four corner covers and screws. Then remove
the front plate. Housed inside the unit will be the following part:-
•
1 x 868MHz Radio Hub pcb complete with aerials.
Remove required cable access points for Loop wiring connections.
points in the shaded area for Loop wiring. Access points in the shaded area should only be used
when fitting remote aerials to the product. (See separate aerial installation guide for more
information). Available cable access points are shown in Figure 1. Note: Aerials must be installed
internally within a building.
Position the Radio Hub in the required location and mark the required fixing positions. These are
shown in Figure 2.
Using suitable screws and fixings install the top screw and locate over the keyhole slot provided.
Ensure the screw does not protrude too far from the wall so a secure mounting can be achieved.
Install the remaining two screws in the bottom left and right hand holes provided. Additional
fixing positions are available if required in the top left and right hand holes provided.
The Radio Hub pcb can be removed for additional access to mounting points if required. Supplied
within the Radio Hubs instruction pack is a locking Allen key, which can be utilised on radio
devices. See device installation guides for details.
EMS Group Head Office, Technology House, Sea Street, Herne Bay, Kent CT6 8JZ, England
Tel: +44 (0) 1227 369570 Fax: +44 (0) 1227 369679 Email:
Ziton Radio Hub- 4 Loop Installation Guide (Iss 1)
Ziton Radio Hub - 4 Loop
Installation Guide
enquiries@emsgroup.co.uk
359-CPD-****
359-CPD-****
The Radio
DO NOT USE cable access
Website:
www.emsgroup.co.uk
Page 1
The
Advertisement

Summary of Contents for EMS ZPR868-H
- Page 1 Radio Hubs instruction pack is a locking Allen key, which can be utilised on radio devices. See device installation guides for details. EMS Group Head Office, Technology House, Sea Street, Herne Bay, Kent CT6 8JZ, England Tel: +44 (0) 1227 369570 Fax: +44 (0) 1227 369679 Email: enquiries@emsgroup.co.uk...
- Page 2 Slot 2 Slot 3 Slot 4 Slot 5 Slot 6 EMS Group Head Office, Technology House, Sea Street, Herne Bay, Kent CT6 8JZ, England Tel: +44 (0) 1227 369570 Fax: +44 (0) 1227 369679 Email: enquiries@emsgroup.co.uk Website: www.emsgroup.co.uk ZP Radio Hub Installation Guide (Iss 1)