
Summary of Contents for XtremeAIR P2025.32
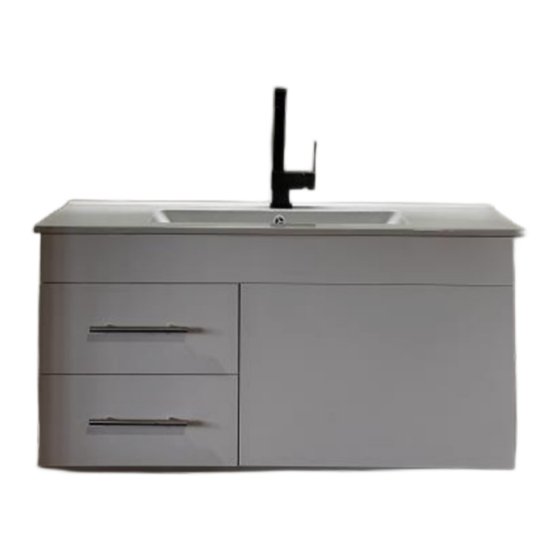
- Page 1 Bathroom Vanity Assembly Manual Models: P2025.32 / P2026.39 V2028.32 / V2029.39 Shop At - XtremeAIRUSA.com Page 1...
- Page 2 TOOLS & MATERIALS NEEDED 2” Screws Kitchen & bath Silicon Caulk Level Stud Finder Pencil Toggle Bolts 1/8” bit (Provided) Power Drill with Screw Bit 1/2” bit Gloves Tape Measure Philip Screw Driver A: ASSEMBLE MAIN BODY #2. Screw in the long black screws to all applicable places #1.
- Page 3 #7. Line up the 2 side panels #6. Insert the top strips into the #5. Place bottom back strip and and put into position front and back of middle divider middle divider in place on base #9. Insert Cam locks into all their #8.
- Page 4 #13. Place the back wall of the #15. Place the other side #14. Place one side wall shelf into place of shelf into place wall of the shelf into place #17. Insert Cam locks into all #16. Place the shelf box onto the their holes and turn clockwise to front panel secure into place...
- Page 5 #20. Hold the door in position and line up the side and top in place #21. With door in position, screw in hinges to inside of cabinet #22. The front adjusting screw on #23. The rear adjusting screw on the hinges adjusts left and right the hinges adjusts front and back E: INSTALLATION- MOUNT THE VANITY ON THE WALL Step 1.
- Page 6 Step 4. Insert and prepare toggle bolts. Step 5. Add silicon to the back Step 3. Use the 1/2” drill bit to of cabinet to help secure it to enlarge the 1/8” drilled holes the wall (highly recommended) (2 locations) Step 6.
- Page 7 C. Holes on bottom sides of drawer will go into the bolts sticking up from railings *This manual is intended for assembly and installation of the vanity cabinet only. XtremeAIR is not responsible for anything that may arise from plumbing or faucet. Page 7...