Advertisement
Quick Links
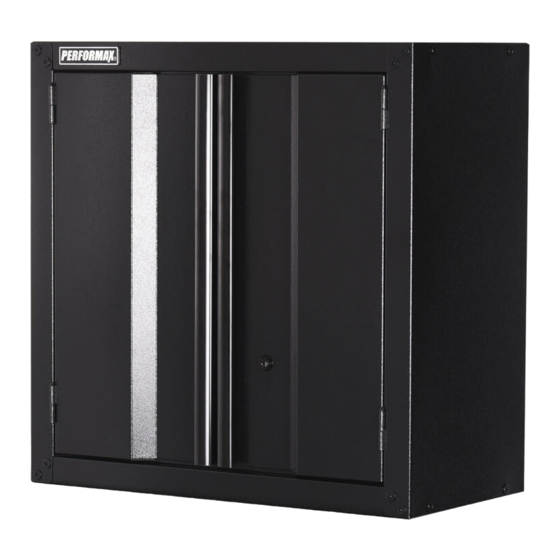
Assembly Instructions
Item #211-4750
Item #211-4751
Item #211-4752
Item #211-4753
USE AND CARE GUIDE
24 IN Wall Cabinet
Questions, problems, missing parts?
Before returning to the store, call
1-866-441-5080
9 a.m – 5 p.m., CST, Monday-Friday
Model # M24WC
Model # M24WCTB
Model # M24WCTR
Model # M24WCW
Advertisement

Related Manuals for Performax M24WC


Summary of Contents for Performax M24WC
- Page 1 Assembly Instructions Item #211-4750 Model # M24WC Item #211-4751 Model # M24WCTB Item #211-4752 Model # M24WCTR Item #211-4753 Model # M24WCW USE AND CARE GUIDE 24 IN Wall Cabinet Questions, problems, missing parts? Before returning to the store, call 1-866-441-5080 9 a.m –...
-
Page 2: Table Of Contents
Table of Contents Table of Contents ..........2 Assembly ............... 5-7 Safety Information ..........2 ...... -
Page 3: Warranty
Limited Lifetime Warranty PERFORMAX® wall cabinets are warranted to be free from defects in materials and workmanship under normal use for the lifetime that you own the product. If any part of the product is found to be defective during normal use, the defective product or part will be replaced at our discretion. - Page 4 Package Contents (continued) Part Description Quantity Part Description Quantity Wall Bracket Left Door Hanger Right Door Left Side Plate Top Panel Back Panel-top Right Side Plate Back Panel-bottom Bottom Panel Adjustable Shelf...
-
Page 5: Assembly
Assembly Two people are recommended for assembly. CAUTION: Unpacking instructions □ Remove all parts and hardware from the shipping box. Check the contents against the PARTS and HARDWARE lists on the previous page. If parts or hardware are missing, please call 1-866-441-5080 for assistance. □... - Page 6 Attaching Back Panel □ Attach Back Panel-bottom (E) inside the two side panels and bottom. Align and insert 7 Screws (AA) into holes but do not fully tighten. □ Attach Back Panel-top (D) inside the two side panels and bottom. Align and insert 10 Screws (AA) into holes but do not fully tighten.
- Page 7 Attaching the door □ Align the holes on the hinge of the Left Door (G) to the holes on the Side Panel. □ Repeat process for the Right Door (H with lock assembly). □ Once cabinet is square and level, go back and tighten all screws used in assembly.
-
Page 8: Replacement Parts
Maintenance □ Periodically the surfaces should be cleaned with a mild detergent and water. Replacement Parts For assistance with replacement parts please call 1-866-441-5080. Part Description Quantity M6x10 Screw Shelf Mount EVA Bumper ST6.3x75 screw Washer Lock...