Advertisement
Quick Links
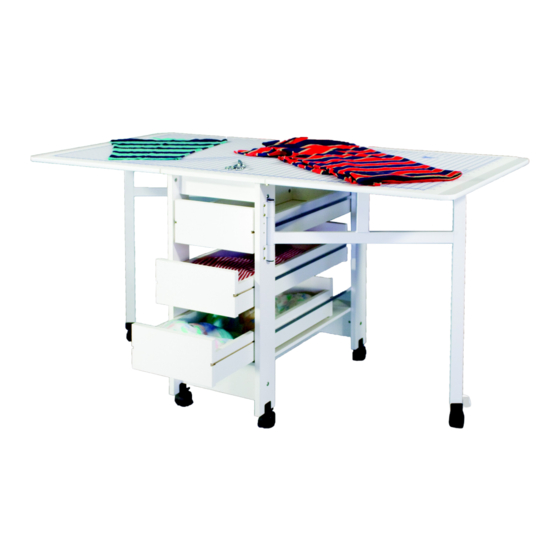
97/98
Model
Please check all table parts for defects before discarding any packing material.
List of Hardware
6- Hinges
36- Flat Head Screws
16- Pan Head Screws
26- Wooden Dowels
4- U Brackets
12- Cam Locks
12- Cam Screws
10- 2" Truss Head Bolts
10- Cross Nuts
6- U-Casters (4 Locking, 2 Non-
Locking)
6- Caster Screws
List of Parts
1- Top
2- Leaves
2- Top End Supports
4- Wooden Legs
2- Metal Legs
1- Shelf
Begin assembly.
1.Lay the Top face down on a carpeted floor or
other soft flat surface. The pre-drilled holes
should all be showing. Place 10 Cam Screws and
4 Wooden Dowels in the holes as indicated. You
may need to tap the Wooden Dowels in with a
Hammer.
2. Put 2 Cam Locks and 3 Wooden dowels into each Wooden Leg. When placing Cam Locks, make sure the
small arrow points outward in the direction of the hole.
2- Shelf End Supports
1- Shelf Center Support
List of Tools Needed
Phillips Screwdriver
Flat Head Screwdriver
Hammer
Allen Wrench
Advertisement

Summary of Contents for Fashion Sewing Cabinets Of America 97
- Page 1 97/98 Model Please check all table parts for defects before discarding any packing material. List of Hardware 6- Hinges 36- Flat Head Screws 16- Pan Head Screws 26- Wooden Dowels 4- U Brackets 12- Cam Locks 12- Cam Screws 10- 2” Truss Head Bolts...
- Page 2 3. Put 1 Cam Lock and 2 Cross Nuts into each Top End Support. Important: Make sure that the holes are lined up to receive the Bolts. 4. Put 2 Cross Nuts and 2 Wooden Dowels into each Shelf End Support. 5.
- Page 3 8. With the eight holes facing down put the Wooden leg on the floor. Slide the Top End Support onto the Wooden Dowel. Slide the Shelf End Support onto the two Wooden Dowels. Put the other Wooden Leg on top. Insert a two inch Bolt into the Top End Support and the Shelf End Support as shown in the diagram.
- Page 4 11. Flip the assembly upside down and place it on top of the Top lining up all of the Wooden Dowels and Cam Screws. Tighten the 10 Cam Locks that attach the Top to this assembly with a Phillips Screwdriver. 12.