Advertisement
Quick Links
Assembly Instructions:
Assembly Instructions:
Deluxe In nity Loop Leg Single Workstation with Screen
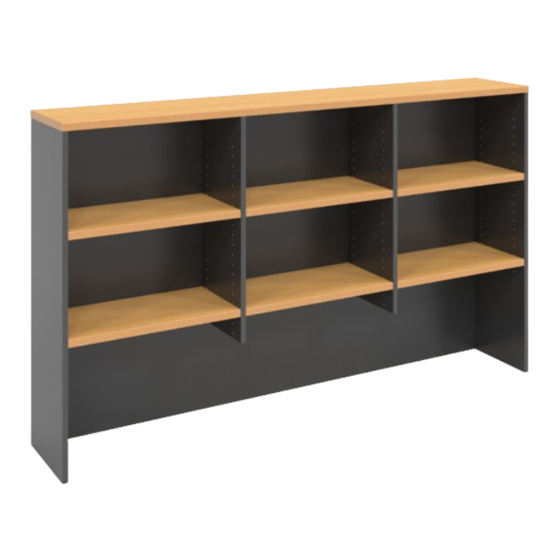
Product Code : CH12 / CH15 / CH18
Product Name: Rapid Span, Worker and Vibe Hutch
Time Required:
Time Required:
25-45 minutes
30 minutes
Tools Required:
Tools Required:
Screwdriver, Electric Drill, Pencil, Measuring tape/Ruler
Screwdriver, Electric Drill, Pencil, Measuring tape/Ruler
*Tools are not included.
*Tools are not included.
Skill Required:
Skill Required:
Easy
Easy
The Assembly Skill Rating is a 5-point system that shows the degree of e ort needed in assembling
The Assembly Skill Rating is a 5-point system that shows the degree of e ort needed in assembling
a speci c product. With 1 being easy for the average person and 5 requiring an expert.
a speci c product. With 1 being easy for the average person and 5 requiring an expert.
For most products, two persons are recommended.
For most products, two persons are recommended.
Please note, as this is a commercial product, some intermediate skills are required.
*No pre-drill holes or markings are provided on tops.
Please note, as this is a commercial product, some intermediate skills are required.
*No pre-drill holes or markings are provided on tops.
• As this is a commercial product, some intermediate skills may be required.
• As this is a commercial product, some intermediate skills may be required.
• If you are missing any hardware, please contact your Rapidline reseller. Please ensure you have the name of the item,
• If you are missing any hardware, please contact your Rapidline reseller. Please ensure you have the name of the item,
• Assemble on a clean, at, smooth surface such as a rug or carpet to avoid parts from being scratched.
• Assemble on a clean, at, smooth surface such as a rug or carpet to avoid parts from being scratched.
• Remove all wrapping materials, including staples and packing straps before you start to assemble
• Remove all wrapping materials, including staples and packing straps before you start to assemble
• Do not use this product unless all bolts and screws are rmly secured and tightened.
• Do not use this product unless all bolts and screws are rmly secured and tightened.
• If parts are missing, broken, damaged or worn stop using the product until all repairs are made.
• If parts are missing, broken, damaged or worn stop using the product until all repairs are made.
Hard
Hard
• No pre-drill holes or markings are provided on our table or desk tops.
• No pre-drill holes or markings are provided on our table or desk tops.
• Please check you have all hardware before assembling.
• Please check you have all hardware before assembling.
required hardware part and quantity.
required hardware part and quantity.
• Please retain your receipt as proof of purchase to validate your warranty.
• Please retain your receipt as proof of purchase to validate your warranty.
• Keep all hardware parts out of reach of children.
• Keep all hardware parts out of reach of children.
• Heavy product. Do not attempt to lift or move without help
• Heavy product. Do not attempt to lift or move without help
• Do not tighten screws and bolts until completely assembled.
• Do not tighten screws and bolts until completely assembled.
• Failure to follow these warnings could result in serious injury.
• Failure to follow these warnings could result in serious injury.
NOTE
NOTE
CAUTION
CAUTION
WARNING
WARNING
Advertisement

Related Manuals for Rapidline CH12


Summary of Contents for Rapidline CH12
- Page 1 • Please check you have all hardware before assembling. • If you are missing any hardware, please contact your Rapidline reseller. Please ensure you have the name of the item, • If you are missing any hardware, please contact your Rapidline reseller. Please ensure you have the name of the item, required hardware part and quantity.
- Page 2 ASSEMBLY INSTRUCTIONS 6•35 11PCS CH12, CH15, SPH12 11PCS Ceim Cover 11PCS BolftMU1r11rrfix � : � ... �5 1 1l 4 > So,- 1 1l PCS...
- Page 3 ASSEMBLY INSTRUCTIONS 6<35 i Z l PCS CH18 & SPH18 CAMI � 2 22PCS Cam Cover �3 221'CS Bolt Minifix � :4PCS Brac!<ot �5 41'CS • 1 Screw 1 61'CS...