Advertisement
Quick Links
Wiring Instructions for 10, 16 & 20 Function, 92 & 93 Series, FET Receivers.
1
BEFORE YOU START
!
1.
The Receiver is designed to carry a maximum of 15 Amps. That is, for example,15 Amps
through one output or 5 Amps each through 3 outputs.
2.
Master Output. This can be configured to Continuous or Parallel operation, see below right
for more details.
3.
If Receiver outputs are connected in parallel with an external switching device (wired remote)
the Receiver will instantly switch off when the wired remote is operated
4.
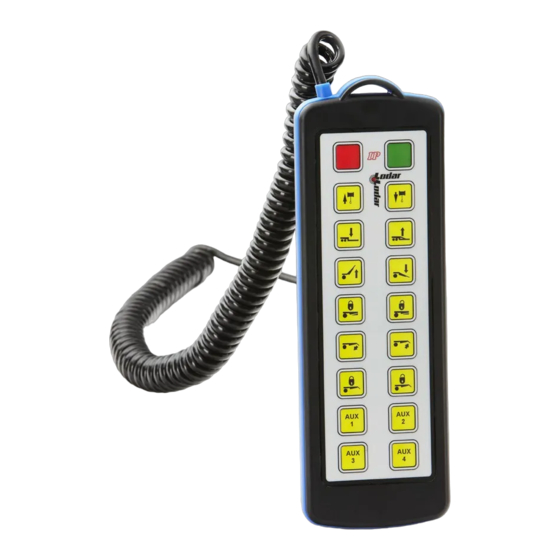
Lodar Receivers
replacement Transmitter.
5.
Safety Feature. Both the Transmitter and the Receiver will "time out" after 30 minutes of
inactivity. This can be altered, ask your dealer.
3
MOUNT RECEIVER
CAUTION
!
TAKE TIME TO LOCATE THE BEST POSITION
If necessary, power the Receiver and move it around
the vehicle until the required performance is achieved.
Operate the Transmitter and observe the Receiver
internal LED's.
Mount as HIGH as possible
AVOID surfaces with HEAVY VIBRATION
AVOID DIRECT SPRAY from wheels
In a HOT CLIMATE fit in a SHADED position
Cable gland should face DOWN or BACK
Receiver 92 20 RX and 93 20 RX shown,
IMPORTANT
TAKE CARE NOT TO SHORT
OUT THE MOSFET's WHEN
MAKING CONNECTIONS
IMPORTANT
!
ENSURE THAT THE GAUGE
OF WIRE USED CAN CARRY
15 AMPS (THIS IS THE
MAXIMUM TOTAL CURRENT
THAT LODAR CAN SWITCH)
OVER THE DISTANCE FROM
THE BATTERY WITH NO
SIGNIFICANT VOLTS DROP!
!
NOTE
The STOP input can be
used for OVERLOAD or
OVER-TEMPERATURE
etc. If the chassis is
GROUND, then a return
wire is not required.
MUST
have an isolation switch for safety, to allow for registering a
Secure using 5mm (3/16") bolts (not supplied)
5
!
SAFETY FEATURE
The Receiver switches itself off
after 30 minutes of inactivity.
through the 4 mounting feet
CONNECTION DETAIL
2
IDENTIFY POWER
CONNECTION POINT
AND ISOLATE SUPPLY
Remove fuse
Fuse
or Disconnect Battery
!
WARNING
Vehicle batteries contain gasses
which are flammable and explosive.
Wear eye protection and do not lean
over battery while disconnecting. Do
4
What is the MASTER Output for ?
It is used to operate the pump of an
electro-hydraulic power pack or
maybe a clutch pump. It can also be
used for powering a dump valve,
master valve etc.
It can be configured to work
continuously, that is ON when SET
is pressed and OFF when STOP is
pressed;
or in
parallel with any output, that is, it is
active only a function is operated.
If it is needed with certain functions
only, this can easily be configured.
OPTIONAL AERIAL
CONNECTION
92220.02E
Advertisement

Summary of Contents for Lodar 92 Series
- Page 1 MAKING CONNECTIONS IMPORTANT ENSURE THAT THE GAUGE OF WIRE USED CAN CARRY 15 AMPS (THIS IS THE MAXIMUM TOTAL CURRENT THAT LODAR CAN SWITCH) OVER THE DISTANCE FROM THE BATTERY WITH NO SIGNIFICANT VOLTS DROP! NOTE The STOP input can be...
- Page 2 BLUE LK1, when bridged causes the Master Output to be Parallel LK2, when bridged causes the Master Output to be Continuous JUMPER MUST BE FITTED FOR LODAR TO WORK POWER DOWN RECEIVER BEFORE MAKING CHANGES Make connections as detailed below...
- Page 3 Lodar 9100 Series is guaranteed for a period of 24 on board Programmable IC months from the date of purchase, as long as it is or PIC.
- Page 4 STOP RESET THIS WORKS FOR ALL TRANSMITTERS WITH A AND A BUTTON If you have any problems please phone either your local Distributor or Lodar directly In the UK +44 1922 613633. In the US please phone 1-877- 257-1581. STX-A4.02...
