Advertisement
Quick Links
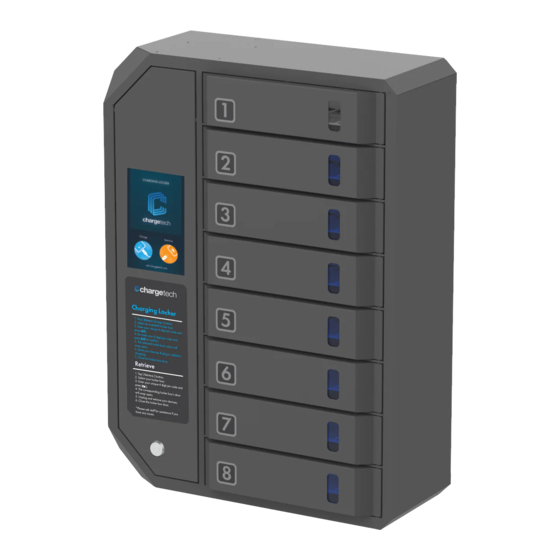
8 Bay Charging Locker
User Manual
MPN: CT-3001 14
Option A: Table Mount/Wall Secure
1. Screw in Feet to the bottom of the locker.
Fix 2x L racks on the top of the product by using 2x
M3 screws.
2. Mark holes on the wall with a pencil. Drill 2x
Ø6mm holes in wall according to the marks.
3. Fix 2x screw studs in holes.
4. Fix 2x M4 screws to secure the unit in place.
1
Ø6mm
4
Option B: Wall Mount
Ø 0.39inches ( 10mm)
1. Drill 4x Ø10mm holes (Suggested: 1.6m/63in
height) on wall according to the supplementary
drawing. Fix 4x screw studs and 4x screws into
the wall (not included).
2. Lift 5mm over screws for hanging the product
on the wall.
2
3
*Suggested as a
TWO-PERSON Job.
18.2inches (462.7mm)
Wall-Mounting PPL8
Template for Drilling Holes
2
3
3. Fix 2x L racks on the
bottom of the product by
using 2x M3 screws.
4. Mark the holes on wall.
Drill 2x Ø6mm holes in
the wall according to the
marks.
5. Fix 2x screw studs in holes.
6. Fix 2x M4 screws to secure the unit in place.
6
4
5
Ø6mm
P1
Advertisement

Related Manuals for ChargeTech CT-300114

Summary of Contents for ChargeTech CT-300114
- Page 1 Option B: Wall Mount 8 Bay Charging Locker User Manual MPN: CT-3001 14 Ø 0.39inches ( 10mm) Option A: Table Mount/Wall Secure 18.2inches (462.7mm) 1. Screw in Feet to the bottom of the locker. Wall-Mounting PPL8 Template for Drilling Holes Fix 2x L racks on the top of the product by using 2x M3 screws.
- Page 2 Mounting Guide Option B: Wall Mount Option A: Table Mount/Wall Secure Ø 0.39inches ( 10mm) 18.2inches (462.7mm) 1. Screw in Feet to the bottom of the locker. Fix 2x L racks on the top of the product by using 2x Wall-Mounting PPL8 Template for Drilling Holes M3 screws.
- Page 3 Floor Stand Install 4. Connect power cord with the extension cord in the Locker Body. 5. Close and fix the back door by replacing the screws. 1. Screw in feet to the base. 2. Fix rectangle pole on base plate with thumb screw x 6. 2.
-
Page 4: Admin Functions
Admin Functions In the Reset Locker Box option, you can reset Administrative Mode the codes of individual locker boxes or you can reset all of them at once. Each reset box will 1) To Access Admin Mode, press the gear icon in the upper right pop open and will need to be closed. - Page 5 Cable Replacement 4. Unplug Type-C USB Cable. 5. Unscrew the cable clip and take out the cable through the hole. 6. Replace cable clip(s). 1. Open the control box door with key provided. 2. Unlock the door by pressing the button on the lock. 3.
- Page 6 - Weight: 64 lbs - Material (Housing) : Cold Rolled Steel Website - ChargeTech.com ChargeTech offers a standard One (1) Year Usage Notes Limited Warranty on all products, except charging cables and gift orders, to cover all manufacturer defects. Our One (1) Year Limited - To prevent fire, shock, and/or rusting, do not...