Advertisement
Quick Links
N.B. : Il est important de lire
les instructions avant
de débuter l'assemblage.
N.B. : It is important
to read the instructions
before proceeding
to assemble the unit.
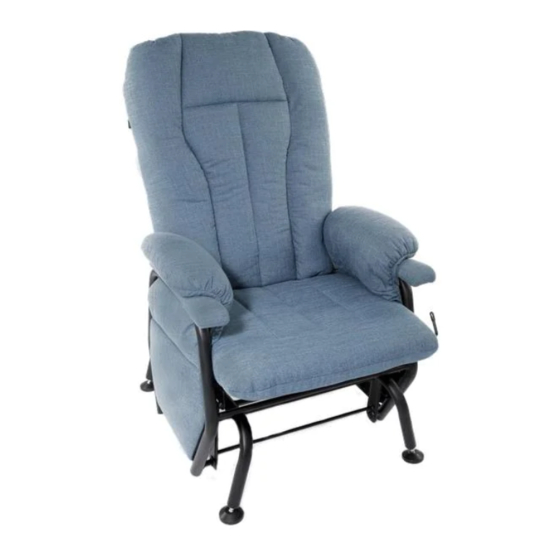
Série 76
Collection Age
Les dessins peuvent différer de votre modèle
The drawings may differ from your model
Advertisement

Summary of Contents for PEL International Age 76 Series
- Page 1 N.B. : Il est important de lire les instructions avant de débuter l’assemblage. N.B. : It is important to read the instructions before proceeding to assemble the unit. Série 76 Collection Age Les dessins peuvent différer de votre modèle The drawings may differ from your model...
- Page 2 Liste de pièces / Parts list N.B. : Pour plus de facilité, veuillez bien vérifier si vous avez toutes les pièces de montage mentionnées ci-dessous et surtout, suivez bien les étapes dans l’ordre. Outils requis : Tournevis carré ou étoile et 2 clés 1/2 po Note : To facilitate assembly, please check if you have all the listed mounting parts and follow instructions in the given order.
- Page 3 étape / Step Back Fixation Mounting du dossier You will need two 1/2” wrenches to Vous aurez besoin de 2 clés de 1/2 po pour perform this step. cette étape. 1. Pull the back of the chair up (figure 1) 1.
- Page 4 étape / Step instaLLation spring du ressort instaLLation 1. Accrocher le ressort #9 à l’arrière 1. Install spring #9 in the back of the chair à l’endroit indiqué dans le dessin. on the designated area shown on picture below. 2. Appliquer une pression sur la barre 2.
- Page 5 étape / Step Fixation des arMrests appuis-Bras Mounting Cette étape nécessite un tournevis carré. You will need a screwdriver, either square, to perform this step. 1. Alignez les orifices de l’appui-bras et de la poignée d’assistance #8 avec ceux du 1.
- Page 6 étape / Step cusHions Fixation des instaLLation coussins 1. Rassemblez le dos et le siège avec 1. Zip the seat and back together la fermeture éclair (dessin 1). (figure 1). 2. Insérez l’enveloppe du coussin sur 2. Slide the cushion envelope over le dossier de métal du dos (dessin 2).
- Page 7 étape / Step adJustaBLe aJusteMent Legs des pattes 1. Ajuster les pattes à la hauteur 1. Adjust height of the chair by désiré en vissant ou dévissant screwing or unscrewing them celles-ci par le boulon fix. to the desired height with the help of the fixed nut closer to the ground.
-
Page 8: Warranty
** THIS CHAIR BEING SOLD PARTIALLY ASSEMBLED AND INSTRUCTIONS FOR COMPLETING THE ASSEMBLY BEING CLEARLY INDICATED, NO WARRANTY WILL APPLY IF PROBLEMS OCCUR BECAUSE THE CHAIR WAS NOT ASSEMBLED WELL. PEl IntErnAtIonAl ltéE will, at its own choice, repair or replace any part proven defective upon its own verification and approbation.