Advertisement
Quick Links
Quick Guide
Register as a customer and create an account for the Celsiview cloud service
At the moment the Celsiview cloud service version two can be tested, it can be accessed by click-
ing on the "Celsiview 2 Beta" button on celsiview.se. The instructions below are based on Celsiview
2.
Click on the "Create new account" button. Fill in all the information needed to create the account.
A verification email will then be sent to the email address provided in the registration process.
Click on the link in the email to verify the account. If you do not receive an email, please check the
spam mail. Once the account is verified, a page will appear with a link to the login page.
Adding the sensor to your sensor register
Go to the Celsiview 2 login page by clicking on "Celsiview 2 Beta" on celsiview.se and log in. Select
" Sensor " in the menu and then " Add new sensor ". Now scan a sensor or enter the data manually
(S/N + control code written on the sensor). After the sensor data is displayed, click on "Add this
sensor". The cost of the sensor is now presented. Accept by adding the sensor to the shopping bas-
ket. Now scan the remaining sensors in the same way before proceeding to checkout.
Click on the shopping basket and view the contents. A summary of the costs is now displayed. Se-
lect or create an invoice recipient. The invoice recipient should contain all the information needed
to be accepted by your finance department. The references, cost centre, etc. will appear on your
invoice. Click on "Complete transaction" to activate the sensor.
Start and activate the sensor(s)
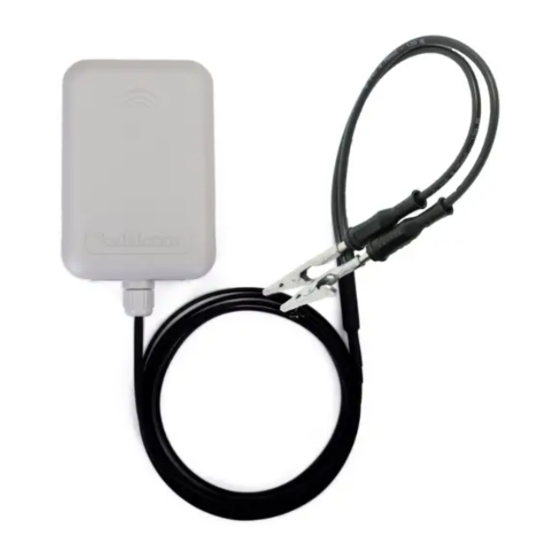
Connect the separate measuring node MM600P1 via the connector on the cable from MM601.
The cable can be plugged into any of the two connector slots on the MM600P1 node. In the free
connector slot, an additional MM600P1 can be connected via a bus cable (purchased separately).
Up to 8 nodes can be connected to one MM601 master sensor. On the round switch you set which
node in the order you connected (1 to 8).
Hold the grey sensor in both hands, place your right and left thumbs on top of the °celsicom logo
on the top of the sensor. Now slide the lid upwards/forwards to open it.
Insert 2 alkaline AA/LR6 batteries (1.5V) into the battery holder. The sensor will now beep to indi-
cate that it is booting up and the orange LED will light up. Both orange and green LEDs will light
up shortly afterwards in a constant light while the sensor is searching for a mobile connection.
The connection to the mobile network may take several minutes.
User manual
MM601 / MM600P1
Advertisement

Related Manuals for Celsicom MM601


Summary of Contents for Celsicom MM601
- Page 1 MM600P1 can be connected via a bus cable (purchased separately). Up to 8 nodes can be connected to one MM601 master sensor. On the round switch you set which node in the order you connected (1 to 8).
- Page 2 To restart the above process or if the sensor does not connect properly, disconnect one battery, wait 60 seconds and reconnect it again. Add/change measurement locations linked to the sensor Each MM601 sensor delivers 8 measurement values if 8 Add all channels Add single channels MM600P1 measurement nodes are connected.
- Page 3 The MM600P1 measuring node should be placed at least 1 meter away from electrical equipment or cables • The bus cable between the MM601 and the MM600P1 should not pass close to the measuring point • The bus cable should be placed as far away from electrical cables/equipment as possible and should not be parallel to other cables •...
- Page 4 Adjustable by users via the Celsiview cloud service. on interval Memory 200 measurements Size MM601 enclosure, 78 (w) x 114 (h) x 30 (d) mm MM600P1 enclosure, 30 (w) x 45 (h) x 20 (d) mm Weight MM601, 148 grams (without battery) MM600P1, 50 grams...