Advertisement
Quick Links
Quick Guide
Register as a customer and create an account for the Celsiview cloud service
At the moment, the Celsiview cloud service, version two, can be tested, it can be accessed by click-
ing on the "Celsiview 2 Beta" button on celsiview.se. The registration of accounts and sensors is
now done in Celsiview version 2.
Click on the "Create new account" button. Fill in all the information needed to create the account.
A verification email will then be sent to the email address provided in the registration process.
Click on the link in the email to verify the account. If you do not receive an email, please check the
spam mail. Once the account is verified, a page will appear with a link to the login page.
Adding the sensor to your sensor registry
Go to the Celsiview 2 login page by clicking on "Celsiview 2 Beta" on celsiview.se and log in. Select
"Sensor" from the menu and then "Add new sensor". Now scan a sensor or enter the data manual-
ly (S/N + control code written on the sensor). After the sensor data is displayed, click on "Add this
sensor". The cost of the sensor is now presented. NOTE! Activate also the concrete strength calcu-
lation function if it is to be used. Accept by adding the sensor to the shopping cart. Now scan the
remaining sensors in the same way.
Click on the shopping basket and view the contents. A summary of the costs is now displayed. Se-
lect or create an invoice recipient. The invoice recipient should contain all the information needed
to be accepted by your finance department. The references, cost centre, etc. will appear on your
invoice. Click on "Complete transaction!" to activate the sensor.
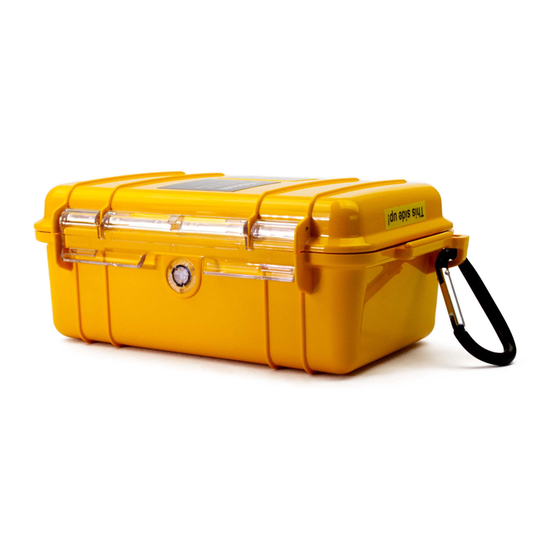
Start and activate the sensor(s)
Open the lid of the sensor via the buckle on one side. Pull the entire front panel upwards/
outwards out of the yellow box by holding some of the four pole screws.
Connect 2 alkaline AA/LR6 batteries (1.5V) to the battery holder. The sensor will now beep to
indicate that it is booting up and an orange LED on the circuit board will light up. Both the orange
and green LEDs light up shortly thereafter in a constant light while the sensor is searching for a
mobile connection. The connection to the mobile network may take several minutes.
When the sensor is properly connected, the orange LED goes out and the green LED starts flashing
and three short beeps are heard. The green LED now flashes the mobile signal strength every 30
seconds for 15 minutes. 3 blink=high level, 2=medium and 1=low. Feel free to move the transducer
to achieve the best possible strength. A better signal strength gives a longer battery life.
For 45 minutes, the sensor will now send data every 3 minutes. After a total of 60 minutes, the
sensor will switch to transmitting less frequently to save battery power. To restart the above pro-
cess press the "Install mode" button on the front panel.
User manual
TC603
Advertisement

Related Manuals for Celsicom T603


Summary of Contents for Celsicom T603
- Page 1 User manual TC603 Quick Guide Register as a customer and create an account for the Celsiview cloud service At the moment, the Celsiview cloud service, version two, can be tested, it can be accessed by click- ing on the ”Celsiview 2 Beta” button on celsiview.se. The registration of accounts and sensors is now done in Celsiview version 2.
- Page 2 Start a concrete measurement If you already have a TC603 concrete sensor and want to use your new sensor together with the other sensors, you can use Celsiview version 1 as before. This is to be able to work with all your sensors together in different castings.
- Page 3 Other information Support All support is handled by our distributors. See celsicom.se for more information. User manuals and other support material are available at support.celsicom.se. Working with thermocouple wire Important! Twist the wires together at the end of the measurement (approx.
- Page 4 User manual T603 Model Measured value Range Maximal Certificate avvikelse TC603 3 x temperatur= Depending on ther- Thermocouple 2 x thermocouple mocouple type** ±0.5°C * 1 x internal sensor Internal sensor ±0,5°C */ Accuracy instrument, without transducer. **/ The sensor is switchable between different types of thermocouples. Type T is standard.