Advertisement
Quick Links
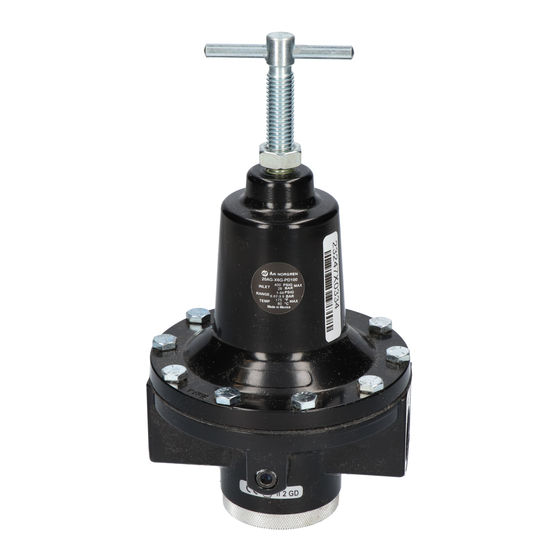
Installation & Maintenance Instructions
20AG Pressure Regulator
Technical data
Fluid: Compressed air
Maximum pressure: 28 bar
Regulator type: Relieving or non-relieving diaphragm
Operating temperature:
Gauge: -20° to +65°C
No gauge: -20° to +80°C
Air supply must be dry enough to avoid ice formation
at temperatures below +2°C.
Main port size: 1/2", 3/4", 1"
Main port thread form: PTF or ISO G
Gauge ports:
1⁄8 PTF with PTF main ports
Rc1/8 with ISO G main ports
Outlet pressure adjustment ranges:**
0.1 to 3.5 bar
0.2 to 8.0 bar
0.7 to 17 bar (1/2" only)
**
Outlet pressure can be adjusted to pressures in excess of,
and less than, those specified. Do not use these units to
control pressures outside of the specified ranges.
Typical flow with 7 bar inlet pressure, 4 bar set
pressure, and a 1 bar droop from set:
1/2" ports: 60 dm3/s , 3/4" ports: 80 dm3/s,
1" ports: 100 dm3/s
Materials:
Body: Zinc
Bonnet: Aluminum
Valve: Brass and nitrile
Valve seat: Brass
Elastomers: Nitrile
Bottom plug:
1/2" ports: Glass filled Nylon
3/4" and 1" ports: Aluminium
Replacement Items
Service kits (includes items circled on exploded view)
1/2" Ported Regulators:
Relieving ............... 20AG-X4-100
Non-relieving ....... 20AG-4-100
3/4" and 1" Ported Regulators:
Relieving ............... 20AG-X8-100
Non-relieving ....... 20AG-8-100
Installation
1. Shut off air pressure. Install regulator in air line
• with air flow in direction of arrow on body
• upstream of lubricators and cycling valves
• as close as possible to the device being serviced
• at any angle
2. Connect piping to proper ports using pipe thread
sealant on male threads only. Do not allow
sealant to enter interior of regulator.
3. Install a pressure gauge or plug the gauge ports.
Gauge ports can also be used as additional
outlets for regulated air.
4. Install a Norgren general purpose filter upstream
of the regulator.
Adjustment
1. Before applying inlet pressure to regulator, turn
adjustment (1) counterclockwise to remove all
force on regulating spring (6).
2. Apply inlet pressure, then turn adjustment (1)
clockwise to increase and counterclockwise to
decrease pressure setting.
3. Always approach the desired pressure from a
lower pressure. When reducing from a higher to a
lower setting, first reduce to some pressure less
than that desired, then bring up to the desired
pressure.
Note
With non-relieving regulators, make pressure reductions with
some air flow in the system. If made under no flow (dead-
end) conditions, the regulator will trap the over-pressure in
the downstream line.
4. Tighten lock nut (2) to lock pressure setting.
Disassembly
1. Regulator can be disassembled without removal
from air line.
2. Shut off inlet pressure. Reduce pressure in inlet
and outlet lines to zero.
3. Turn adjustment (1) counterclockwise to remove
all force on regulating spring (6).
4. Disassemble in general accordance with the
item numbers on exploded view. Do not remove
valve seat (14) unless replacement is necessary.
Remove o-ring (8) using a hook shaped tool,
taking care not to damage o-ring seating
surfaces and valve seat.
Our policy is one of continued research and development. We therefore reserve the right to amend,
without notice, the specifications given in this document. © 2020 Norgren Ltd
3
16
17
1
2
4
5
6
7
8
18
15
14
13
12
11
10
9
12/20
Advertisement

Summary of Contents for Norgren 20AG
- Page 1 Our policy is one of continued research and development. We therefore reserve the right to amend, 12/20 without notice, the specifications given in this document. © 2020 Norgren Ltd...
- Page 2 The system designer is warned to consider the failure Find out more www.norgren.com https://www.norgren.com/us/en https://www.norgren.com/uk/en https://www.norgren.com/de/de Our policy is one of continued research and development. We therefore reserve the right to 12/20 amend, without notice, the specifications given in this document. © 2020 Norgren Ltd...