Advertisement
Quick Links
01865 767676
sales@unicol.com
www.unicol.com
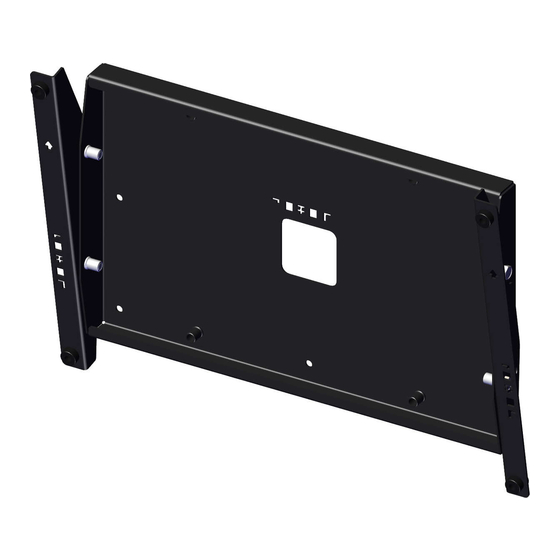
PLX1 / PLX3 / PPX1
PLW1 / PLW3 / PPW1 / PPW3
Screen Size: 33-110"
Guide Max. Weight: 80-150kg
Revised 15/12/20
*Please check model specific details before installing*
WARNING
Please carefully inspect the product before assembling. If you notice any apparent damage, call your
carrier claims agent and do not continue the installation until it has been reviewed. Please watch for
pinch points. Do not put your fingers between moveable parts. Do not tamper with or disassemble any
spring loaded parts. Before installing, make sure that the supporting surface will support five times the
combined load of the solution and the hardware. Never exceed the maximum load capacity. Please also
layout all components to ensure that you have all of the required parts before proceeding (see BOM list
on following page). Use of this product for anything other than its specified use may result in failure or
personal injury. This product is intended for indoor use only. We recommend using a qualified trades
person for installation. Use an assistant or lifting equipment to lift and position products.
For support, please call: +44 (0)1865 767676 or email: sales@unicol.com
Advertisement

Related Manuals for Unicol PLX1


Summary of Contents for Unicol PLX1
- Page 1 This product is intended for indoor use only. We recommend using a qualified trades person for installation. Use an assistant or lifting equipment to lift and position products. For support, please call: +44 (0)1865 767676 or email: sales@unicol.com...
- Page 2 01865 767676 sales@unicol.com www.unicol.com TOOLS REQUIRED INSTALLERS REQUIRED Pozi Head Screwdriver 17mm Spanner (when fixing to trolley) 3/16th Allen Key COMPONENTS DESCRIPTION Dedicated Mount Arms Dedicated Back Plate M8 x 25 Cross Head Screws Optional 15mm Diameter Spacers PLW Dedicated Tilting Mount Arms...
- Page 3 01865 767676 sales@unicol.com www.unicol.com WALL FIXING STEP 1 STEP 2 Using the 4 - 8 wall mounting slots cut out on the Utilising the fixing pack provided with your mount, back plate, determine where you want to install attach the arms to the back of your screen.
- Page 4 01865 767676 sales@unicol.com www.unicol.com STAND / TROLLEY STEP 2 STEP 1 Line the back plate up with the mount adapter, Utilising the fixing pack provided with your mount, as shown above. Fix 4 screws from behind the attach the arms to the back of your screen.