Canon PowerShot A570 IS User Manual
Canon user guide digital camera powershot a570 is
Hide thumbs
Also See for PowerShot A570 IS:
- User manual (131 pages) ,
- System map (2 pages) ,
- Advanced user's manual (131 pages)
Table of Contents
Advertisement
Advertisement
Table of Contents

Related Manuals for Canon PowerShot A570 IS


Summary of Contents for Canon PowerShot A570 IS
-
Page 1: Please Read This First
CDI-E309-010 © 2007 CANON INC. ENGLISH Basic Camera User Guide Please Read This First This guide explains how to prepare the camera and use its basic features. PRINTED IN MALAYSIA The Components Guide Preparation Shooting Playback/Erasing Menus and Settings Printing... - Page 2 Guide (This Guide) • Read this first. Advanced Camera User Guide Direct Print User Guide Basic Camera User Guide (This Guide) Software Starter Guide ZoomBrowser EX/ ImageBrowser Software User Guide • PDF manuals available on the Canon website. http://web.canon.jp/ Imaging/information-e.html...
-
Page 3: The Components Guide
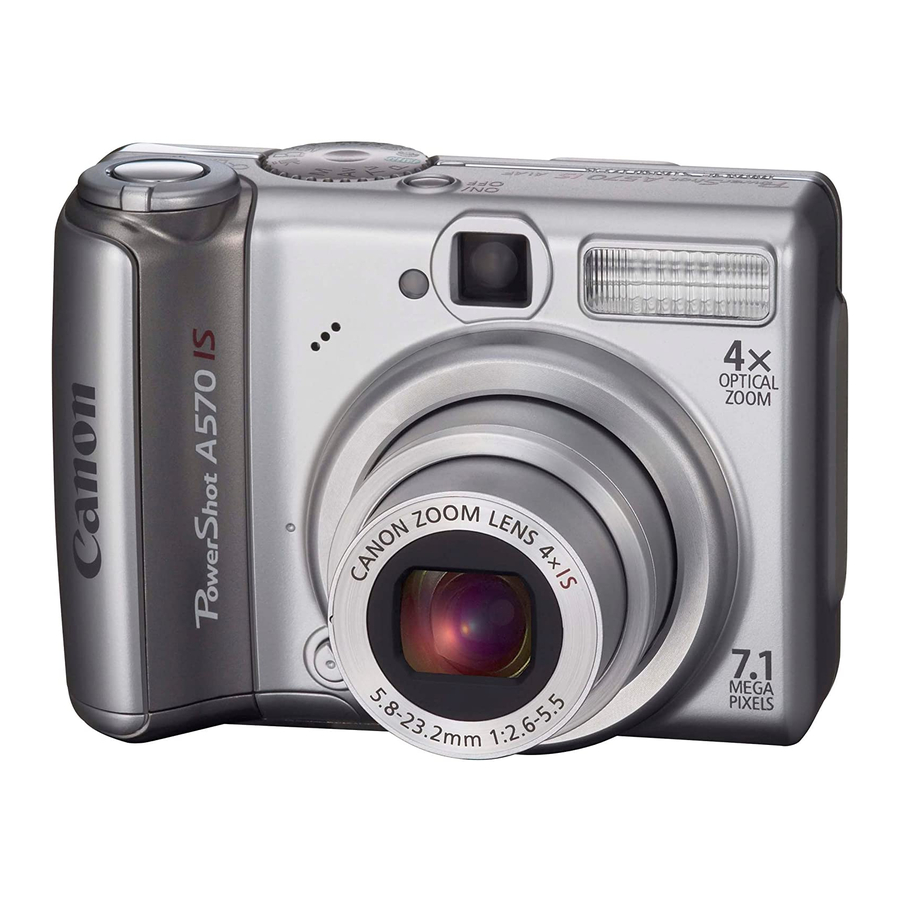
The Components Guide Front View a Microphone (Advanced Guide p. 71) b AF-assist Beam (Advanced Guide p. 21) c Red-Eye Reduction Lamp (Advanced Guide p. 28) d Self-Timer Lamp (p. 14) e Viewfinder Window (Advanced Guide p. 16) f Flash (p. 12) g Terminal Cover h A/V OUT (Audio/Video output) Terminal (Advanced Guide p. -
Page 4: Back View
Back View a LCD Monitor (Advanced Guide p. 12) b Viewfinder (Advanced Guide p. 16) c Speaker d Wrist Strap Mount e Memory Card Slot / Battery Cover Lock (p. 5) f Memory Card Slot / Battery Cover (p. 5) g Tripod Socket It is recommended to use the Wrist Strap to avoid dropping during camera use. - Page 5 Controls a Indicators (p. 4) b Power Lamp c Power Button (p. 8) d Zoom Lever (p. 12, Advanced Guide p. 63) Shooting: (Wide Angle)/ Playback: (Index)/ e Shutter Button (p. 8) f Shooting Mode Dial (pp. 8, 9) g Mode Switch (pp. 8, 16) (Print/Share) Button (pp.
- Page 6 Indicators The camera indicators will light or blink under the following conditions. Never do the following while the indicator blinks green. These actions may corrupt image data. • Shake or jolt the camera • Shut off the power, or open the memory card slot/battery cover •...
-
Page 7: Installing The Batteries
Installing the batteries. 1. Slide the memory card slot/battery cover lock in the direction of the arrow and open the cover. 2. Insert the 2 supplied AA-size alkaline batteries, or separately sold AA-size NiMH batteries. Inserting the Memory Card. 1. Insert the memory card until it clicks into place. 2. -
Page 8: To Remove The Memory Card
To Remove the Memory Card Push the memory card with your finger until the memory card clicks and then release it. You can use SD memory cards, SDHC memory cards and MultiMediaCards with this camera. These cards are collectively called memory cards in this guide. -
Page 9: Setting Date/Time
First Time Settings Setting the Date/Time 1. Press the power button (a). 2. Use the button to change its value (b). 3. Confirm that the correct time is displayed and press the FUNC./SET button (c). The date and time can also be set in the Set up menu (p. 19). The date/time setting screen will appear when the camera power is turned on for the first time, or when the capacity of the lithium date/time battery is depleted. -
Page 10: Press The Power Button
Press the power button. The start-up sound will play and the start- up image will display in the LCD monitor. • Pressing the power button again turns the power off. • Pressing the power button while pressing and holding the DISP. button will turn on the mute setting which will mute all sounds except for warning sounds. -
Page 11: Reviewing An Image Right After Shooting
2. Press the shutter button fully to shoot. The shutter sound will play and the image will record. The indicator will blink green while the image is recorded to the memory card. See Indicators (p. 4). See the Advanced Guide: Selecting an AF Frame (p. 43). See the Advanced Guide: Setting the Image Stabilizer Function (p. -
Page 12: Shooting Modes
Shooting Modes Auto The camera automatically selects settings. When a shooting mode appropriate for the shooting conditions is selected, the camera automatically adjusts settings for optimal shooting. Portrait Blurs the background and makes a person stand out. Night Snapshot Allows you to take snapshots of people against twilight or night backgrounds by reducing the... - Page 13 Underwater Appropriate for shooting images with Waterproof Case WP- DC12 (sold separately). This mode uses an optimal white balance setting to reduce bluish tones and record images with a natural hue. Stitch Assist Allows you to shoot overlapping images that can later be Image merged (stitched) to create one panoramic image on a zone...
-
Page 14: Using The Zoom
Using the Zoom 1. Press the zoom lever toward The zoom can be adjusted from 35 mm – 140 mm (focal length) in 35mm film equivalent terms. Using the Flash 1. Press the cannot be set in You are recommended to shoot with the camera attached to a tripod or other device if the camera shake warning icon the subject. -
Page 15: Shooting Close-Ups (Macro)
When the LCD monitor is on and flash recharging begins, the indicator blinks orange and the LCD monitor turns off. When recharging ends, the indicator turns off and the LCD monitor turns on. The time required for flash recharging will change depending on usage conditions and remaining battery power. -
Page 16: Using The Self-Timer
Using the Self-Timer 1. FUNC. Menu * Default setting. • When the shutter button is pressed fully, the self-timer lamp will blink. When setting the red-eye reduction function, the self-timer lamp will blink and then stay lit for the last 2 seconds. - Page 17 Changing the Delay Time and Number of Shots 1. FUNC. Menu 2. Press the MENU button. 3. Select [Delay] or [Shots] using the change the settings using the FUNC./SET button. If the [Shots] option is set to 2 or more shots, the following occurs.
- Page 18 Set the mode switch to The last recorded image will display. If you have played back images between shooting sessions however, the last image viewed will display (Resume Playback) instead of the last recorded image. If the memory card has been switched, or the images on the memory card have been edited with a computer, the newest image on the memory card appears.
- Page 19 In the playback mode, use the an image to erase (a) and press the Confirm that [Erase] is selected and press the FUNC./SET button (c). To exit instead of erasing, select [Cancel]. Please note that erased images cannot be recovered. Exercise adequate caution before erasing an image.
-
Page 20: Menus And Settings
Settings for the shooting, playback or print modes or such camera settings as the date/time and sounds are set using the FUNC., Rec., Play, Print or Set up menu. FUNC. Menu This menu sets many of the common shooting functions. •This example shows the FUNC. - Page 21 Rec., Play, Print and Set up Menus Convenient settings for shooting, playback or printing can be set with these menus. (Rec.) Menu You can switch between menus with button when this part is selected. •This example shows the Rec. menu when in •...
- Page 22 Connect the camera to a direct print compatible printer and turn on the printer’s power. Camera Since this camera uses a standard protocol (PictBridge), you can use it with other PictBridge-compliant printers in addition to Canon-brand printers. You can also use the CP-10/CP-100/CP-200/CP-300 card photo printers. Printing button on the camera.
- Page 23 Turn on the power in playback mode and confirm that is displayed in the upper left of the LCD monitor (a). • The button will light blue. • The displayed icon will vary according to the printer model. • will display for movies. Select an image to print using the and press the button will blink blue and printing will start.
-
Page 24: Downloading Images To A Computer
Downloading Images to a Computer The following methods can be used to download images recorded by the camera to a computer. Some methods, depending on the OS used, may not be available. Please read System Requirements (p. 23) in advance. Camera to Computer Connection Supplied Software Downloading Method... -
Page 25: System Requirements
Interface Free Hard Disk • Canon Utilities Space - ZoomBrowser EX - PhotoStitch • Canon Camera TWAIN Driver Display 1,024 x 768 pixels/High Color (16 bit) or better Macintosh Mac OS X (v10.3 – v10.4) Computer Model The above OS should be pre-installed on computers with built-in USB ports. -
Page 26: Preparing To Download Images
Ensure that you install the software first before connecting the camera to the computer. Items to Prepare • Camera and computer • Canon Digital Camera Solution Disk supplied with the camera • Interface cable supplied with the camera Install the software. 1. Place the Canon Digital Camera Solution Disk in the computer’s CD-ROM drive. -
Page 27: Connecting The Camera To A Computer
Connecting the camera to a computer. 1. Use the supplied interface cable to connect the computer’s USB port to the camera’s DIGITAL terminal. Slip your fingernail under the right edge of the camera’s terminal cover, lift it open and plug the interface cable in all the way. Interface Cable 2. - Page 28 Select [Canon CameraWindow] and click [OK] (first time only). If the window above does not appear, click the [Start] menu and select [All Programs] or [Programs], followed by [Canon Utilities], [CameraWindow], [PowerShot - IXY - IXUS - DV 6] and [CameraWindow].
-
Page 29: Download The Images
Download the images. • Download the images using the camera or the computer. • By default, the downloaded images are saved into the [Pictures] or the [My Pictures] folder. Downloading Images Using the Camera (p. 29). Downloading Images Using a Computer. - Page 30 The following window will appear when you establish a connection between the camera and computer. If it fails to appear, click the [Canon CameraWindow] icon on the Dock (the bar which appears at the bottom of the desktop). Download the images.
-
Page 31: Direct Transfer
Downloading Images Using the Camera (Direct Transfer) Use this method to download images using camera operations. Install the supplied software and adjust the computer settings before using this method for the first time (p. 24). All Images New Images DPOF Trans. Images Select &... - Page 32 Select & Transfer/Wallpaper Select FUNC./SET button). Select images to download and press the (or the FUNC./SET button). • The images will download. The button will blink blue while downloading is in progress. • Images can also be selected during index playback (Advanced Guide p.
- Page 33 MEMO...
- Page 34 MEMO...
-
Page 35: Safety Precautions
Safety Precautions Be sure to read, understand and follow the safety precautions below when using the camera, in order to prevent injury, burns or electrical shock to yourself and others. Be sure to also read the safety precautions listed in the Advanced Camera User Guide.