Advertisement
Quick Links
INSTALLATION
INSTALLATION
INFORMATION
INFORMATION
Professional Service
!
WARNING
Required
Incorrect installation, adjustment, and
use of this burner could result in severe
personal injury, death, or substantial
property damage from fi re, carbon mon-
oxide poisoning, soot or explosion.
Please read and understand the manual supplied with this
equipment. This equipment must be installed, adjusted and put
into operation only by a qualifi ed individual or service agency
that is:
1.
Licensed or certifi ed to install and provide technical ser-
vice to oil heating systems.
2.
Experienced with all applicable codes, standards and
ordinances.
3.
Responsible for the correct installation and commission of
this equipment.
4.
Skilled in the adjustment of oil burners using combustion
test instruments.
The installation must strictly comply with all applicable codes,
authorities having jurisdiction and the latest revision of the Na-
tional Fire Protection Association Standard for the installation
of Oil-burning Equipment, NFPA 31 (or CSA B139 and B140 in
Canada).
Regulation by these authorities take precedence over the gen-
eral instructions provided in this installation manual.
Notice Special Requirements
Figure 1 shows the required clearances around the
burner for a successful and easy cover installation.
System Installation Requirements
!
WARNING
Electrical Shock Hazard
Electrical shock can cause severe personal
injury or death.
Disconnect electrical power before installing or servicing the
burner.
Review the existing oil lines. They must be installed so
that they will pass out through the slot in the bottom of
the cover. If they do not, they must be removed and rein-
stalled later. (See Figure 3.)
.
Preparing to Install the Cover
1.
Remove the burner from the appliance. Loosen
the two front igniter hold down screws and swing
the igniter back on its hinge. Remove the copper
oil line from the escutcheon plate by loosening
the spline nut and removing the line. Pull the
nozzle line electrode assembly out of the burner
housing and set to one side.
2.
Remove the four air tube mounting screws and
detach the air tube assembly. Retain the screws
and air tube assembly for reinstallation. (Refer to
Figure 2.)
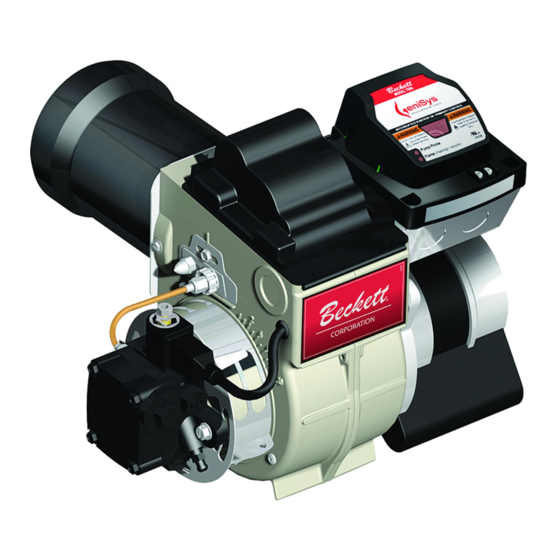
AF/AFG/CF375/NX BURNER COVER
AF/AFG/CF375/NX BURNER COVER
(WITH ONE PIECE MOUNTING PLATE)
(WITH ONE PIECE MOUNTING PLATE)
PART NO. 5207302U & 5207303U
PART NO. 5207302U & 5207303U
1/2"
MINIMUM CLEAR *
6 1/4"
12 1/2"
6 1/4"
3.
Remove the four Phillip's head screws from the
existing square plate on the front of the burner.
Discard the old square front plate.
4.
Attach the new front plate using the four Phillip's
head screw removed in Step 3.
5.
Reattach the air tube assembly using the four air
tube mounting screws. Reinstall the nozzle line
electrode assembly, secure with the spline nut
and reattach the copper oil line. Before placing
the burner in service check for leaks, and make
sure the Z dimension is correct per the set-up
instructions in the Beckett Installation Manual
supplied with your burner.
6.
To install the cover, place the guide pins through
the triangular holes in the cover mounting plate
and snap the latches over the edge of the
mounting plate.
7.
To latch the bottom of the cover, slightly pull on
4"
MINIMUM
L
C
15"
7 1/2"
L
C
3" RECOMMENDED FOR
OIL SUPPLY LINE CLEARENCE
Figure 1
22" CLEARENCE FOR
COVER REMOVAL
SK9892
Advertisement

Summary of Contents for R.W. BECKETT AF
- Page 1 AF/AFG/CF375/NX BURNER COVER AF/AFG/CF375/NX BURNER COVER INSTALLATION INSTALLATION (WITH ONE PIECE MOUNTING PLATE) (WITH ONE PIECE MOUNTING PLATE) INFORMATION INFORMATION PART NO. 5207302U & 5207303U PART NO. 5207302U & 5207303U 22" CLEARENCE FOR Professional Service WARNING COVER REMOVAL Required 1/2"...
- Page 2 In- stall the cover onto front plate as- sembly. Check combustion. Make all necessary adjustments. R.W. BECKETT CORPORATION R.W. BECKETT CANADA, LTD P.O. Box 1289, 430 Laird, Unit 3, Elyria, Ohio 44036 Guelph, Ontario, N1G 3X7 1-800-645-2876...