Advertisement
Quick Links
Important: When attaching two cabinets together, pre drill holes on the face frame to avoid material split.
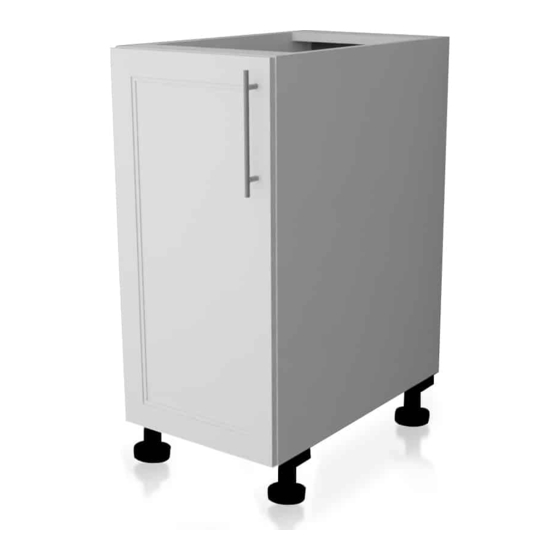
This assembly instruction applies to the single and double door base cabinets (Item: B09 B12 B15 B18 B21 B24 B27 B30 B36 B33
BBC36)
Parts included:
Item
A
Face Frame with Door
B
Side Panel
C
Bottom
D
Back Panel
E
Drawer Rail Holders
F
Drawer Front
G
Drawer Sides with Slides preinstalled
H
Drawer Back
I
Drawer Slides Rails (right and left)
Step by step
1. Check and count the items in the box before your installation. If you are short any pieces, stop and call the supplier. Otherwise, follow
the steps below.
2. Put the face frame (A) face down on a flat soft working surface (Figure 1).
3. Install side panels (Figure 2): insert right and left side panels (B) into the grooves of face frame (A) and align the cam lock connectors
(Figure 2). Lock the cam lock with a screwdriver by turning the screw 180 degree clockwise (Figure 4).
4. Install the bottom (Figure 3): gently spread side panels and insert bottom (C) into the grooves of side panel (B) until it touches the face
frame (A). Align it and lock each cam lock.
5. Install the back panel and toe kick (Figure 5): before you start this step, put the back panel (D) on a flat surface face up. Install the
drawer rail holders (E) in the pre-spotted area on the back panel (Figure 6). The opening of the holders should be facing towards each
other. Secure them with 2 round head screws (Q) (Figure 6). Then put the back panel (D) at rear of side panel (B) (Figure 5). Align it
and lock each cam lock. Install the toe kick by locking the cam lock at both ends (Figure 5).
6. Install the shelves: insert the shelf clips into the holes on the side panels at the desired height and slide in the shelves (L).
7. Install the drawer slide rails (Figure 7): insert the drawer slide rails backend into the holder (E) previously installed (step 5) on the
back panel. Then secure the drawer rail front end with 3/8" screws using the predrilled holes in the face frame. Repeat this step for
more drawers.
8. Drawer assembly (Figure 8): place the drawer face face down on a flat soft working surface. Align the two drawer sides and lock the
cam lock. Slide drawer bottom (J) into the grooves of drawer sides (G). Then place drawer back (H) and lock the cam lock. Repeat
this step for more drawers.
9. Install Corner Braces (Figure 9) and insert the drawers: place the corner braces on each top corner of the cabinet and secure them with
1/2" Corner Brace Screws. Slide the drawer into the rail and check the drawer position and adjust the drawer slides rail location for
best operation if necessary. 2" screws are used for connecting corner braces and counter top.
A
Figure 1
Base Cabinets
Assembly Instructions
Qt
1
2
1
1
2
1
2
1
2
C
B
B
Figure 2
Figure 3
Item
J
Drawer Bottom
K
Shelf Clips
L
Shelf
M
Toe Kick
N
Corner Braces
O
4/5" Drawer Rail Screws
P
1/2" Corner Brace Screws
Q
1/2" Round Head Screws
R
2" Screws
B
B
Figure 4
Qt
1
4
1
1
4
4
8
8
4
D
B
Figure 5
Advertisement

