Advertisement
Quick Links
MEASURING CABLE REPLACEMENT
INSTRUCTIONS FOR
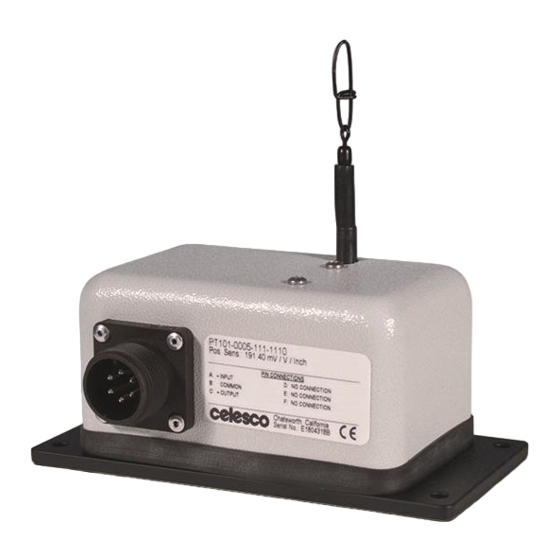
PT101 (INSTRUMENT GRADE) SERIES
For Models
PT101, PT420, & PT510
Celesco Transducer Products 7800 Deering Avenue, Canoga Park, CA 91309 Tel: 800-423-
5483, Fax 818-340-1175
Created 4/18/00 C:data/PT101man
Page 1 of 4
Advertisement

Related Manuals for celesco PT101 Series

Summary of Contents for celesco PT101 Series
- Page 1 MEASURING CABLE REPLACEMENT INSTRUCTIONS FOR PT101 (INSTRUMENT GRADE) SERIES For Models PT101, PT420, & PT510 Celesco Transducer Products 7800 Deering Avenue, Canoga Park, CA 91309 Tel: 800-423- 5483, Fax 818-340-1175 Created 4/18/00 C:data/PT101man Page 1 of 4...
- Page 2 If rough spots, resistance, or “soft” stops are felt, the potentiometer is damaged and must be replaced. Contact Celesco for new potentiometers and replace if necessary. Extend the measurement cable a short distance and cut it with a pair of wire cutters.
- Page 3 If rough spots, resistance, or “soft” stops are felt, the potentiometer is damaged and must be replaced. Contact Celesco for new potentiometers and replace if necessary. Remove the #8-32 screws holding the pot side plate to the frame and set aside.
- Page 4 Place a crimp over the end of the cable (inside the spool) with as little excess cable showing as possible. Squeeze the crimp with a crimp tool or a pair of pliers to secure it on the cable. While keeping slack out of the measurement cable, replace the spool in the frame. Replace the pot side plate and the #8-32 screws holding it in place.