Advertisement
Quick Links
SUPPLEMENTARY INSTRUCTIONS to the DLC
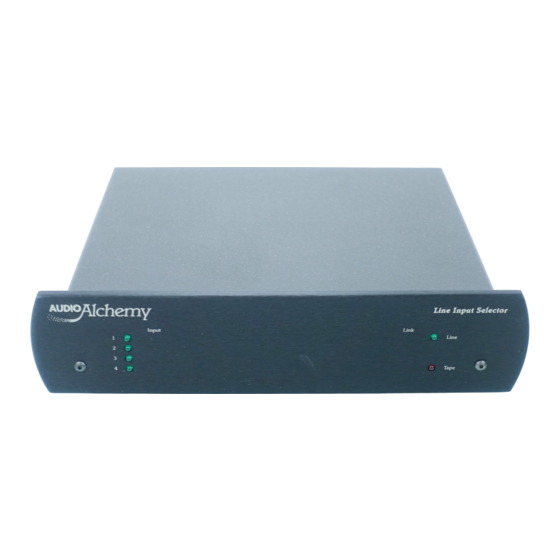
Thank you for purchasing the new Audio Alchemy Line Input Selector (LIS). In order to get full
benefit of the system's available features, please read the following instructions before installation
and operation as there are several options you should be aware of prior to plugging everything in. A
little forethought now will save time reconnecting things later.
Initial configuration
In order for the DLC/LIS combination to work correctly, your DLC must recognize the LIS. This
requires that the micro-controller in the DLC be changed for the new one we've enclosed with the
LIS. To do this, remove power and disconnect all inputs from your DLC. Then install the enclosed
newly programmed Code Revision 2.6 micro-controller chip in your DLC by referring to the
enclosed drawing and following these directions:
1. Expose the internal circuit board by removing the 5 Phillips screws from the rear panel, which
secure the cover to the base assembly. Pull the cover back, away from the faceplate, to remove it.
2. Next, place the DLC with the faceplate towards you, and locate the original micro-controller U3
(it looks like the new one).
3. Grasp the ends ofU3 and pull up firmly to remove it from the socket. You may need to use a
small screwdriver to gently pry up on its ends.
Line Input Selector (LIS)
Advertisement

Summary of Contents for Audio Alchemy Line Input Selector
- Page 1 Line Input Selector (LIS) SUPPLEMENTARY INSTRUCTIONS to the DLC Thank you for purchasing the new Audio Alchemy Line Input Selector (LIS). In order to get full benefit of the system's available features, please read the following instructions before installation and operation as there are several options you should be aware of prior to plugging everything in. A little forethought now will save time reconnecting things later.
- Page 2 4. Looking at the now-exposed socket, you will see a notch at the right end. 5. Carefully remove the new micro-controller chip from its static-protective bag and note that one corner has a dot molded into it. Grasp the ends of the chip, trying to not touch any of its pins, and remove it from the protective foam.
- Page 3 Lastly, with your power amplifier(s) OFF, reattach your DLC to your amplifier. You can now connect the DLC and LIS power supply's to AC Mains. Programming Mode Changes Several aspects of your DLC's programming mode have been changed with the new software. First, to enter programming mode you no longer must power down the DLC.
- Page 4 DLC/LIS, and in the middle position to enter programming mode, or to operate LIS separate from the DLC. Your LIS is now ready to provide you with years of superior performance. Enjoy! Audio Alchemy, Inc. Specifications and features subject to change without notice. Lisinst.doc 4/10/95 Audio Alchemy, Inc.