Table of Contents
Advertisement
Quick Links
P r o d u c t s
Savina
Product Numbers
845/004/...
845/144/...
JADO USA
6615 West Boston
Chandler, AZ 85226
Phone: (8OO) 227-2734
Fax: (8OO) 552-JADO (5236)
www.jadousa.com
© J A D O U S A 2 0 1 0
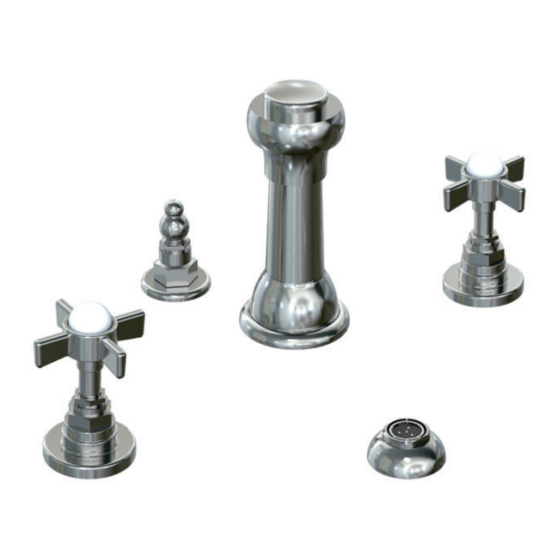
Three Hole Bidet Set
Three Hole Bidet Set
with Vacuum Breaker
with Vacuum Breaker
Installation Instructions
To ensure that your installation proceeds smoothly--please
read these instructions carefully before you begin.
L u x u r y
F a u c e t s
a n d
A c c e s s o r i e s
H 9 6 5 8 5 1
Advertisement
Table of Contents

Related Manuals for JADO Savina 845/004 Series


Summary of Contents for JADO Savina 845/004 Series
- Page 1 Savina Product Numbers 845/004/... 845/144/... JADO USA 6615 West Boston Chandler, AZ 85226 Phone: (8OO) 227-2734 Fax: (8OO) 552-JADO (5236) www.jadousa.com © J A D O U S A 2 0 1 0 H 9 6 5 8 5 1...
-
Page 2: Recommended Tools
RECOMMENDED TOOLS Phillips Screwdriver Channel Locks Teflon Tape Plumbers' Putty or Caulking Regular Screwdriver Adjustable Wrench Tubing Cutter ROUGHING-IN DIMENSIONS 152mm TO 305mm MAX. 43.5mm 330mm (6" TO 12" MAX.) (1-3/4") (MAX 13") LIFT ROD DIVERTER AND VACUUM 62mm 92.8mm BREAKER 92.8mm (2-7/16"... -
Page 3: Install Handles
INSTALL VALVE BODIES Thread LOCKNUT (1) to bottom of VALVE BODY (2). Make sure RUBBER WASHER (3) and METAL WASHER (4) are installed. Insert VALVE BODY (2) through mounting hole from underside of bidet mounting surface. Note: VALVE BODY marked Hot (RED DOT) is installed in the left mtg. hole, VALVE BODY marked Cold (BLUE DOT) in the right when facing front of fitting.Maximum mounting surface thickness is 1-1/4". - Page 4 POP-UP DRAIN Fig. A. Fig. B. Remove CLEAR PLASTIC COVER (1). Remove CARDBOARD SPACER (2) from under DRAIN BODY DRAIN POP-UP (3). Tighten TAILPIECE (4) on DRAIN BODY before installing DRAIN BODY. Fig. B. REMOVE FLANGE Fig. A. Fig. B. Thread FLANGE (1) counter-clockwise and remove FLANGE (1) and FOAM GASKET (2) from drain body.
- Page 5 ATTACH CABLE Fig. A. Fig. B. Fig. C. CONNECTOR POP-UP KNOB (1) must be fully DOWN down. Fig. A. Thread CABLE CONNECTOR (1) clockwise onto DRAIN BODY CONNECTION (2) and hand tighten. Fig. B. Your new POP-UP DRAIN installation is now complete. Fig.
- Page 6 JADO will not be liable for labor or other costs relating to the sale, installation, or replacement of their products. In the event of a defect in any JADO product covered by this warranty, the product must be returned to the dealer where originally purchased JADO BATHROOM AND HARDWARE MFG.
-
Page 7: Troubleshooting Guide
Speed Connect ® Drain Troubleshooting Guide If sink does not hold water even though Stopper is in the “down” position: • Follow CABLE ADJUSTMENT PROCEDURE. If Stopper does not raise up fully or sink drains too slowly: • Follow CABLE ADJUSTMENT PROCEDURE. If you need to remove the Stopper: •... -
Page 8: Unlocked Mode
STOPPER INSTALLATION PROCEDURE The Stopper can be installed two ways, “Locked” Mode (Stopper cannot be removed) or “Unlock” Mode (Stopper is removable). Locked Mode: Look at the Plastic Loop at the bottom of the Stopper and notice Fig. G. that the Loop is on one side of the Stopper. Fig. G. To install the stopper in “Locked”...