Advertisement
Quick Links
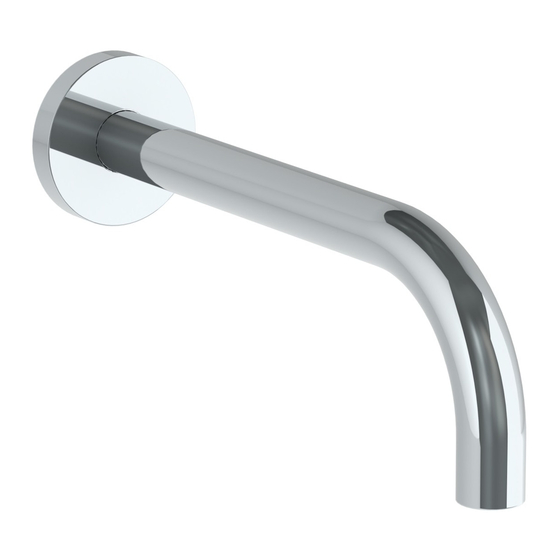
AUT-WT1
AUTOMATIC TOUCH ON/OFF
AUT-WTM2
AUTOMATIC METERED TOUCH
AUT-WP3
AUTOMATIC TOUCHFREE
AUT-WPM4
AUTOMATIC METERED TOUCHFREE
Features:
•
Can be used with most Watermark wall mount spouts and finishes
•
No visible sensor – turns the spout itself into the sensor
•
Battery operated – no need for hardwiring
•
Safety timeout so water doesn't run indefinitely (WT1 and WP3 only)
•
Metered option to satisfy local codes for public bathrooms
•
No temperature control – water should be pre-tempered
Specifications:
•
Working water pressure: 20 PSI to 85 PSI
•
Working water temperature: 45°F to 120°F
•
Working environmental temperature: 35°F to 100°F
•
Flow Rate: 1.2 GPM
•
IP55 water and dust protection
•
6V CR-P2 lithium battery (included)
•
12 second metering cycle (WTM2 and WPM4 only) provides 0.24 gallons per cycle
•
Shipping weight (lbs.): 10
•
Shipping dimension (in.): 29 x 12 x 4
Note:
•
DO NOT USE PLUMBER'S PUTTY ON ANY OF THE BRASS COMPONENTS
This will cause the finish to tarnish and void the warranty. A non-corrosive Alkoxy Silicone is
recommended.
•
DURING SWEATING OF LINES DO NOT OVERHEAT CASTING
Overheating may cause damage to internal mechanism and void the manufacturer's warranty as well
as increase the risk of scalding.
•
COPPER ADAPTORS MAY BE REQUIRED TO COMPLETE YOUR INSTALLATION
•
Not for use with metallic sinks or counters.
Diagram A - Dimensions
WALL MOUNT AUTOMATIC FAUCET
INSTALLATION FOR
P a g e
Rev. 2/20
| 1
Advertisement

Related Manuals for Watermark AUT-WT1

Summary of Contents for Watermark AUT-WT1
- Page 1 AUTOMATIC TOUCHFREE AUT-WPM4 AUTOMATIC METERED TOUCHFREE Features: • Can be used with most Watermark wall mount spouts and finishes • No visible sensor – turns the spout itself into the sensor • Battery operated – no need for hardwiring •...
-
Page 2: Installation
INSTALLATION FOR WALL MOUNT AUTOMATIC FAUCET Description Qty. Diagram B – Parts Checklist Spout Assembly Spout Adapter Solenoid Valve Solenoid Bracket Electrical Box Solenoid Adapter Battery Wood Screw Drywall Anchor 10 Wall Clip Installation 1. Flush the lines of all dirt and debris. Note: Failure to completely flush lines will cause valve failure and will void the warranty. - Page 3 INSTALLATION FOR WALL MOUNT AUTOMATIC FAUCET Note: Refer to Diagrams B, C and D for Steps 9 – 10. 9. Connect the premixed water supply to Solenoid Adapter (6) on Solenoid Inlet (11) using nipples and fittings as needed. 10. Connect nipples and fittings from Solenoid Adapter (6) on Solenoid Outlet (12) to Spout Adapter (2): a.
-
Page 4: Troubleshooting
INSTALLATION FOR WALL MOUNT AUTOMATIC FAUCET For WPM4, move hand near Spout Adapter (2) to turn on. Remove hand and check for leaks. Flow will turn off automatically after about 12 seconds. 14. Remove Battery (7) and turn supply back off. 15. - Page 5 INSTALLATION FOR WALL MOUNT AUTOMATIC FAUCET button 1 time for each level to be changed. When desired level is reached, wait for series of flashes from Red LED to confirm level. Note: Level should be adjusted 1 step at a time and tested. Calibration not Follow Step 20 above.