Advertisement
Quick Links
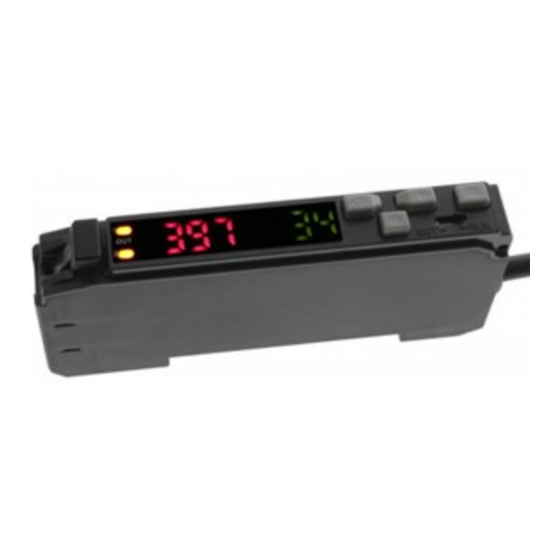
Digital Fiber Amplifier
D2RF/D2GF Series
Instruction Manual
Thank you for purchasing the D2RF Series. We hope you are fully satisfied with this product and
enjoy it's performance.
Carefully read this instruction manual and keep it for future reference.
Carefully read and understand the safety precautions before operation.
The important information is provided to protect your health and property.
Do not apply any other installing or operating procedure other than that described in
this manual.
Safety Precautions
CAUTION
It is dangerous to wire or attach/remove the connector with the
power on. Make sure to turn off the power before operation.
Make sure to use the product with the protective cover attached
and closed.
Installing in the following places may result in malfunction:
1. A dusty or steamy place
2. A place generating corrosive gas
3. A place directly receiving water or oil mist.
4. A place that is subjected to heavy vibration or impacts.
The product is not designed for outdoor use.
Do not use the sensor in transient state after power on
(approx. 100 ms).
Do not wire with the high voltage cable or the power line.
Failure to do this will cause malfunction by induction or damage.
The sensor performance or digital display values may depend on
the individual units or the condition of detected product.
This product is not an explosion-proof construction. Do not use the
product in a flammable, explosive gas or liquid environment.
Do not use the product in water.
Do not disassemble, repair, or convert the product.
Failure to do this may cause failure, fire, or electric shock.
Operate within the rated range.
This product cannot be used as a safety device to
protect human body.
Part Description
Optex-FA U.S. sales
Analog Output Model
D2RF-TAN
D2RF-TAP
Ramco Innovations
Model
Cable type
Power source, voltage
Consumption current
45mA or less / 24V (When not using analog output)
Response time
Control output
Output method
Short-circuit protection
Light source
Output Indicator: Orange / 7 segment / 8 digit display
Indicator light / Display
Sensitivity setting
Timer function
Timer time
Analog Output
Operating
temperature/humidity
Store temperature/
humidity
10 ~ 55Hz Amplitude 1.5mm 2 hours for each
Shock resistance
Protective category
Material
Weight
Mounting Amplifier
Attaching to and Removing from DIN rail
Attaching the amplifier.
Attach the front of the amplifier onto the DIN rail
or mounting bracket. Press the back of the amplifier
down until it snaps into place.
Amplifier removal.
Push the amplifier in the direction of
front of the sensor and remove.
How to connect the fiber cables
Open fiber lock lever.
Insert fiber into holes to stop.
Approximately 15mm guided by fiber sign
Return fiber lock lever until it stops.
CAUTION
When using diffuse reflection co-axial fiber cables the cable with the single core
or white line is the emitter, the multi-core fiber is the receiver.
How to use Fiber Adapter
Turn adapter cap completely counter-clockwise,
then insert the fiber.
Lock the cable by turning adapter cap clockwise.
Cut the excess fiber with fiber cutter.
(800) 280-6933
Analog Output
D2RF-TA (N/P)
12-24V DC ±10% including ripple
60 s / 250 s / 2 ms (Fast/Standard/Long)
NPN / PNP Open collector 100mA /
30V or less
Load current: 100mA or less
Residual voltage: 1.8V or less
Selectable Light on / Dark on
Incorporated
Red LED
Teaching / Manual adjustment
OFF, On delay timer, Off delay timer,
One-shot timer
1ms - 9 sec.
4 to 20 mA
o
-25 ~ +55 C / 35 ~ 85% RH
No freezing and No condensation
o
-40 ~ +70 C / 35 ~ 85% RH
No freezing and No condensation
direction of X,Y and Z
IP50
Case: PPE, Cover: PC
70g (Including cable)
, lift the
Fine fiber
Cut position
www.optex-ramco.com
Adapter cap
Advertisement

Summary of Contents for OPTEX FA D2RF Series
- Page 1 Red LED Output Indicator: Orange / 7 segment / 8 digit display Indicator light / Display Thank you for purchasing the D2RF Series. We hope you are fully satisfied with this product and Sensitivity setting Teaching / Manual adjustment enjoy it's performance.
- Page 2 Adjustment Setting Maximum Sensitivity Auto Teaching Switch to SET. Switch to SET. Thru-beam / Reflective type: Start and end: Perform the adjustment with objects passing by the sensor. Select Auto teaching. Select Single-point teaching. Thru-beam type: Perform the adjustment with an object present. Start: Press the teaching button.
-
Page 3: Function Setting
Function Setting Press the mode button. Select the operation mode. 1. Operation setting Select by using and set with Set the displayed value on the main monitor to "0." 5.1 Zero-reset setting ON when light comes in. Select by using and set with ON when light is blocked. -
Page 4: Manual Setting
Function Setting (Continued) Precautions for Function Settings * indicates factory default setting * Settings that are not available will not be indicated automatically This does not indicate a problem or failure. * Hold down the operation button for approx. 0.3 seconds if not specified differently. * The sub monitor starts flashing when each setting selection becomes available. -
Page 5: Input / Output Connection
Dimensional drawing Input / Output Connection (Unit: mm) D2RF-TA 33.4 Brown Brown 12~24V DC 12~24V DC Control Protection Black Circuit output Control Black 10.5 68.9 output Maximum Protection aperture 150 Circuit Analog Analog White - Black White - Black Output Output Analog Gnd Analog Gnd...