Advertisement
Available languages
Available languages
Quick Links
I N S T A L L A T I O N
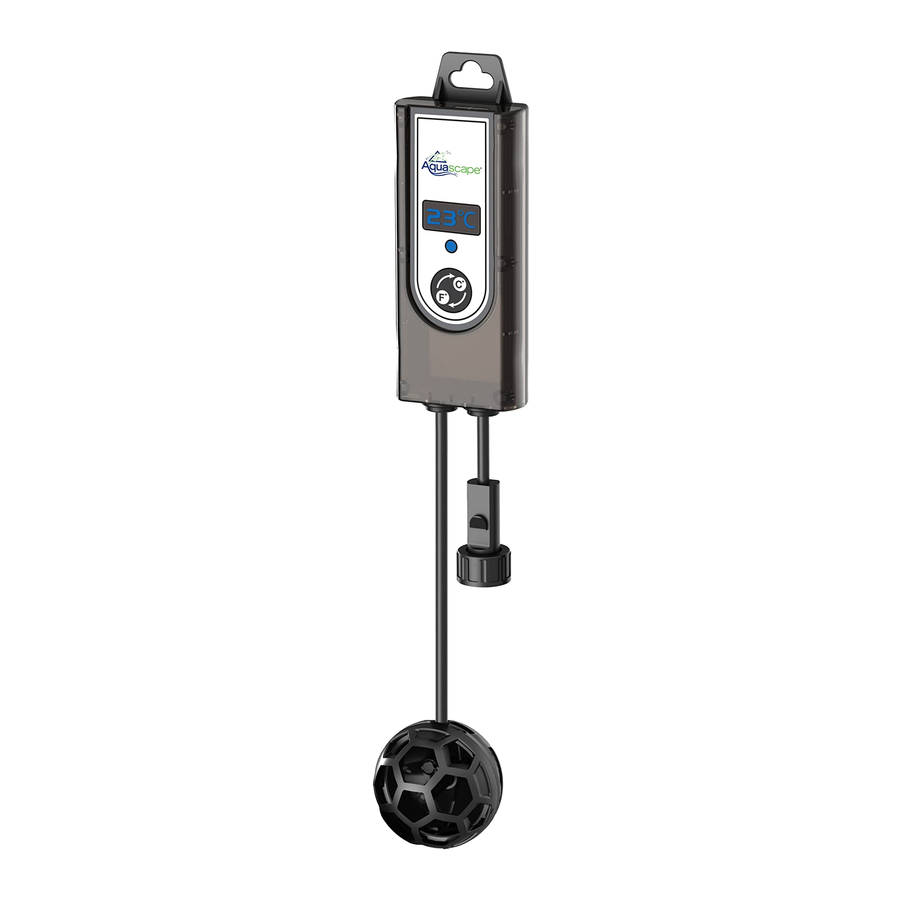
SMART POND THERMOMETER
Contents – #74012
No.
Description
1.
Smart Pond Thermometer
Contents – #74013
No.
Description
2.
Smart Pond Thermometer
3.
Low-voltage Transformer
Smart Pond Thermometer Specs
Ball Dimensions
Wattage
Voltage Min – Max
Temperature Range
Cord Length
(probe to display)
Cord Length
(display to plug)
Safety Information
WARNING: It is recommended whenever working in or near
water to have all electrical devices plugged into a ground
fault interrupter (GFCI) that has been installed by a licensed
electrician.
• To reduce the risk of electrical shock or damage to the thermometer,
all wiring and junction connections should be made per local codes.
Requirements may vary depending on usage and location.
• The power cable should be protected at all times to avoid punctures,
cuts, bruises, and abrasion.
• Operating the Smart Pond Thermometer outside of the 10-15 volt
operating range voids the product warranty.
IMPORTANT: Aquascape, Inc. is not responsible for losses,
injury, or death resulting from a failure to observe these safety
precautions, misuse or abuse of pumps or equipment.
Required
• Low-voltage (12V) transformer (included with #74013)
• For use with the Aquascape Smart Control App
– Adequate WiFi coverage reaching to the unit (2.4 GHz networks
supported)
– Aquascape Smart Control App (available on iOS or Android App Store)
Installation
• Connect the quick-connect fitting to a 12-volt, outdoor-rated transformer
(included with #74013). Then, plug the transformer into a GFCI-protected
outlet.
• Place the probe in the pond. It is recommended to place the probe at the
bottom of the pond for a more accurate reading.
NOTE: Press the F/C button on the display to switch the display readout
between Fahrenheit and Celsius (Ex. 4).
facebook.com/aquascapeinc
youtube.com/aquascape4
pinterest.com/aquascapeinc
1
3
2
1.5" dia. / 3.81 cm dia.
1.5-Watts +/- 10%
10V – 15V
-20°F and 120°F / -28°C and 48°C
20' / 6.1 m
39" / 99 cm
I N S T R U C T I O N S
PAIRING PROCEDURE
• Once plugged in, the blinking blue light indicates
that the unit is in pairing mode and ready to
connect to the app.
• Download the Aquascape Smart Control App
(available on iOS or Android App Store).
• Open the app and click 'Create New Account'
(Ex. 1).
NOTE: If you already have an account, login with
your username and password.
• Once logged in, click the three dashes in the
upper, right-hand corner of the home screen
(Ex. 2) and click 'Add New Device' (Ex. 3).
Ex. 2
• Continue to follow the on-screen instructions to
complete the pairing process.
NOTE: Adequate WiFi coverage is required (2.4
GHz networks supported)
• To reset the device to factory defaults, press and
hold the F/C Button for ten seconds and release
when the blue LED light begins rapidly flashing
(Ex. 4).
Maintenance
• To ensure maximum accuracy, occasionally
remove any debris or buildup from the probe.
The probe cover is easily removed by twisting it
counterclockwise (Ex. 5).
Troubleshooting
• Device won't pair
– Make sure the outlet is receiving power and the GFCI is not tripped
– Ensure adequate wireless coverage (2.4 GHz networks supported)
– Make sure the password is correct for the network (case sensitive)
– Reset the device to factory defaults (press and hold F/C Button for ten
seconds)
Replacement Parts
Smart Pond Thermometer Replacement Parts
No. Item number/description
1.
99073 – Replacement Transformer for Aquascape Smart Pond Thermometer
Warranty Information
3 YEAR WARRANTY
Aquascape warrants that the Smart Pond Thermometer will be free of manufacturing defects
for three years from date of purchase. Proof of purchase required. Warranty does not cover
damage resulting from negligent handling, misuse, or lack of reasonable maintenance or
care. If upon Aquascape's inspection, product shows evidence of a manufacturing defect,
Aquascape's liability is limited, at Aquascape's option, to the repair of the defect, replacement
of the defective product, or refund of the original purchase price. The warranty excludes
costs of labor, removal of product, shipping and expenses related to the installation and
re-installation of the product. No liability for loss or damages of any nature or kind, whether
arising out of or from the use of the product, whether defective or not defective, is assumed by
Aquascape, Inc. or its affiliates. Aquascape shall not be liable for any incidental, consequential,
or other damages arising under any theory of law whatsoever.
For more information about our company or products, please visit our website at
aquascapeinc.com or call us at US (866) 877-6637 CAN (866) 766-3426
©2020 Aquascape, Inc. • All Worldwide Rights Reserved
Ex. 1
Ex. 3
Ex. 4
Ex. 5
09/20
Advertisement

Summary of Contents for AquaScape 74012
- Page 1 If upon Aquascape’s inspection, product shows evidence of a manufacturing defect, (included with #74013). Then, plug the transformer into a GFCI-protected Aquascape’s liability is limited, at Aquascape’s option, to the repair of the defect, replacement outlet. of the defective product, or refund of the original purchase price. The warranty excludes costs of labor, removal of product, shipping and expenses related to the installation and •...
- Page 2 12 volts (inclus avec # 74013). Ensuite, branchez le transformateur au choix d'Aquascape, à la réparation du défaut, au remplacement du produit défectueux ou au remboursement du prix d'achat d'origine. La garantie exclut les frais de main-d'œuvre, dans une prise protégée par GFCI.
