Table of Contents
Advertisement
Quick Links
11
Warranty Information
In the unlikely event of your locomotive developing a fault, please
inform us immediately. All of our models have a 12 month warranty
with us.
In the first 12 months
If the fault occurs within the first 12 months you may return the model
to us following these steps:
1. Email or call us and inform us of the exact fault and when it occurred
along with your invoice or order number.
2. With agreement from us, return the model (or faulty part of) to the
address below.
3. We will assess the model and take the appropriate action.
4. We will send out the new or repaired item as soon as possible.
We will always endeavor to replace models like-for-like but this may not
be possible once the model is sold out. In this case we will offer an
alternative or a full refund as in some cases a repair may not be
possible.
After 12 months
If a fault occurs after 12 months of the purchase date, then please
contact us. We may be able to help provide a spare part or repair but
please note that this service may carry a charge as the item will be out
of warranty.
We advise all customers to thoroughly check their models at the time of
purchase as faults occurring after 12 months cannot be treated as
warranty repairs, regardless of the amount of use the item has had.
Hattons Model Railways
17 Montague Road
Cheshire
WA8 8FZ
Hattons Model Railways - www.hattons.co.uk - 0151 733 3655 - info@hattons.co.uk
Widnes
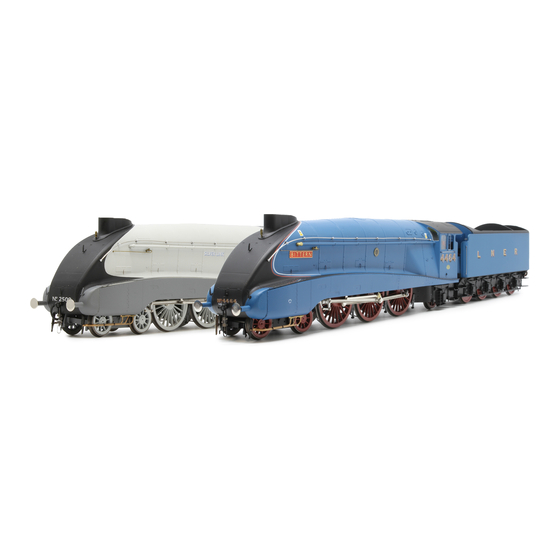
Class A3 & A4
Operating Instructions
Hattons Model Railways
www.hattons.co.uk
0151 733 3655
info@hattons.co.uk
Advertisement
Table of Contents

Summary of Contents for Hattons Originals A3
- Page 1 1. Email or call us and inform us of the exact fault and when it occurred along with your invoice or order number. 2. With agreement from us, return the model (or faulty part of) to the Class A3 & A4 address below. 3. We will assess the model and take the appropriate action.
- Page 2 Removing from wooden plinth Fitting a digital decoder Removing the bodyshell (A3) 5. Valance pipe - for the cutaway valance, there is a pipe running along the length of the left hand side. This is included for fitment if required.
- Page 3 Additional parts (A4) Introduction Thank you for your purchase of the Class A3 or A4 in O 1. Fall plate - to be situated between the loco and tender. Gauge. With proper care and maintenance the loco will provide many years of service.
- Page 4 • Brake rigging (In case of damage, a spare expansion link bracket is included for each side) • Valances (A4 only) Additional parts (A3) • Running board supports (A4 only) 1. Fall plate - to be situated between the loco and tender.
- Page 5 5. Remove the 2 screws in the centre of the flat section. Be careful, they are very long! Same positions for both A3 & A4 Once the first screw is removed, slide the loco further back 6. Remove the pin from the rear of the coupling, remove the spring and and remove the second tender screw.
- Page 6 Fitting a digital decoder Removing the loco bodyshell (A3) The Digital socket on this locomotive is designed to fit ESU L type To remove the body on the A3: decoders (LokPilot L or LokSound L decoders). The socket is located in the tender.

Need help?
Do you have a question about the A3 and is the answer not in the manual?
Questions and answers