Advertisement
Quick Links
Ga
Garden
Fu u
T:
03333 448 121
Before you commence the assembly process we recommend that you read these instructions
thoroughly beforehand to familiarise yourself with the assembly process and to also check that you have
the correct components. If for any reason you need assistance, you can find our contact details on the
final page of these instructions.
We highly recommend that any assembly is carried out on a flat, level surface if possible and that you
use another person to assist you if necessary.
Package contents
2 x End panels
1 x Back panel
1 x Base
1 x Floor
1 x Roof
1 x Door
65mm screws
12 x 85mm screws (for the base only)
2 x Spacer blocks
rnitu re
Direct
ASSEMBLY
INSTRUCTIONS
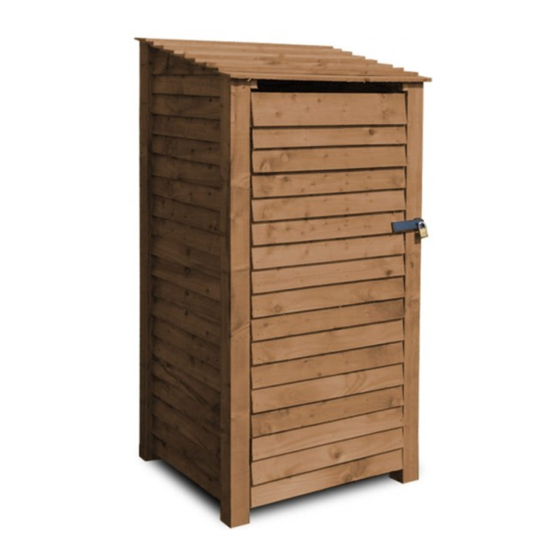
Askham/Kendal 6/4ft
tool store
Tools required
Electric screwdriver with No2 Pozidrive bit
Or No2 Pozidrive Screwdriver
Askham Log Store
1
Advertisement

Summary of Contents for Garden Furniture Direct Askham Tool Store
- Page 1 ASSEMBLY Garden INSTRUCTIONS Fu u rnitu re Direct Askham/Kendal 6/4ft 03333 448 121 tool store Before you commence the assembly process we recommend that you read these instructions thoroughly beforehand to familiarise yourself with the assembly process and to also check that you have the correct components.
- Page 2 Askham/Kendal 6/4ft tool store Step 1 Step 2 Ensure that you have all of the correct parts as listed Stand the left hand end panel (or right hand for the on the front page of these instructions, including any reversed roof version) upright on a flat, level surface. fixings.
- Page 3 Askham/Kendal 6/4ft tool store Step 5 Step 6 Remove the blocks from beneath the back panel and Now add the right end panel, again locating the base then slide the base into position as shown so that it in the gaps in the side panel battens. locates in the gaps in the side panel battens.
- Page 4 Askham/Kendal 6/4ft tool store Step 9 Step 10 Now attach the base to the end panel rear posts, Lay the floor section in the base and then gently again using 2 of the 85mm screws for each side. lower the roof into place as shown. Step 11 Step 12 Check that the front batten ends sit flush with the...
- Page 5 Askham/Kendal 6/4ft tool store Step 13 Step 14 Place a spacer block at the front of the log store Align the top hinge in place, ensuring that the gap adjacent to the front end post and rest the hinge side between the door and post is consistent at top and of the appropriate door on the block, aligning it bottom then secure the top hinge in place using more...