Advertisement
Quick Links
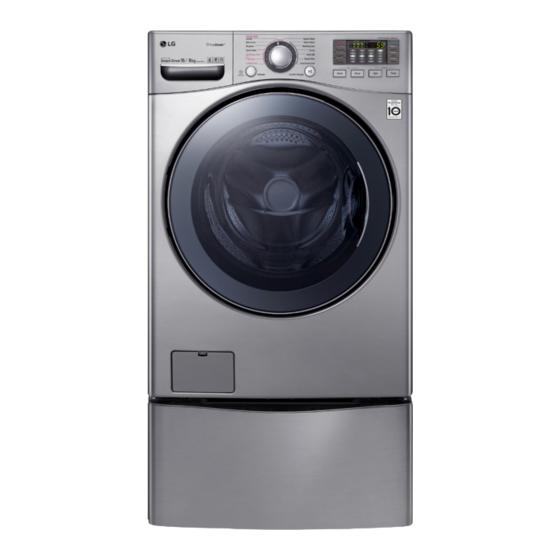
LG TWINWash® - Installation Guide (Large)
Follow the steps below for a quick and simple installation. Further information can be found in the box.
Before You Start
Final Installation Checklist
1
I have secured the mini washer cover into place.
2
I have secured the front loader and mini washer together using a total of 16 screws.
3
I have ensured the machine is level, has no movement and used anti-slip pads if required.
4
I have connected the water lines, removed any kinks and checked there are no leaks.
5
I have secured the drain hoses with included clamps and ensured they are fastened to a drain outlet.
6
I have check the power cables are not caught on any items behind the washer.
7
I have removed the transit bolts from the back of the front loader.
Having problems? Get in touch.
For installation support, contact our Dealer Support Team,
Phone: 02 8811 8861 | Hours: 8am – 6pm EST, Monday – Friday.
^ Hot water connection is for front loader only and is not on all models.
Allow 30-45 minutes for installation.
Ensure two people work together.
Clear a working space around the product.
Unbox all products and remove all protective wrapping.
Ensure that no screws, brackets or accessories are lost.
You will require:
1x Phillips Head Screw Driver
1x Spirit Level
1x Pliers
2x Powerpoints
1x Cold Water Connection
1x Hot Water Connection (If Applicable For Model)^
This guide is for the following front loader models:
WD1216HTE
WDC1215HSVE
TWIN171216T
TWIN171215S
Page 1/5 V3 - 2020
Advertisement

Related Manuals for LG TWINWash


Summary of Contents for LG TWINWash
- Page 1 LG TWINWash® - Installation Guide (Large) Follow the steps below for a quick and simple installation. Further information can be found in the box. Before You Start Allow 30-45 minutes for installation. Ensure two people work together. Clear a working space around the product.
- Page 2 LG TWINWash® - Installation Guide (Large) Follow the steps below for a quick and simple installation. Further information can be found in the box. Prepare The Mini Washer Remove the packaging foam from the top Rotate and secure the mini washer cover Temporarily place the mini washer into it’...
-
Page 3: Connect Drain Hose
LG TWINWash® - Installation Guide (Large) Follow the steps below for a quick and simple installation. Further information can be found in the box. Lift & Secure (Cont.) Pull out the mini washer drawer, and Secure the right side with 2x large... - Page 4 LG TWINWash® - Installation Guide (Large) Follow the steps below for a quick and simple installation. Further information can be found in the box. Connect Water Hoses Connect the water hoses as below. Ensure that each end has the black washer inserted.
-
Page 5: Finishing Touches
LG TWINWash® - Installation Guide (Large) Follow the steps below for a quick and simple installation. Further information can be found in the box. Complete Your Installation Plug both the front loader and mini You are now ready to start using your Tidy and zip tie any messy cables or hoses.