Advertisement
Quick Links
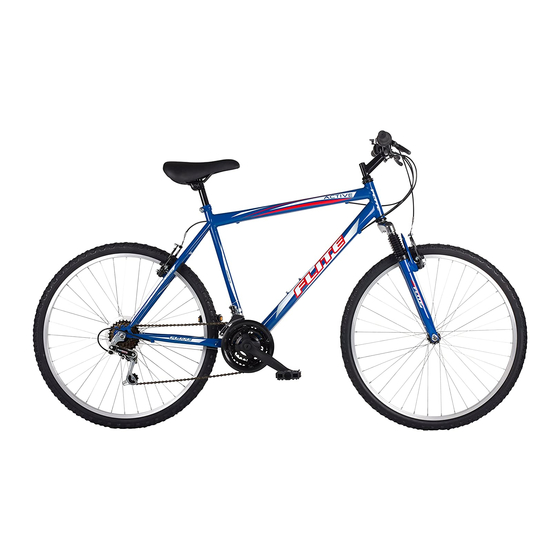
ACTIVE ASSEMBLY GUIDE
Please read these instructions carefully. Each bike comes with an Owners' Manual that
contains a great deal of information and tips, including a comprehensive guide to care
and maintenance that we recommend you read carefully.
Our bikes are fully adjusted and checked over at the factory. The handlebars may be
removed or assembled in the bike and turned through 90 degrees. the pedals
removed and in some cases the front wheel will have been removed too. It is a relative-
ly simple operation to re-assemble these parts, however if you do not feel competent
to do this you should ask someone who is, as it is important that these simple tasks are
done correctly for the integral safety of the bike.
Please remove all packaging very carefully, especially if using a knife or sharp blade.
Take care not to scratch any of the parts of the bike or slash the tyres.
We suggest that you keep hold of the carton in case you need to return the bike.
Getting Started
Open the carton from the top and carefully remove the bicycle. Take care not to
scratch any of the parts of the bike or cut the tyres. Remove the straps and protective
wrapping from the bicycle. Inspect the bicycle, all accessories and parts for possible
shortages.
We strongly recommend that the threads and all moving parts in the parts package be
lubricated prior to installation. Do not discard packing materials until assembly is com-
plete to ensure that no required parts are accidentally discarded.
Advertisement

Summary of Contents for Flite ACTIVE
- Page 1 ACTIVE ASSEMBLY GUIDE Please read these instructions carefully. Each bike comes with an Owners’ Manual that contains a great deal of information and tips, including a comprehensive guide to care and maintenance that we recommend you read carefully. Our bikes are fully adjusted and checked over at the factory. The handlebars may be removed or assembled in the bike and turned through 90 degrees.
- Page 2 Saddle Using the supplied flat spanner loosen the seat clamp bolt and insert the seatpost into the seat tube. Adjust the saddle height to suit the comfort of the rider but ensure the minimum insertion mark on the seat post remains completely within the seat tube.
- Page 3 Take the front wheel and loosen the wheel nuts o each end of the axle. Remove the retaining washers from the axle. Note the direction arrow on the tyre side wall and ensuring it points forwards drop the front forks onto the axle. Slide the retaining washers onto the axle and ensure they lock into the forks.
- Page 4 Pedals The final step is to attach the pedals. Your pedals and cranks are specially designed so that they do not unscrew as you pedal. It is very important that you follow these directions for correct attachment. Failure to do so can strip the threads from your cranks. This may cause the rider to lose control of the bicycle and fall.