Advertisement
Quick Links
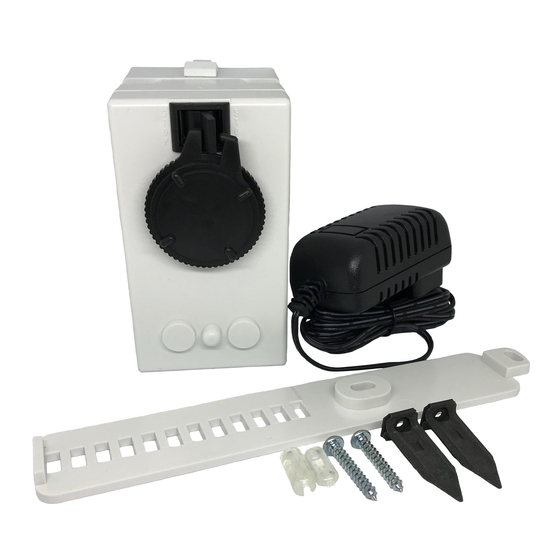
ADD-A-MOTOR PART INSTALLATION
Motor housing has 9 screws (refer to Screw Index).
It is very important that correct screws are installed back in locations shown.
DO NOT over-tighten these screws because that can damage the housing.
STEP 1: Remove Screws #1 and #2. Then, lift-off Rear-Cover to access interior.
Screws #1
Remove Rear-Cover
Screws #2
STEP 3: Leave wires attached to motor terminals.
Separate housings. Guide the Circuit Board out.
Screws #3
STEP 2:
- Leave Red & Black wires attached to motor terminals.
- Carefully bend both motor terminals up to vertical.
- Grasp Circuit Board, lift up and unsnap it from its 2 mounting posts.
- Remove both Screws #3.
STEP 4: Remove Screws #4.
Remove
Screws #4
Screws #3
STEP 2:
- Leave Red & Black wires attached to motor terminals.
- Carefully bend both motor terminals up to vertical.
- Grasp Circuit Board, lift up and unsnap it from its 2 mounting posts.
- Remove both Screws #3.
STEP 4: Remove Screws #4.
Remove
Screws #4
SCREW INDEX
Screw 1: 2-1/4" long (2 each)
Screw 2: 3/4" long (2 each)
Screw 3: 1/2" long (3 each)
Screw 4: 1" long (2 each)
Open housing as shown.
DO NOT remove
this screw unless
installing a new
Gearmotor.
Remove
Screws #4
SCREW INDEX
Screw 1: 2-1/4" long (2 each)
Screw 2: 3/4" long (2 each)
Screw 3: 1/2" long (3 each)
Screw 4: 1" long (2 each)
Open housing as shown.
DO NOT remove
this screw unless
installing a new
Gearmotor.
Remove
Screws #4
Side 1 of 2
Front Cover
Assembly
Side 1 of 2
Front Cover
Assembly
Advertisement

Related Manuals for Add-A-Motor 80


Summary of Contents for Add-A-Motor 80
- Page 1 ADD-A-MOTOR PART INSTALLATION Side 1 of 2 Motor housing has 9 screws (refer to Screw Index). SCREW INDEX It is very important that correct screws are installed back in locations shown. Screw 1: 2-1/4” long (2 each) DO NOT over-tighten these screws because that can damage the housing.
- Page 2 Connect Green wire to left terminal, White to center, and Yellow to right terminal. VERY IMPORTANT – MODEL 80 DRAPERY MOTOR ONLY – TO PREVENT DAMAGE: 1. BEFORE installing motor, OPEN drapery HALFWAY 2. IF EVER drapery does not close properly, make BOTH adjustments below soon as possible: A.