Advertisement
Quick Links
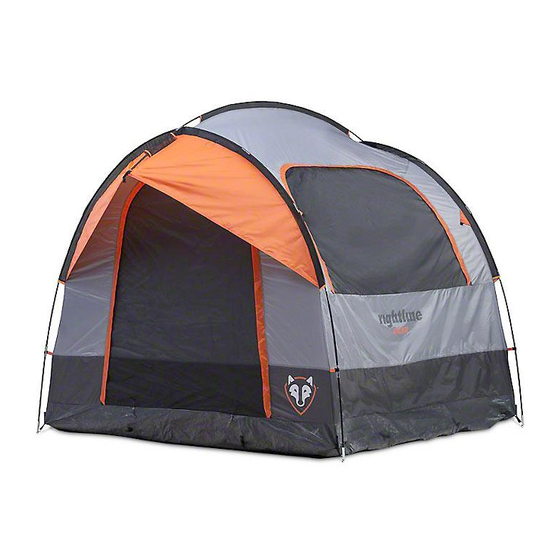
SUV Tent
Set Up
www.rightlinegear.com/setup.html
Video:
Set Up The Tent
1-
Lay the tent over a flat area, free from rocks and sticks.
2-Stake the (4) corners of the tent and the (2) loops on
each side. Make sure the tent's floor is pulled smooth.
3-Thread the (2) end poles (long poles) through the end
pole sleeves (Fig 1) until their leading ferrules reach the
pole pins on the opposite side (Fig 2).
4-Thread the top pole (short pole) through the top pole
sleeve and the (2) awning pole sleeves (Fig 1).
Awning Pole
Leading Ferrule
Sleeve
Pole
Pin
Top Pole
Sleeve
Fig 2
Leading Ferrule
Awning Pole
Sleeve
Fig1
Top Pole
CAUTION: DON'T USE EXCESSIVE FORCE WHEN
BENDING THE TENT POLES. MAKE SURE THE POLE
SLEEVES SLIDE OVER THE POLES WITHOUT HANGING
UP.
5-Place one end of the top pole into one of the awning
pole pockets (Fig 3). Bend the pole and place its oppo-
site end into the other awning pole pocket.
Awning
Pole Pocket
Fig 3
6-Place the end poles' leading ferrules over the pole pins
Fig (4).
7-Raise the tent by bending the end poles until their trail-
ing ferrules can be placed over the pole pins (Fig 5). Make
sure to hold the end of the pole sleeves open as the poles
slide through (Fig 6).
8-Attach the pole clips to the end poles (Fig 7).
Pole Pin
110907
Pole Sleeve
9-Back up the vehicle until its bumper touches the lower
sleeve (Fig 8). Make sure the vehicle is centered to the tent.
10-Place the lower sleeve under the vehicle's bumper but
above the vehicle's muffler.
11-Place the upper sleeve over the raised rear hatch door
(Fig 9).
End Pole
Fig 8
End Pole
Sleeve
12-Buckle the upper sleeve's (2) top straps around the ve-
hicle's roof rack rear cross bar (Fig 10). If the vehicle is
without a cross bar, clip the (2) extension straps to the top
straps (Fig 11) and attach the extension straps' J-hooks to
End Pole
the vehicle's windshield wipers (Fig 12 and Fig 13).
End Pole
Sleeve
Fig 10
Fig 12
13-Lower the rear hatch door and buckle the lower
sleeve's E strap over it (Fig 14). Adjust the E strap so the
lower sleeve is pulled tight when the rear hatch door is
raised again.
14-Attach the lower sleeve's F and G straps to the inside
of the vehicle's cargo area (Fig 15).
Fig 14
End Pole
Leading Ferrule
Fig 4
Fig 6
Lower
Sleeve
Top Strap
Extension
Straps
E
Trailing Ferrule
Fig 5
Pole Clip
Fig 7
Upper
Sleeve
Fig 9
Top Strap
Extension
Strap
Fig 11
J-hook
Fig 13
F
F
G
Fig 15
Advertisement

Summary of Contents for Rightline Gear SUV Tent
- Page 1 End Pole Pole Pin Trailing Ferrule Leading Ferrule Fig 4 Fig 5 SUV Tent 110907 Pole Clip Pole Sleeve Set Up www.rightlinegear.com/setup.html Video: Fig 6 Fig 7 Set Up The Tent 9-Back up the vehicle until its bumper touches the lower sleeve (Fig 8).
- Page 2 15-Attach the A and B straps’ J-hooks to the vehicle’s 2-Connect the rainfly’s (2) male buckles to the awnings’ (2) fenders and tighten (Fig 16 and 17). female buckles (Fig 22). J-hook Fig 16 Fig 22 Fig 21 16-Run the C straps under the rear bumper, clip them to 2-Fasten the (2) hook-&-loop tabs around the end poles (Fig 23).
