Advertisement
Quick Links
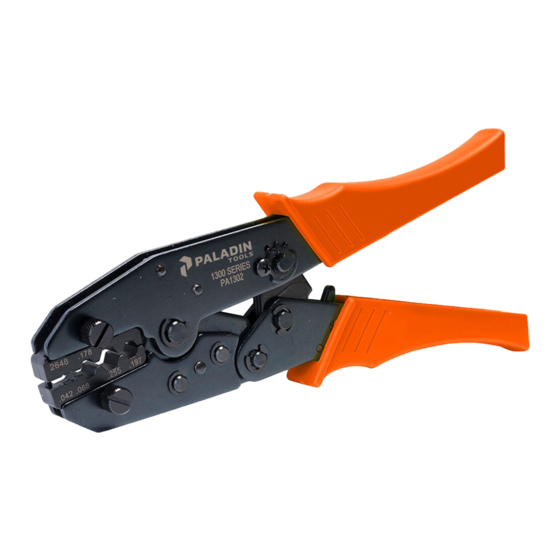
1300 Series Crimpers
Thumb screws
Operating Instructions:
1. Install the required die set in the crimp tool by
removing the thumb screws located in the jaws.
Install the die set with the text facing outward
when crimper is in position shown above.
2. Install the thumb screws & tighten to maximum
thumb tightness. Note: Do not use pliers or tools
to tighten the thumb screws—only hand tighten-
ing is necessary.
3. Assemble cable & connector as specified by the
connector & cable manufacturers' instructions.
4. Insert connector/cable assembly into the die set &
squeeze the handles through a complete ratchet
cycle. Crimp is complete.
Emergency release:
In the case of an emergency where a crimp cycle is
stopped & the tool needs to be reopened, flip the
safety release forward in the direction of the jaws to
engage the release mechanism.
Ratchet strength adjustment:
See page 17 for optimum ratchet gear settings &
adjustments.
Tool Operation and Use Guide
Ratchet strength
adjustment
Safety release
14
Advertisement

Summary of Contents for Paladin Tools 1300 Series
- Page 1 1300 Series Crimpers Ratchet strength adjustment Safety release Thumb screws Operating Instructions: 1. Install the required die set in the crimp tool by removing the thumb screws located in the jaws. Install the die set with the text facing outward when crimper is in position shown above.
- Page 2 Ratchet Gear Settings Paladin Tools ®...