Table of Contents
Advertisement
Quick Links
Download this manual
See also:
Quick Start Manual
Quick Start Guide
C
I
T
W
NSTALLING
ON
HE
U
B
. . . . . . . . . . . . . . . 1
NFOLD THE
TV C
I
. . . . . . . . 2
HANNEL
P
LCD TV . . . . . 2
. . . . . . . . . . . . . . . . . . . . 3
. . . . . . . . . . . . 3
R
C
O
A
TV . . . . . . . . . . . . . . . . . . 4
The stand of your LCD TV complies with the VESA standard, if you intend to install the LCD TV on the wall,
please consult a professional technician for proper installing.
Wall Mounting of your LCD TV :
1
Put your LCD TV set on a safe and fl at surface, then
fold the base backward.
Note: To fold the base requires a degree fo force.
2
Use for the TV set a Vesa compliant wall mount (not included).
(For 20 inch: 100x100 mm)
3
Use for installation by a professional technician.
Note: The manufacture accepts no liability, ensure installation is
done by a professional technician.
Expanding the base requires a degree of force; please use sufficient force to unfold the base.
When unfolding the base, place the TV on a flat, sturdy surface before expanding the base.
ONTENTS
. . 1
ALL
) . . . . . . . . . . . . . . . . . . . . 5
(
(
) . . . . . . . . . . . . . . . . . . . . . 6
. . . . . . 3
. . . . . 4
I
NSTALLING
U
NFOLD THE
1
NOTE: This quick setup guide is used with several
. . . . . . . . . . . . . 5
different LCD TV models. Not all features (and drawings)
discussed in this manual will necessarily match those
found with your LCD TV set. This is normal and does not
) . . 6
require that you contact your dealer or request service.
IDEO
WARNING: TO PREVENT FIRE OR SHOCK HAZARD
DO NOT EXPOSE THIS UNIT TO RAIN OR EXCESSIVE.
. . . . . . . . . . . 7
. . . . . . . . . . . . . . 7
. . . . . . . . . . . 8
LCD TV
ON
B
1
IMPORTANT
T
W
HE
ALL
ASE
2
(20 inch: 100x100 mm)
3
3138 155 24532
Advertisement
Table of Contents

Related Manuals for Philips 20TA1600/98


Summary of Contents for Philips 20TA1600/98
-
Page 1: Table Of Contents
Quick Start Guide ONTENTS LCD TV . . 1 NSTALLING ....1 NFOLD THE TV C ..2 HANNEL NSTALLATION LCD TV . -
Page 2: Lcd Tv
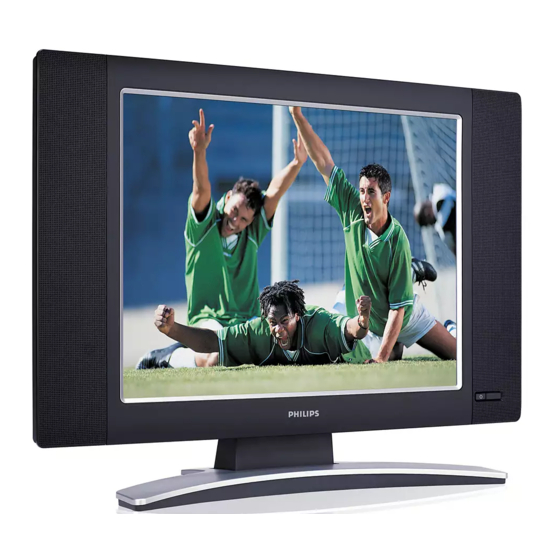
TV C Quick Start Guide Immediately after unpacking and plugging in your new television, run the auto program function to set up the TV for the broadcast or cable channels available in your area. If you do not run the auto program function to set up the channels , your television may not operate properly. -
Page 3: Accessories
CCESSORIES When you unpack this unit, make sure it includes the following: Power adapter & cable (/79) Tuner L-Adapter Warranty Card Previous Channel button Press to go to previously selected channel. Sleep button Press to set the LCD TV to turn itself off within a certain time. -
Page 4: Ntenna Tv
A combination antenna receives normal broadcast channels (VHF 2–13 and UHF 14–69). Your connection is easy because there is only one 75 Ω (ohm) antenna jack on the side of your TV, and that’s where the antenna goes. If your antenna has a round cable (75 ohm) on the end, then you’re ready to connect it to the LCD TV. -
Page 5: Tuner Mode Control
Your LCD TV can automatically set itself for local area (or cable TV) channels. This makes it easy for you to select only the TV stations in your area by pressing the CH+ or CH- button. Press the MENU button on the remote control to show the onscreen menu. -
Page 6: Cable Box ( With Rf I N /Outputs )
VIDEO jack on the side of the TV. Video cables are usually marked with yellow and are available from Philips or electronics retailers. Video jacks on most equipment are yellow. Using RCA-type, stereo audio cables (not supplied), connect one end of the cables to the left and right Audio Out jacks of the Cable Box. -
Page 7: S-Video Connections
Press PLAY on the other equipment to view its material on the LCD TV. Note: The Philips LCD TV remote control can not be used to operate other video/audio • equipment. The Audio jack of AV IN is shared between Video (CVBS) and S-Video signals. If Audio •... -
Page 8: Pc (Monitor ) Inputs
This LCD TV can be used as a PC. Your computer will have to be equipped with a VGA type video output and interface cable (not supplied). (One end with VGA type connector, the other end with D-SUB type connector.) Connect VGA end of the interface cable (not supplied) to the computer, while connecting the other ends to the D-SUB INPUT jack on the LCD TV.