Advertisement
Quick Links
TOOLS REQUIRED
Phillips screwdriver
Power drill
Level
Template for easy installation
Screw Placement Template:
Using a push pin mount the template on the wall in the desired location, make sure that at
least one screw hole will be installed into a wall stud for best results.
Using a level, rotate the template until horizontal, then attach the template to the wall with
a second push pin.
Mark the screw indicator holes and remove the template.
Place the bracket over the holes marks and screw into place.
Installation
1
PREPARING FOR INSTALLATION
□ Place the backplate (B) against the
wall in the desired position.
□ While holding the backplate (B)
against the wall, use a level to ensure
that the backplate (B) is level.
□ Use a pencil to mark the backplate
(B) holes on the wall.
□ Ensure that arrow located on
backplate (B) is pointing up.
B
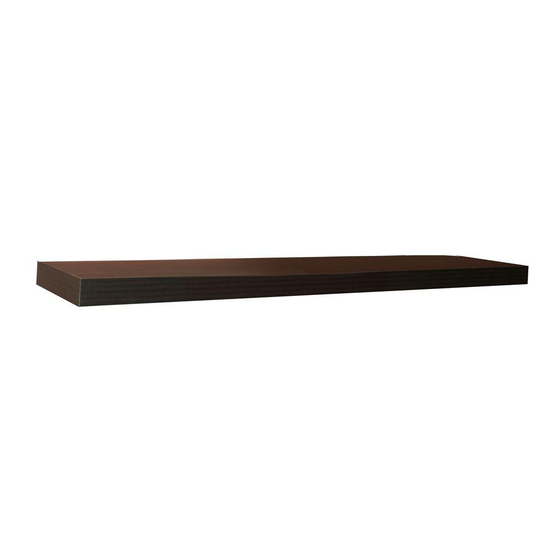
Use and Care Guide
Floating Wall Shelf
7/32 in. drill bit
Pencil
2
INSTALLING THE BACKPLATE
IMPORTANT: If you are drilling into
a stud, it is NOT necessary to pre-drill
the hole!
□ Using a power drill and a 7/32 in.
drill bit, drill holes into the wall at
the pencil marks. Only in drywall
locations where there is not a stud.
□ Insert the drywall anchors (D) into the
holes.
□ Use a Phillips screwdriver and the
screws (C) to secure the backplate
(B) to the wall.
C
PACKAGE CONTENTS
A
B
D
E
Part
Description
A
Shelf
B
Backplate
C
Screw
D
Drywall anchor
E
Set screw
B
C
Item #
See page 2
Model #
3
INSTALLING THE SHELF
□ Slide the shelf (A) onto the backplate
(B).
□ Align the holes on the bottom of the
shelf (A) with the holes on the bottom
of the tubes on the backplate (B).
□ Use the set screws (E) to secure
the shelf (A) to the backplate (B) by
inserting the set screws (E) through
the bottom of the shelf (A) and into
the backplate tubes.
E
E
Please contact 1-877-527-0313 for further assistance.
Quantity
1
1
6
4
2
B
A
HOMEDEPOT.COM
Advertisement

Related Manuals for Home Decorators Collection 9085644


Summary of Contents for Home Decorators Collection 9085644
- Page 1 Use and Care Guide Item # See page 2 Model # Floating Wall Shelf TOOLS REQUIRED PACKAGE CONTENTS Phillips screwdriver Power drill 7/32 in. drill bit Level Pencil Part Description Quantity Template for easy installation Shelf Screw Placement Template: Backplate Using a push pin mount the template on the wall in the desired location, make sure that at least one screw hole will be installed into a wall stud for best results.
-
Page 2: Safety Information
Additional statements by our employers, agents, representatives, distributors, dealers, and retailers such as advertisements or presentations, do not constitute warranties by us, do not bind us, nor should these statements be relied upon. Item # Model # 369366 9085644 245220 9085646 245484 9085648...