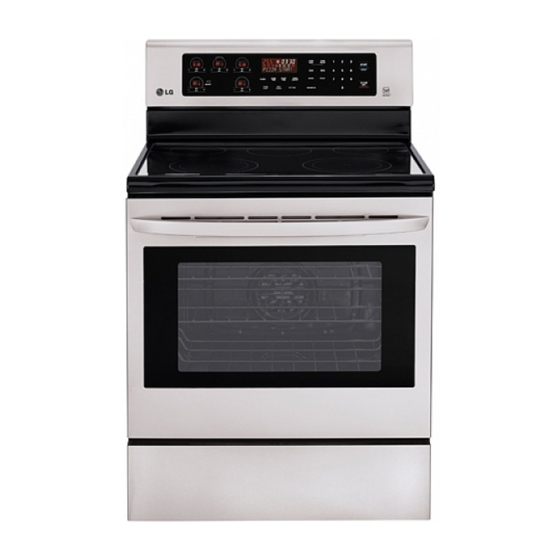
LG LRE6383ST Owner's Manual
Electric range ovens
Hide thumbs
Also See for LRE6383ST:
- Owner's manual (104 pages) ,
- Installation manual (32 pages) ,
- Installation manual (20 pages)
Advertisement
Quick Links
Download this manual
See also:
Installation Manual
OWNER'S MANUAL
ELECTRIC
RANGE
Read this owner's manual thoroughly before operating the appliance
and keep it handy for reference at all times.
LRE6383ST
LRE6383SB
LRE3061ST
LRE3061BD
LRE3193BD
LRE3193ST
MFL55646615
LRE6383SW
LRE3193SB
LRE3193SW
Copyright © 2016 - 2017 LG Electronics Inc. All Rights Reserved.
REV. 03 (170202)
www.lg.com
Advertisement

Summary of Contents for LG LRE6383ST
- Page 1 Read this owner’s manual thoroughly before operating the appliance and keep it handy for reference at all times. LRE6383ST LRE6383SB LRE6383SW LRE3061ST LRE3061BD LRE3193BD LRE3193ST LRE3193SB LRE3193SW www.lg.com Copyright © 2016 - 2017 LG Electronics Inc. All Rights Reserved. MFL55646615 REV. 03 (170202)
-
Page 2: Installation Overview
10 INSTALLATION INSTALLATION Installation Overview Please read the following installation instructions first after purchasing this product or transporting it to another location. Check and choose the Install anti-tip device Level the range proper location 240 V Plug in the power cord Engage the anti-tip device Test run Product Specifications... - Page 3 INSTALLATION Before Installing the Range If you did not receive an anti-tip bracket with your purchase, call 1-800-243-0000 (1-888-542-2623 in CANADA) to receive one at no cost. WARNING WARNING Tip - Over Hazard • The information in this manual should be A child or adult can tip the range and followed exactly.
-
Page 4: Installing The Range
12 INSTALLATION Installing the Range Choosing the Proper Location CAUTION Unpacking and Moving the Range • Avoid placing cabinets above the range. To CAUTION minimize the hazard caused by reaching over the open flames of operating burners, install a • You should use two or more people to move ventilation hood over the range that projects and install the range. -
Page 5: Dimensions And Clearances
INSTALLATION Dimensions and Clearances NOTE Save for the use of the local electrical inspector. 24" 3" (7.6 cm) (60.9 cm) 3" (7.6 cm) 25" Normal counter (63.5 cm) Acceptable top depth electrical outlet area Counter 36" top height (91.4 cm) Cabinet opening 24"... -
Page 6: Electrical Connection Requirements
14 INSTALLATION Installing the Anti-tip Device Use a level to check your adjustments. Place the level diagonally on the oven rack, and check each direction WARNING for level. First check direction . Tip - Over Hazard Then check direction . If the level doesn’t show level A child or adult can tip the range and on the rack, adjust the leveling legs with a wrench. -
Page 7: Engaging The Anti-Tip Device
INSTALLATION Engaging the Anti-tip Device Test Run • Move the range close enough to the opening to Check if the range is properly installed and run a test plug into the receptacle. cycle. • Slide the range into position ensuring that the back Press Clear/Off to start test.


