Advertisement
Quick Links
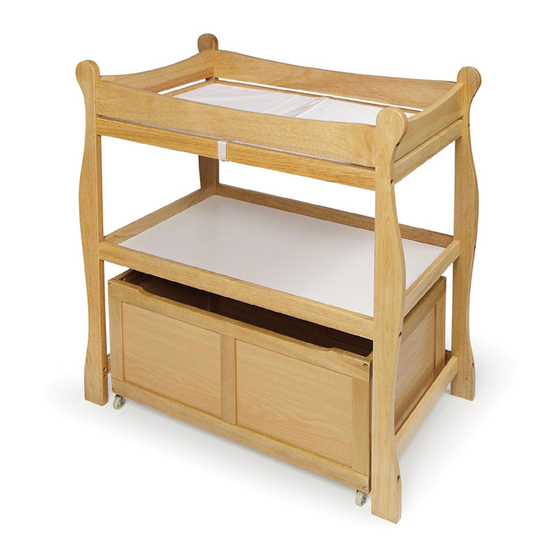
SLEIGH STYLE BABY
CHANGING TABLE WITH
LOWER STORAGE CART
MODEL NUMBERS:
02250 - White
02251 - Natural
02252 - Cherry
Assembly
Instructions.
Adult Assembly
Required.
Save these
instructions for
future use.
Visit us online at www.badgerbasket.com
Toll-Free Customer Service: 1-800-236-1310 (Monday through Thursday 7:30 AM to 4:30 PM CST)
Web: http://www.badgerbasket.com/parts • E-mail: parts1@badgerbasket.com
Mail: PO Box 227, Edgar, WI 54426-0227 • Phone: 715-352-2311 • Fax: 715-352-3163
Page 1 of 6
4.0/1008/TG
Advertisement

Related Manuals for Badger Basket 02250


Summary of Contents for Badger Basket 02250
- Page 1 SLEIGH STYLE BABY CHANGING TABLE WITH LOWER STORAGE CART MODEL NUMBERS: 02250 - White 02251 - Natural 02252 - Cherry Assembly Instructions. Adult Assembly Required. Save these instructions for future use. Visit us online at www.badgerbasket.com Toll-Free Customer Service: 1-800-236-1310 (Monday through Thursday 7:30 AM to 4:30 PM CST) Web: http://www.badgerbasket.com/parts •...
- Page 2 Check all parts and hardware. If anything is missing or not satisfactory, please DO NOT call the store where purchased or return the product to them. Contact Badger Basket for assistance. Most problems are resolved without you needing to leave home.
- Page 3 PARTS AND HARDWARE: TOOL NEEDED: Phillips Screwdriver (not included) Power driver is helpful but be careful not to damage the product. TABLE PARTS INCLUDED: (A) 14 - Pegs* (B) 2 - Top Rails (C1) 2 - Top Shelf Rails** (C2) 3 - Middle/Lower Shelf Rails (D) 2 - End Panels (E) 14 - Bolts (F1) 1 - Top Shelf Panel**...
- Page 4 STEP 1: See PICTURE 1. Insert FOURTEEN PEGS (A) into the peg holes on the ends of the TWO TOP RAILS (B) and the FIVE SHELF RAILS (C1, C2). STEP 2: See PICTURE 2. Attach the TWO TOP RAILS (B), TWO TOP SHELF RAILS (C1), and THREE MIDDLE/ LOWER SHELF RAILS (C2) to ONE END PANEL (D) using SEVEN BOLTS (E).
- Page 5 STEP 6: See PICTURE 5. Attach ONE FRONT/REAR PANEL (K) to ONE SIDE PANEL (L) using TWO BOLTS (E) and TWO BARREL NUTS (P). The grooves face in and line up. Insert the SUPPORT BAR (Q) into the hole in the center of the REAR PANEL (K).
- Page 6 STEP 10: See PICTURE 9. Turn the table right side up. Place the MATTRESS/PAD (J) onto the TOP SHELF PANEL (F1) underneath the SAFETY BELT (G). Insert the STORAGE CART into the space beneath the table as shown. The cart does not attach to the table. It remains independent so that you can use it with the table, or use it elsewhere in the house.