Table of Contents
Advertisement
Quick Links
Advertisement
Table of Contents

Related Manuals for Philips MC M240


Summary of Contents for Philips MC M240
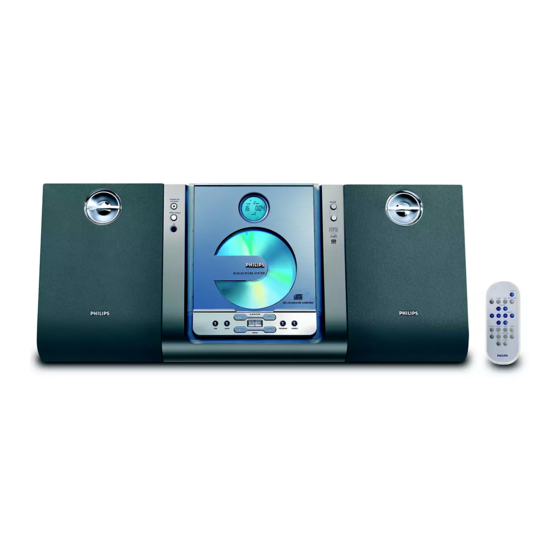
- Page 1 MCM240 Micro Hi-Fi System...
- Page 2 País de Origen: China Nº de Serie: LEA CUIDADOSAMENTE ESTE INSTRUCTIVO AVISO IMPORTANTE Philips Mexicana, S.A. de C.V. no se hace responsable por daños o desperfectos causados por: – Maltrato, descuido o mal uso, presencia de insectos o roedores (cucarachas, ratones etc.).
- Page 3 &...
- Page 5 Index English ------------------------------------------------ 6 Français -------------------------------------------- 21 Español --------------------------------------------- 36 -------------------------------------------------------- 51...
-
Page 6: Table Of Contents
Contents General Information Environmental information ... 7 Supplied accessories ... 7 Safety information ... 7 Preparations Rear connections ... 8 – 9 Optional connection ... 9 Connecting other equipment to your system Before using the remote control ... 9 Replacing battery (lithium CR2025) into the remote control ... -
Page 7: General Information
IMPORTANT! PLEASE NOTE THAT THE VOLTAGE SELECTOR LOCATED AT THE BOTTOM OF THIS SYSTEM IS PRESET AT 220V FROM THE FACTORY. FOR COUNTRIES THAT OPERATE AT 110V-127V, PLEASE ADJUST TO 110V-127V BEFORE YOU SWITCH ON THE SYSTEM. Environmental Information All unnecessary packaging has been omitted. We have tried to make the packaging easy to separate into three materials: cardboard (box), polystyrene foam (buffer) and polyethylene... -
Page 8: Preparations
Preparations MW loop antenna Speaker (right) AC power cord Rear connections The type plate is located at the rear of the system. Power – Before connecting the AC power cord to the wall outlet, ensure that all other connections have been made. –... -
Page 9: Optional Connection
FM Antenna ● For better FM stereo reception, connect an outdoor FM antenna to the FM ANTENNA terminal. Speakers Connection Front Speakers Connect the speaker wires to the SPEAKERS terminals, right speaker to "RIGHT" and left speaker to "LEFT", colored (marked) wire to "+" and black (unmarked) wire to "-". -
Page 10: Controls On The System And Remote Control
Controls (illustrations on page 3) Controls on the system and remote control STANDBY-ONB – switches the system on or to standby. Display screen – shows the status of the system. OPEN • CLOSEç – opens/closes the CD door. – remote sensor VOLUME (3 / 4 ) (+/-) –... -
Page 11: Basic Functions
Important! Before you operate the system, complete the preparation procedures. Switching the system on ● Press STANDBY-ON (or B on the remote). ➜ The system will switch to the last selected source. ● Press CD, TUNER or AUX on the remote control. -
Page 12: Cd/Mp3-Cd Operation
CD/MP3-CD Operation Important! The lens of the CD player should never be touched. Loading a disc This CD player plays Audio Discs including CD Recordables, CD-Rewritables and MP3 CD. ● CD-ROM, CD-I, CDV, VCD, DVD or computer CDs, however, are not possible. Press SOURCE on the front panel of the system to select CD or press CD on the remote. -
Page 13: Playing An Mp3 Disc
Notes: CD play will also stop when; – the CD door is opened. – the disc has reached the end. – you select another source: TUNER or AUX. – you select standby. – the set auto off time arrives. – no button is pressed within 15 minutes in the CD PAUSE position. -
Page 14: Reviewing The Program
CD/MP3-CD Operation Press PROGRAM to confirm the track number to be stored. ➜ PROG X is shown briefly, followed by the number of the track (for MP3-CD, the album and title numbers of the track) you just stored. X denotes the next program number to be stored Repeat steps 2-3 to select and store all desired tracks. -
Page 15: Radio Reception
Tuning to radio stations Press SOURCE on the front panel of the system or TUNER on the remote to select TUNER. ➜ TUNER is displayed briefly. Press BAND on the front panel of the system once or more to select your waveband (FM/ MW). -
Page 16: Changing Tuning Grid
Radio Reception Changing tuning grid all versions) In North and South America, the frequency step between adjacent channels in the MW band is 10 kHz (9 kHz in some areas). Changing the tuning grid will erase all previously stored preset radio stations. Select TUNER source or in the tuner mode. -
Page 17: Clock/Timer
Setting the clock In standby mode or system on, press and hold DISPLAY/CLOCK on the remote control for more than 3 seconds. ➜ SET CLOCK scrolls on the display. ➜ The clock digits for the hours flash. Press VOLUME (3 / 4) (+/-) to set the hours. Press DISPLAY/CLOCK again. -
Page 18: Activating And Deactivating Sleep
Clock/Timer Activating and deactivating SLEEP The sleep timer enables the system to switch off by itself after a set period of time. ● Press SLEEP on the remote control once or more. ➜ Display shows SLEEP and one of the sleep time options in sequence: 90, 60, 45, 30, 15, OFF, 90... -
Page 19: Specifications
Cleaning the disc lens ● After prolonged use, dirt or dust may accumulate at the disc lens. To ensure good playback quality, clean the disc lens with Philips CD Lens Cleaner or any commercially available cleaner. Follow the instructions supplied with cleaner. -
Page 20: Troubleshooting
Do not open the system as there is a risk of electric shock. If a fault occurs, first check the points listed below before taking the system for repair. If you are unable to remedy a problem by following these hints, consult your dealer or Philips for help.